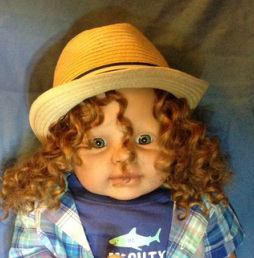
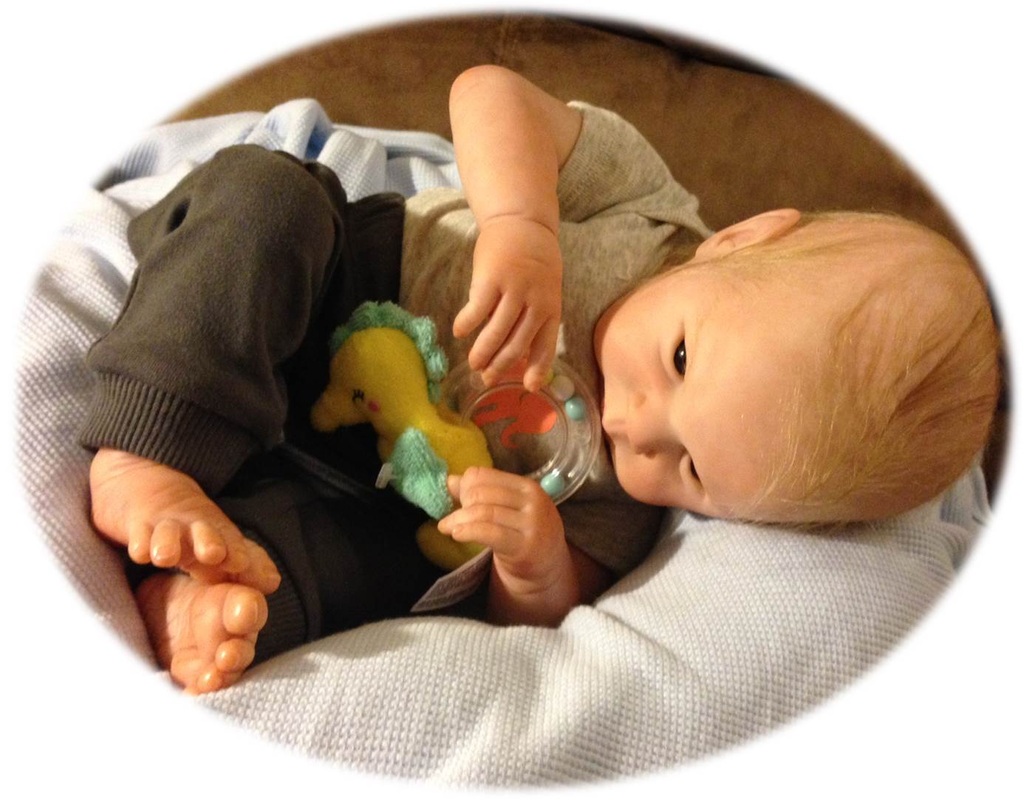
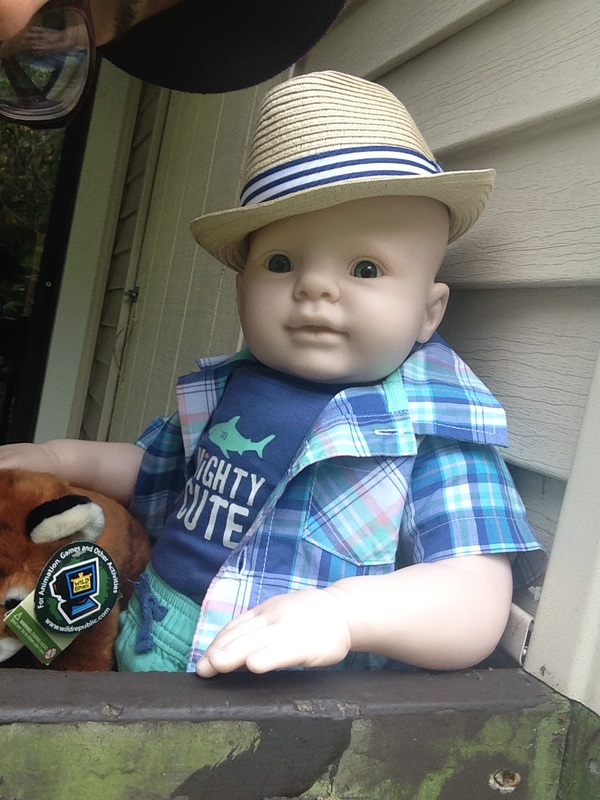
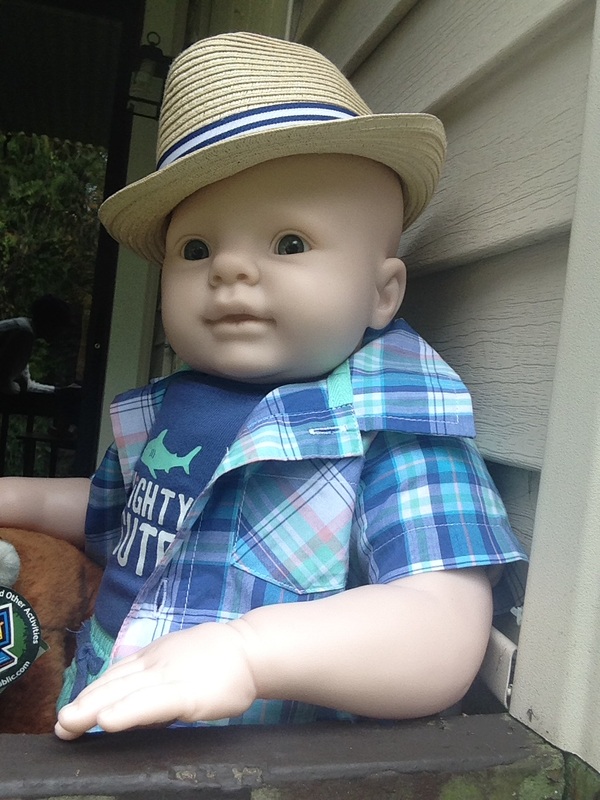
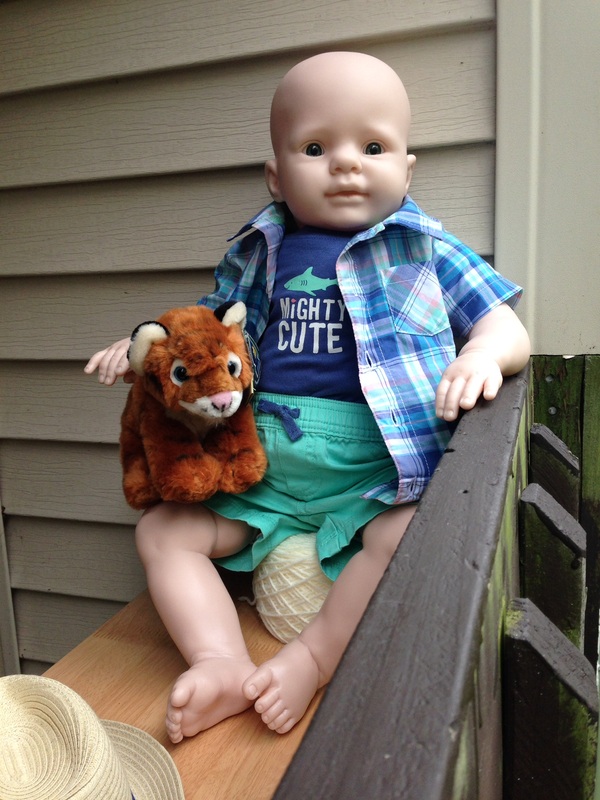
 Zachary was too busy to go Trick-or-Treating, but he couldn't resist the opportunity to play dress up in some hair!
Fortunately for my neighbors and their children, I do not decorate for Halloween. But if I did, I could easily turn my workshop into a haunted house just by dimming the lights. Just imagine: doll parts + tea lights = 1 pretty scary sight. :)
0 Comments
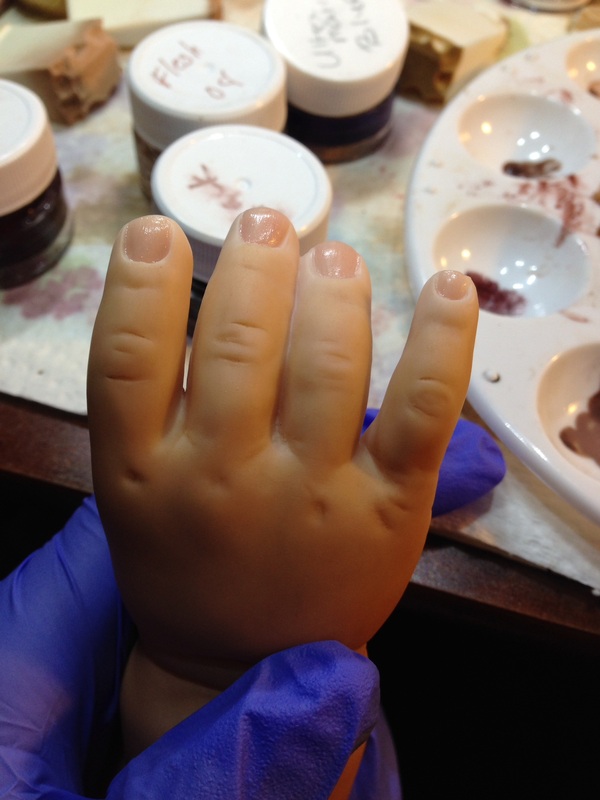
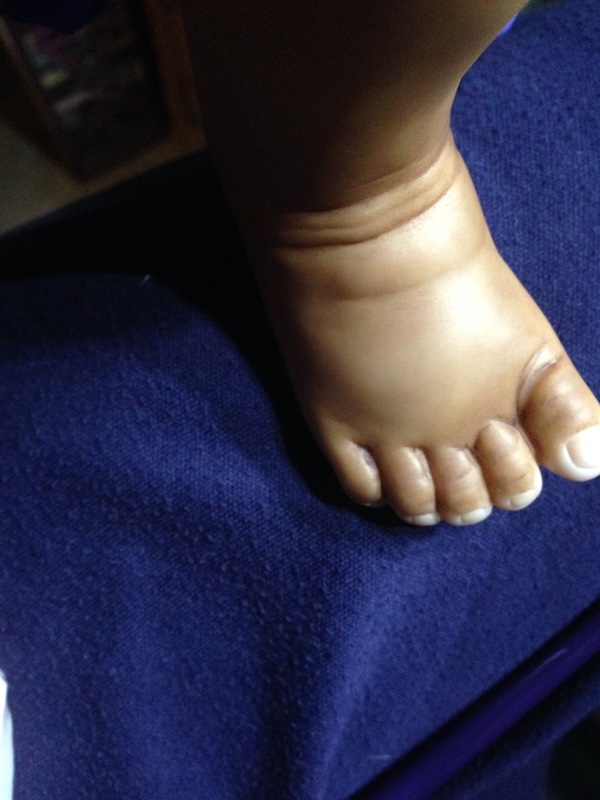
 Wyatt was the forefather of what we have come to call Interim Reviews. Click Here to check out Wyatt's Interim Review! Once the painting is done, the babies are assembled and photographed to makes sure the painting is perfect. Everybody is looking good. Here's is Allen's Interim review. What a sweet little guy! 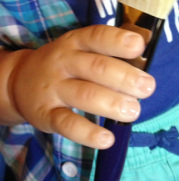 Before finalizing the painting, I decided to scrub off those lunulas and redo them with a different medium. (I can be a little OCD at times, but I'm much happier with how the nails look now.) Once all the nails were set, it was time for the gloss.
Air Dry Gloss Vanish looks and smells a lot like glue. I haven't tested its adhesive properties, so the jury is still out on whether or not it actually is glue. Whatever it is, after just a few coats of it, I have beautifully shiny nails, moist-looking lips, and even a little moisture in the nose. This is truly the last painting step. Time for interim reviews! 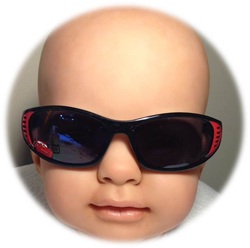 When I went to my eye doctor this afternoon, I have no idea that she was going to dilate my pupils.
Now me and Zachary both are wearing sunglasses! Trust me, nobody wants me working on their baby while I can't see. Check back soon for more updates when my vision has returned! :) 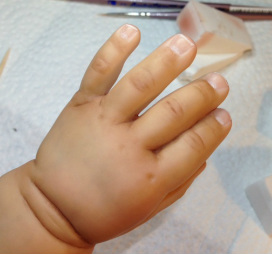 We are quickly approaching the end of the painting phase! Since I love the blushing, I had to do another layer to make those rosy areas really pop in the hands and feet, face and cheeks. Our little guy is looking pretty cool! The very last detail painted are the finger nails - half moons (I just learned those are called "lunulas.") and nail tips. I call this one of the asphyxiation details because I literally hold my breath while I paint! Its easy to create babies that look like they just got a French manicure. So with a very steady hand and extremely tiny brush, I make my nails as fine and detailed as appropriate for a natural baby look. Once the color has been cured, we'll seal it in with a glazing medium so they can't be scratched off. 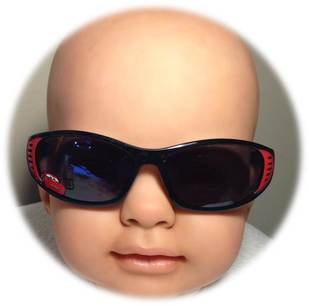 Shades are very fashionable on babies who do not have eyes yet. :) While Zachary was getting his shading and blushing, Allen was too. It's so convenient once the paints are all mixed. I'm really loving how rich his complexion is turning out!
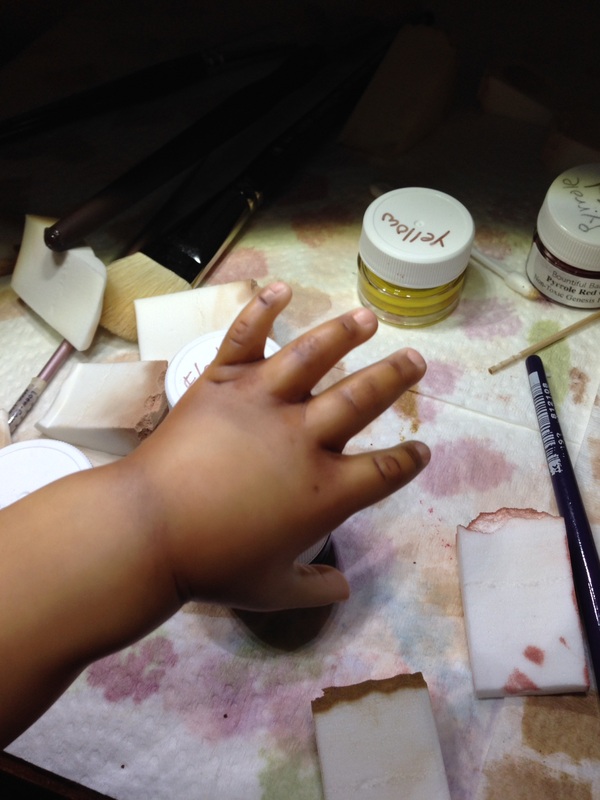
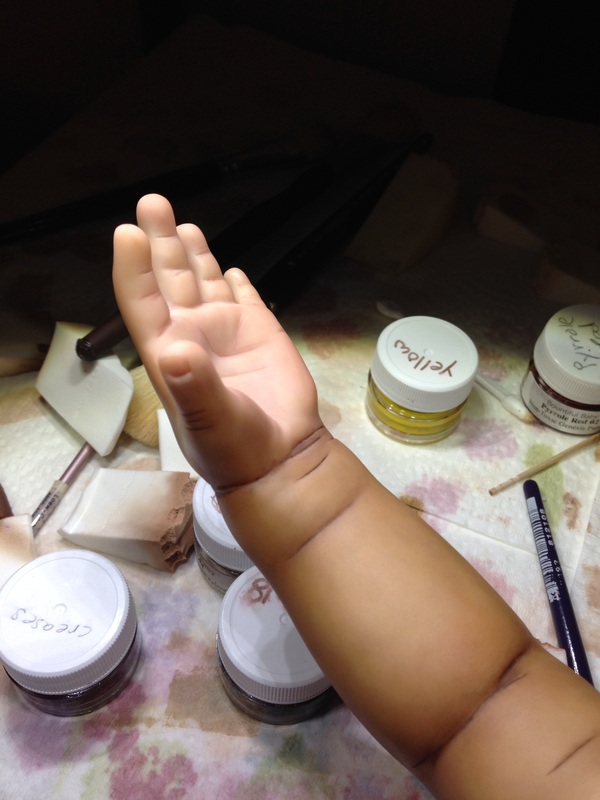
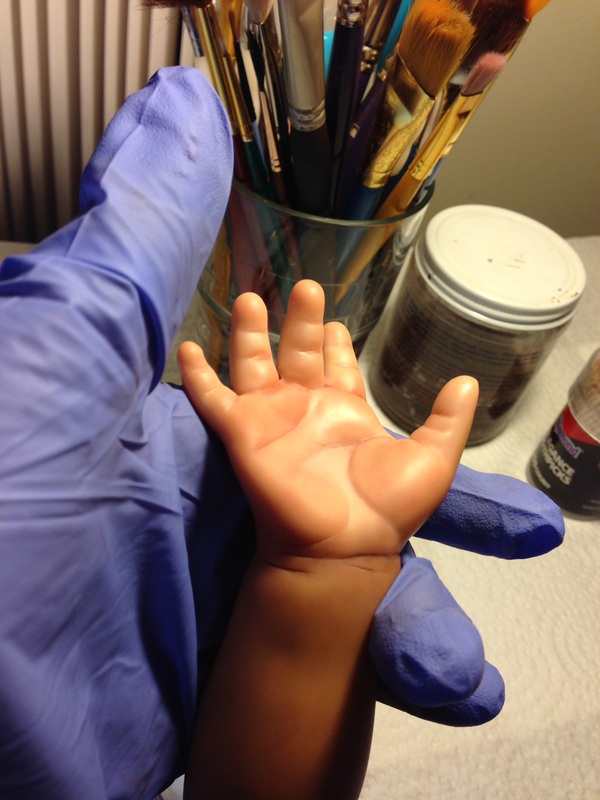
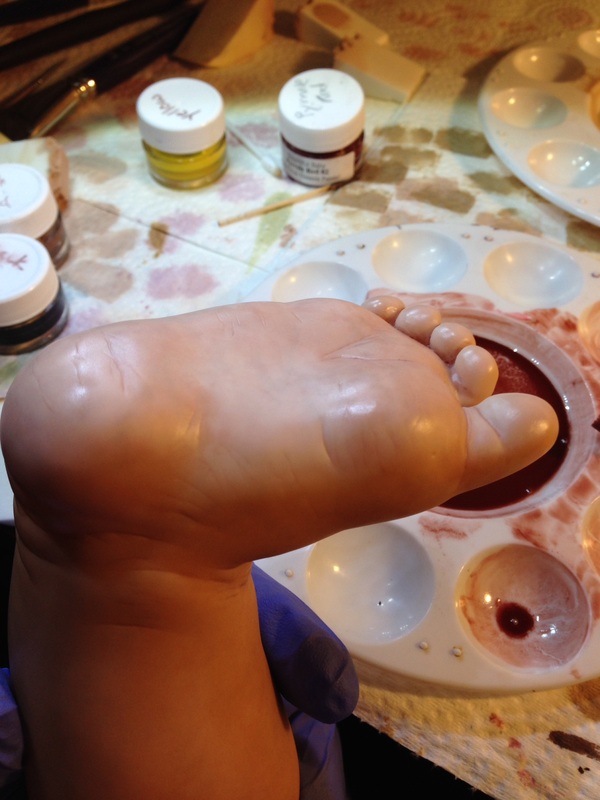
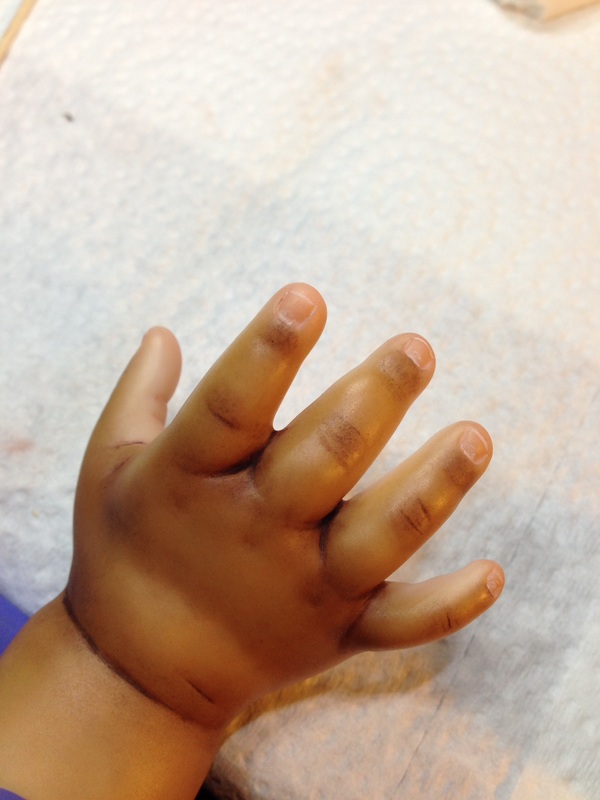
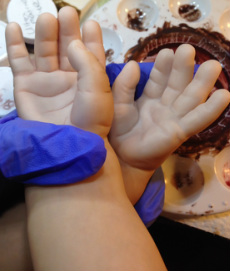 Today was all about Zachary's creasing, shading, and blushing. Shading adds depth and definition to the baby's skin. Creasing, does a similar function but on smaller areas. By darkening the creases, the artist is creating the illusion of depth in a skin fold or wrinkle. This is especially important for separating fingers and toes. You can really see the difference between the two hands in the photo. The creased right hand (on top) looks much more lifelike than the left hand before creases were painted. Blushing is indeed my favorite part of painting. Nice rosy toes make for very kissable feet! I did one generalized blushing today. I also went ahead and started blushing the finger nails with a glazing medium. More to come on those nails! Allen is my first African America baby based on Kate Charles' painting methodology. I'm always eager to learn something new.
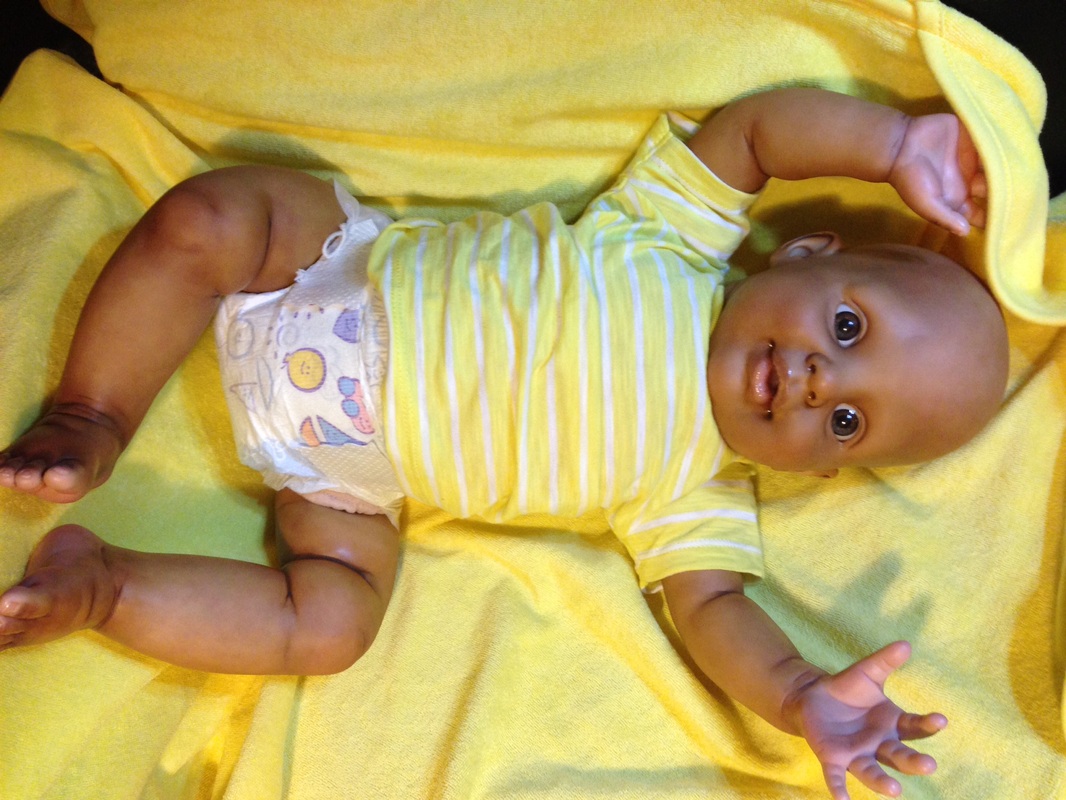
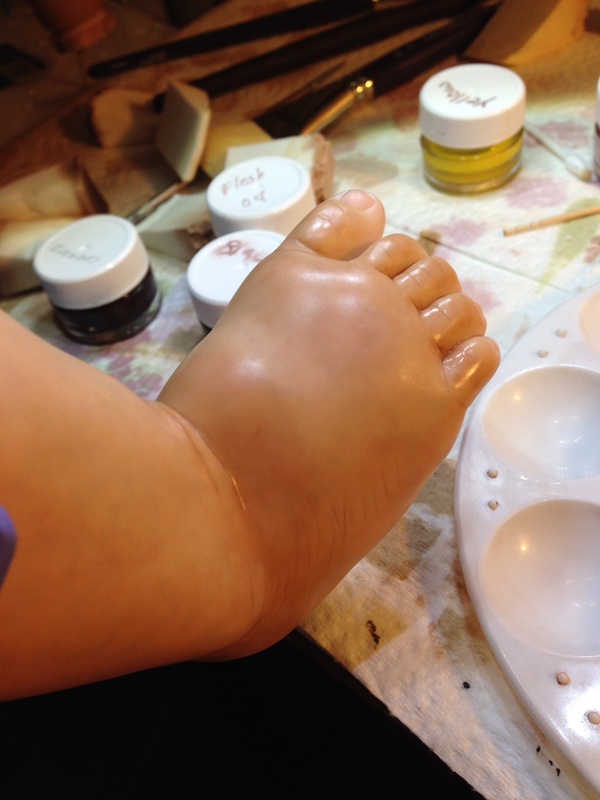
To get a rich caramel brown complexion, I added five layers of Kate's recommended flesh tone blend. The next step is shading - which I did not understand at first. I thought the 3D nature of the dolls already casts enough shadows. But as I did it, I realized that its not about the shadows. You actually get an accumulation of pigment where brown skin folds (like in fat folds or creases of elbows). Now that I've tried shading, I'm never making another baby without it! Kate's changed my life. Loving how his little hands and feet are coming along...  To achieve Zachary's gorgeous complexion, I added 3 more layers of Flesh 03. Since he also has golden undertones in his skin, I created a custom Raw Sienna blend for a warm, sunny look.
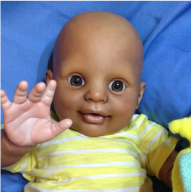
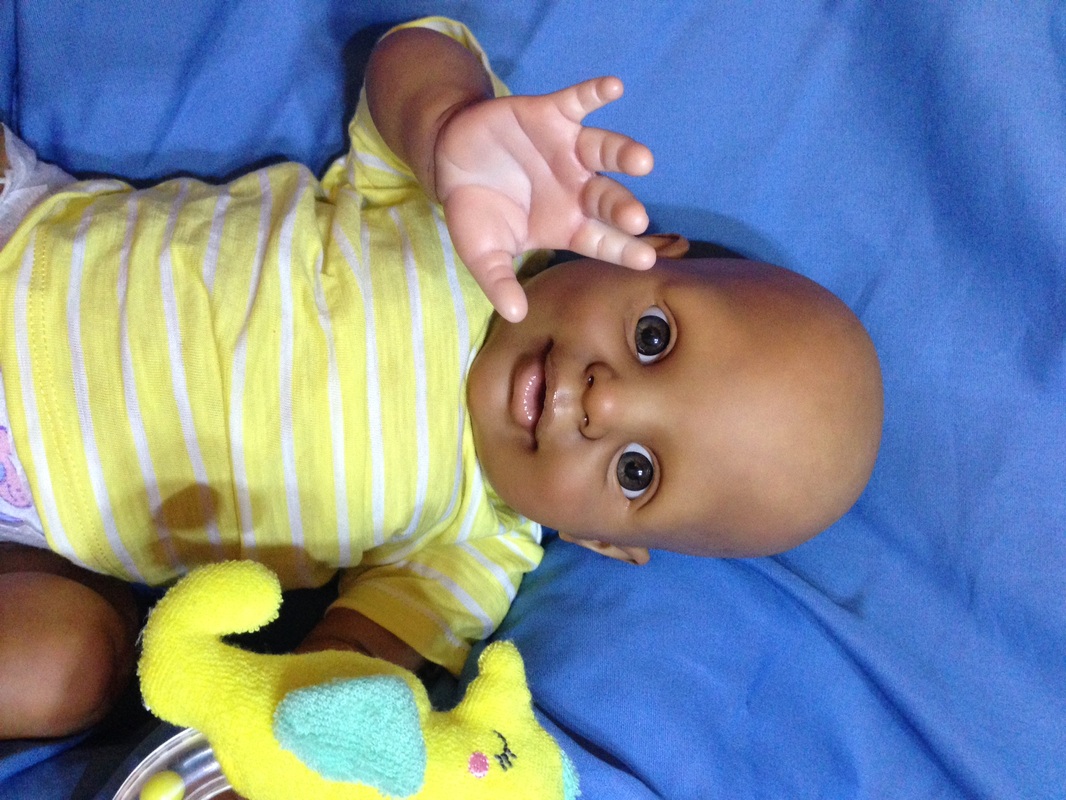
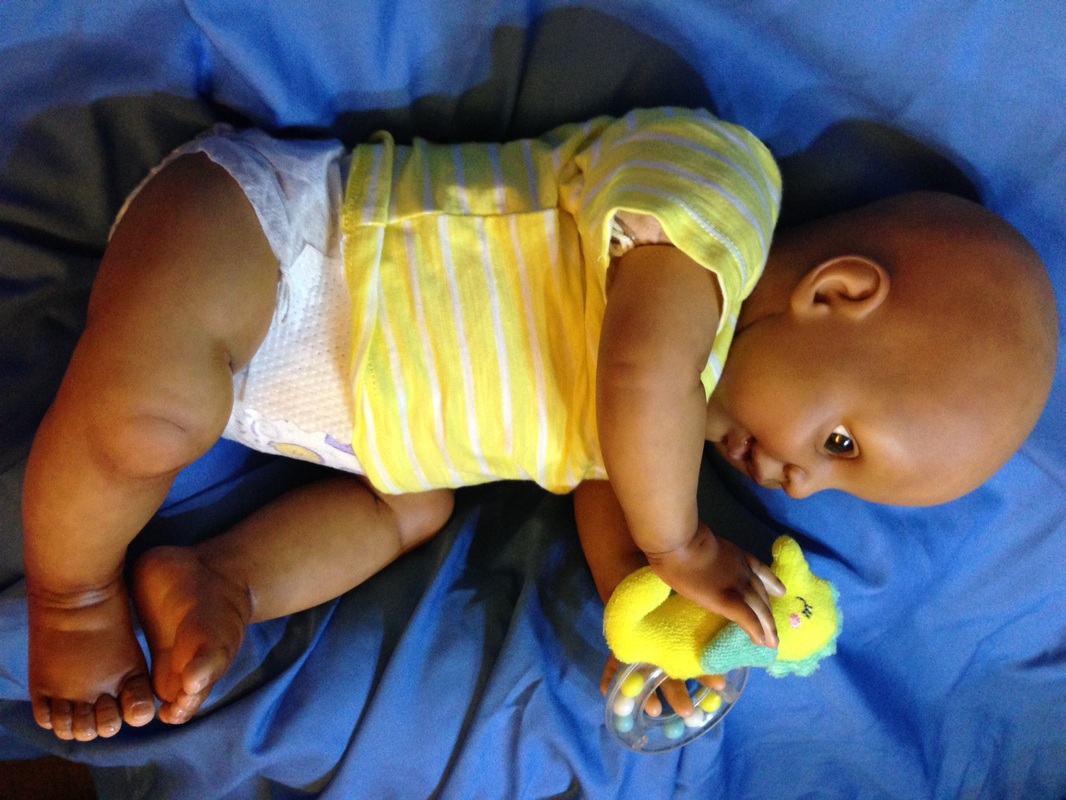
Mommy's happy with how he looks so far. So I'm happy too. :) 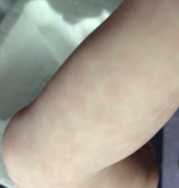 Introducing ... Allen Hicks! This little guy is a portrait of one of my relatives created from Candy by Donna RuBert.
Even though it takes many hours to create a portrait doll from a photo, I actually have a lot of downtime during the painting stages. That is because I use Genesis Heat Set Paints - the current gold standard in reborning. Once the paint is applied, it takes time to dry. Once it is dry, I inspect the painting to make sure I like it before putting it in the oven to cure. The paint cures in about 8 -10 minutes. Then I need to let the doll cool before adding another layer of paint. So that I'm not literally "watching paint dry," I alternate between painting two dolls at once. That's where Mr. Hicks fits in. Here are his mottling layers, done while Zachary's mottling was being set and cured. 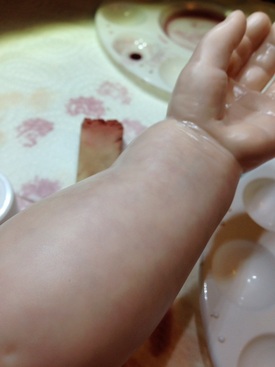 Before beginning the complexion layers, I wanted to add one more layer of Flesh 08 to make the mottling even more subtle. I love how the veins and mottling make the skin look so real.
The sixth layer of paint was the first layer of Flesh 03 - a nice golden brown color. We did two coats of that tonight and his skin tone is looking very nice. I'm still going to add a few more layers to reach the level "darkness" his mom specified. More to come! 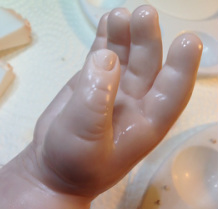 Reborning is the process of carefully adding multiple transparent layers of paint to create a lifelike skin tone. I always begin my babies with a base coat of Flesh 08. Even though Zachary will be a light-brown baby, he starts out with Caucasian flesh tones. After all, we're all the same on the inside, right? Once the base coat has been set and cured, Zachary is ready for the mottling and veining layers. Mottling and Veining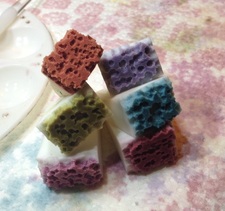 This part of the process truly creates the appearance of blood flowing under the skin. I use sponges that I patterned by hand to create layers of red, blue, purple and green mottling. Toddlers typically are not as mottled as newborns, so I did not do all six layers - just enough for the blood flow look. 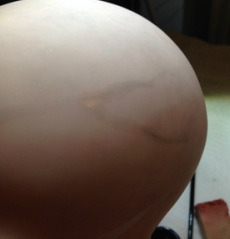 Once all the mottling layers have been cured, I hand paint tiny veins in the head, arms and legs for a lifelike look. Don't worry, he'll lose the Frankenstein look as we add more flesh tones. :)
When everything under the skin looks good, we're ready to start building up the flesh tones. 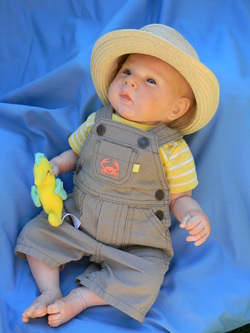 Wyatt Hugo Hunter Born October 16, 2014 71.8 oz 20 inches Check Out Maisy's Beautiful Boy! See even more photos on Facebook! He's making his cross country journey as we speak. Can't wait till he's home!
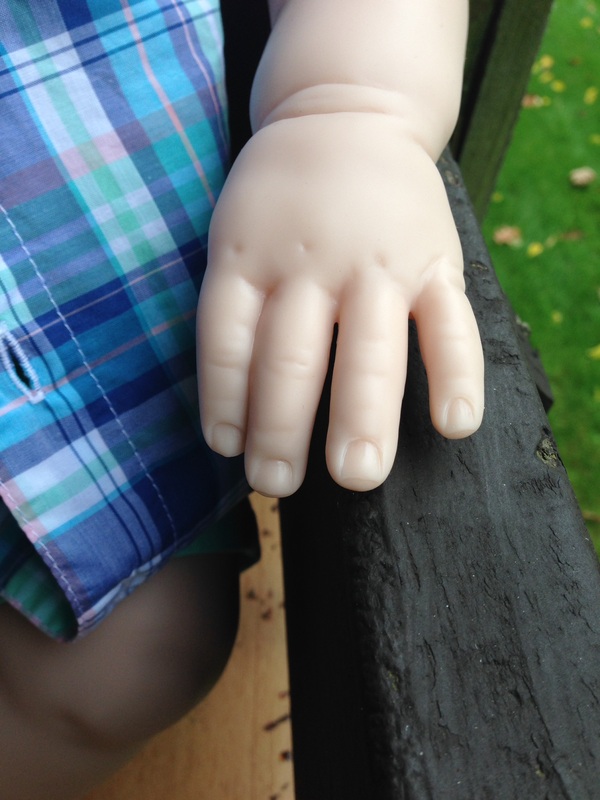
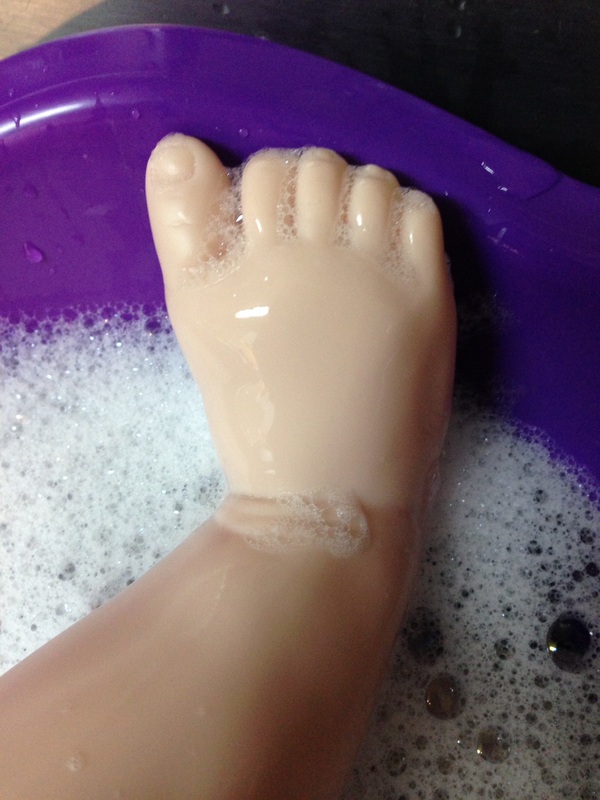
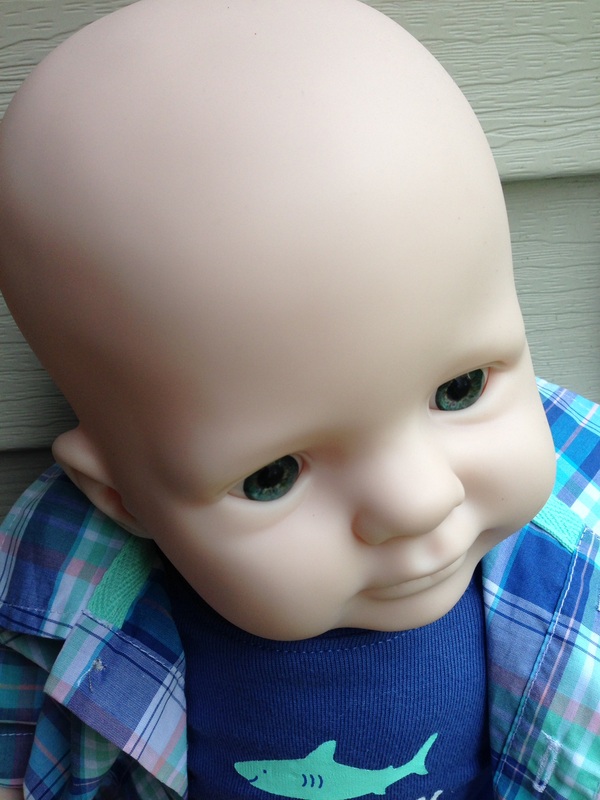
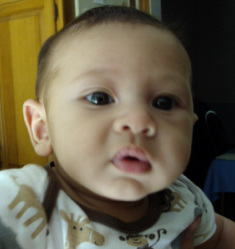
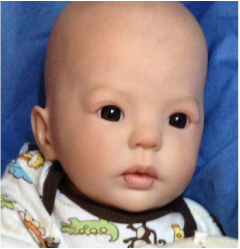
 Today we begin a Portrait Doll of Zachary Jones. Over the course of the next few months, we will gradually transform Donna RuBert's Kitten sculpt into a gorgeous little bi-racial boy. As always, I began with a thorough inspection of the vinyl parts to ensure they were free of factory defects. Then we went outside and took the before photos pictured here. Unfortunately, Zachary doesn't look much like anyone in particular right now. But stay tuned as we transform this doll into a baby! Once the before pictures were complete, Zachary had his first bubble bath. I carefully scrub all the vinyl parts to ensure that they are free from factory grease, oils from my hands and any other debris that could interfere with the painting. After a thorough lather and rise, he was then wiped down with alcohol to remove any remaining residue. I gave him the rest of the night to rest and dry - for tomorrow we paint!
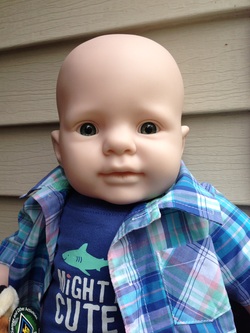
Like any proud aunt, I've got a portrait doll of my nephew in the making. I even hand painted and shaded his eyelids to match the shape of his eyes.
Such a cutie! But he still seems to be missing something...oh, yes - Hair! :) 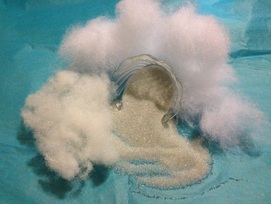 CustomDollBaby.com uses only the finest materials to create a truly lifelike doll baby.
So that the baby is heavy and floppy in all the right spots, I use very fine glass beads to add weight. The material has the consistency of granulated sugar. This creates soft, cuddly and even weighting in the baby. [Unfortunately, I learned the hard way that some leading brands in collectible dolls weight their product with sand - like the kind you find on the beach on the ground. In addition to creating a stiff and non-uniform texture in the doll, the sand will start to smell overtime. So if you ever buy a doll stuffed with sand, like I did, send it back immediately or consider replacing the sand with higher quality materials.] In addition to quality weighting materials, I also use two kinds of premium stuffing. I use a heavy poly-fill, like that found in teddy bears, to fill the vinyl arms and legs. But I use a light-weight silky fill to create a soft and cuddly cloth body. These combine to create a huggable baby doll that feels lifelike in your arms. 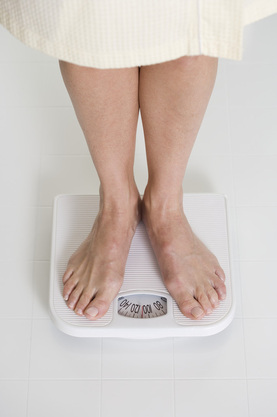 When it comes to weighting, I go from artist to analyst. I get really scientific when I weight my dolls because I really want to achieve the most lifelike weight distribution possible.
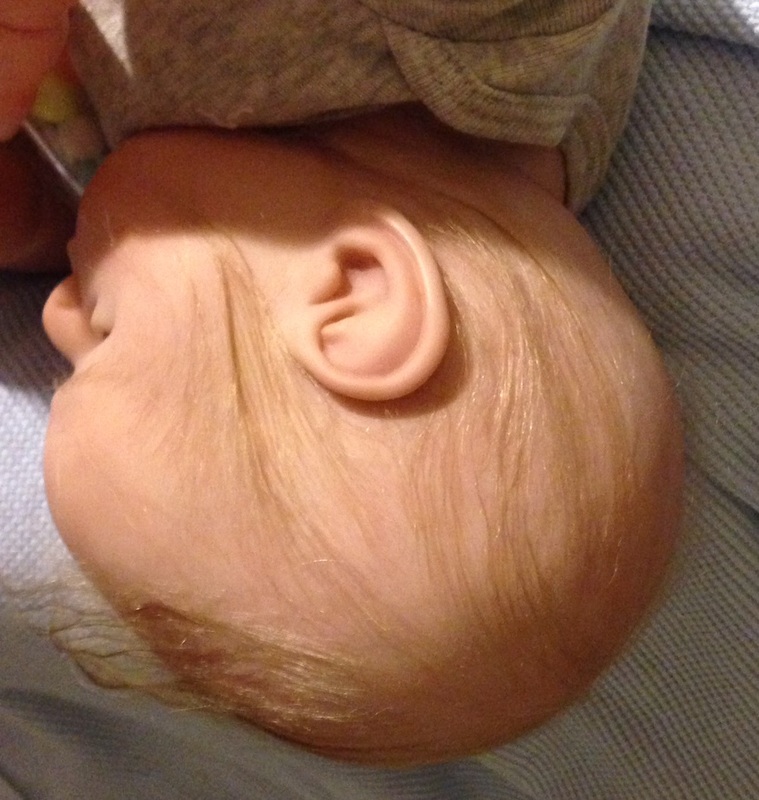
First thing I learned about weighting: real baby weight on a doll feels much heavier than a real baby. The first doll I ever made was 7lbs and she was far too dense. I’m guessing that may have something to do with the fact that 7 lbs of mostly water is going to feel softer and lighter than 7 lbs of weighting material. I needed to find the ideal doll weight. That required research. About a year ago, I scoured the web to create a database of top selling reborn dolls. I had columns for the length of the kit in inches and the weight of the kit in ounces. Calculating some averages and ratios, I learned that the pros were adding about 3.5oz of weight for each inch of doll. So, for example, an 18” baby would weigh (18 x 3.5 =) 63oz (about 4 lbs). Fortunately, Wyatt’s mommy wants him at 70oz – so that saves me some math. :) The next question was to figure out how to distribute the weight. I started to experiment – literally! I found an abstract for a physics paper online that was published in 1860 called “The Static Moments of Human Limbs.” The experiments in that paper were pretty gross, but the data was great. The key finding for me was that the weight of each body part on the human body is proportional to its volume. In other words, if your leg is 4 times as big as your arm, it also weighs 4 times as much as your arm. So if I could calculate the density of each baby part, I could calculate the weight. So I got a big bucket of water, just like they did in 1860, and dunked individual doll parts in the bucket to see how much water was displaced. I did this for doll kits of various sizes because we all know that smaller babies are mostly head. I couldn’t dunk the torso because it is cloth, so I took enough measurements to approximate the volume as an ellipsoid. (With help from my materials scientist husband, of course ;)). Turns out that a newborn gets 25% of his weight from his head – which is why you have to hold them so carefully. But a toddler is only 15% head. Reborning is not just an art, its a science. :) From Barber Shop to Beauty Salon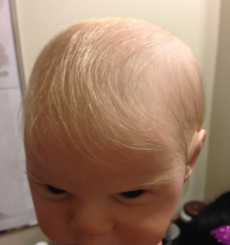 Today, Wyatt was ready for Baby's First Shampoo. Since he had all night for the hair sealant to dry, it was time to wash the dust, paint and other residues out of his locks. Before the shampoo, I did a Keratin treatment on his hair to add shine and softness. Then I used Baby Shampoo (any gentle shampoo would work) to clean his hair and scalp. Finally, to lock in moisture, I de-tangled his wet hair with diluted mohair conditioner. After all that TLC, his hair was glowing, especially once it air dried. 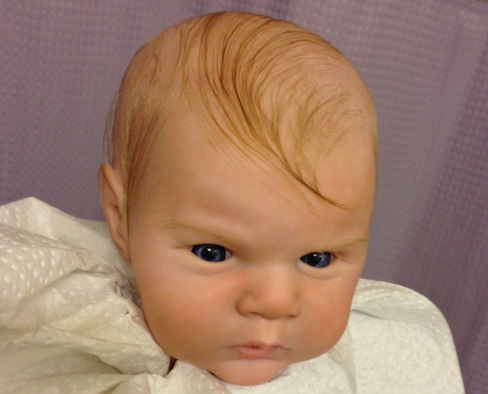
Don't worry, his hair rarely needs to be washed in the future. Usually a little mohair conditioner will keep it shiny and wispy. But in the event that he does get dirty, I'll be sure to send him home with instructions and supplies. 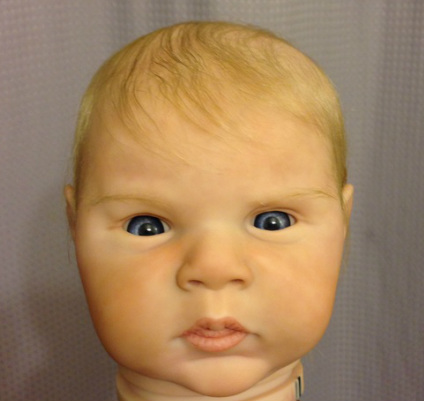
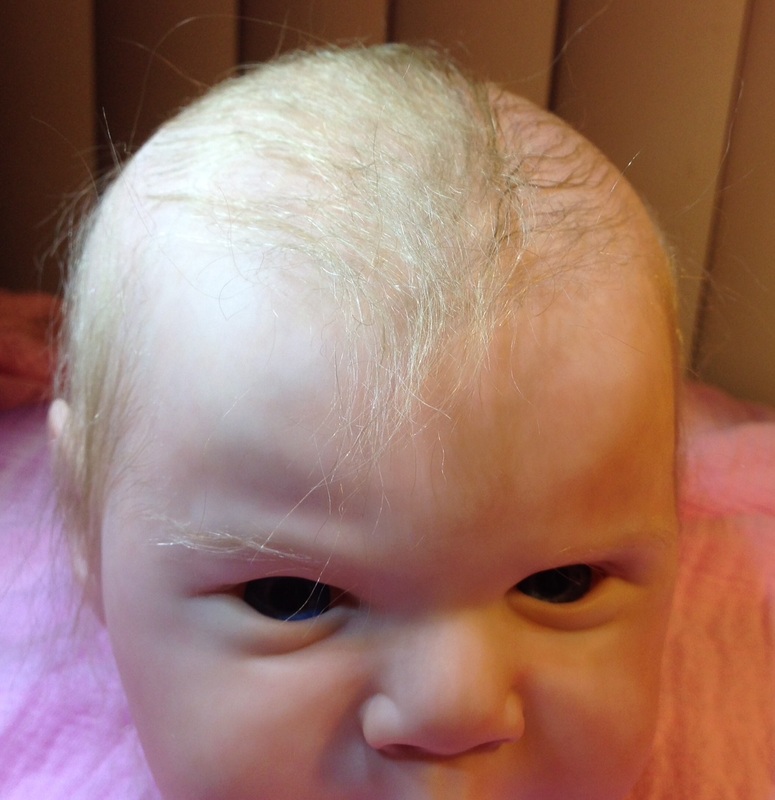
Glue, Goo and Bubbles Too The rest of the day was glues, glazes and varnishes. So the eyebrows would not be bushy, I set them with a matte varnish. I also used this to lay down the fine hairs on the temple.
Water-proof glue was used to set his wispy, blonde lashes in place. (Don't worry, it dries clear). Paper glaze around the inside of the eyelid prevents water and debris from getting into the eyes and creates the nice moist look of tears. A gloss varnish gave his lips and nostrils the wetness they needed. Finally, with a micro-pipette and a lot of patience, I even put some frothy little spit bubbles in his mouth. All that goop needs at least 24 hours to dry. That's okay, I think Wyatt could use to take a little break. Once everything is sealed and dry, we start the process of stuffing and weighting - or as I call it - Cuddle Optimization! 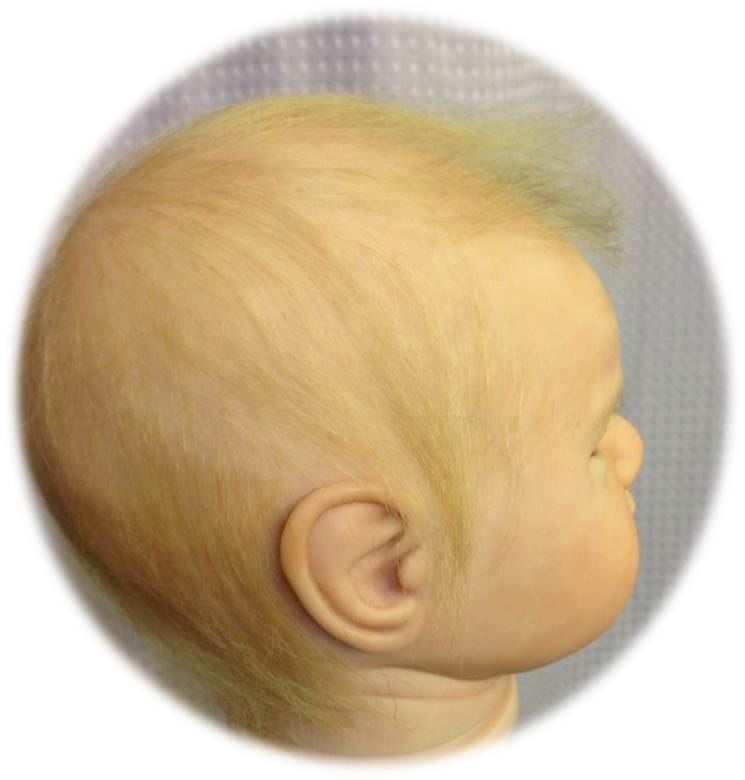
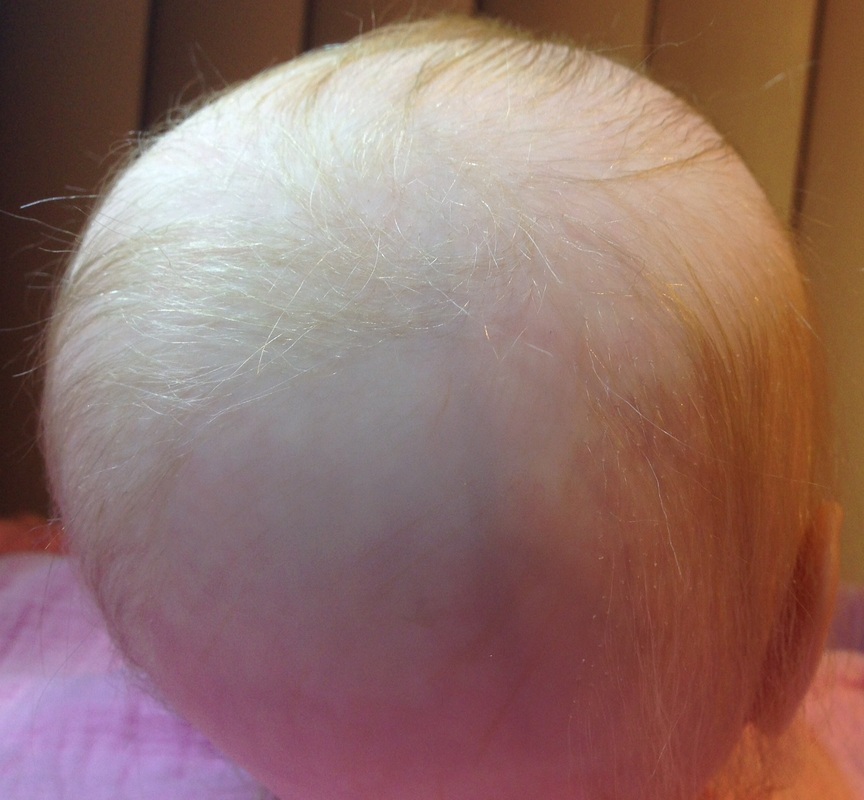
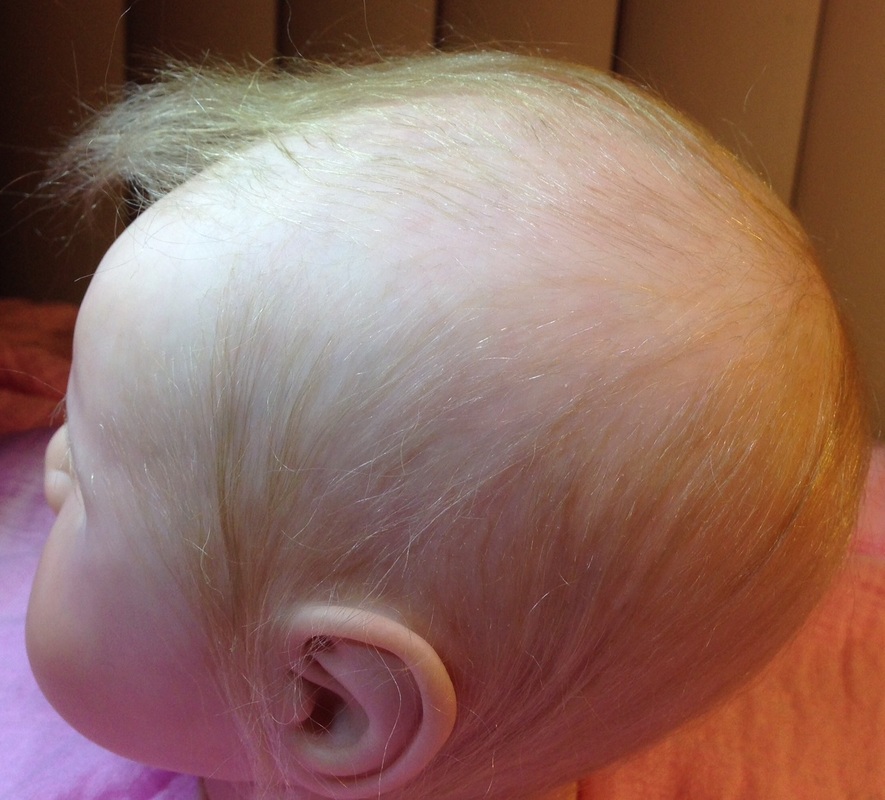
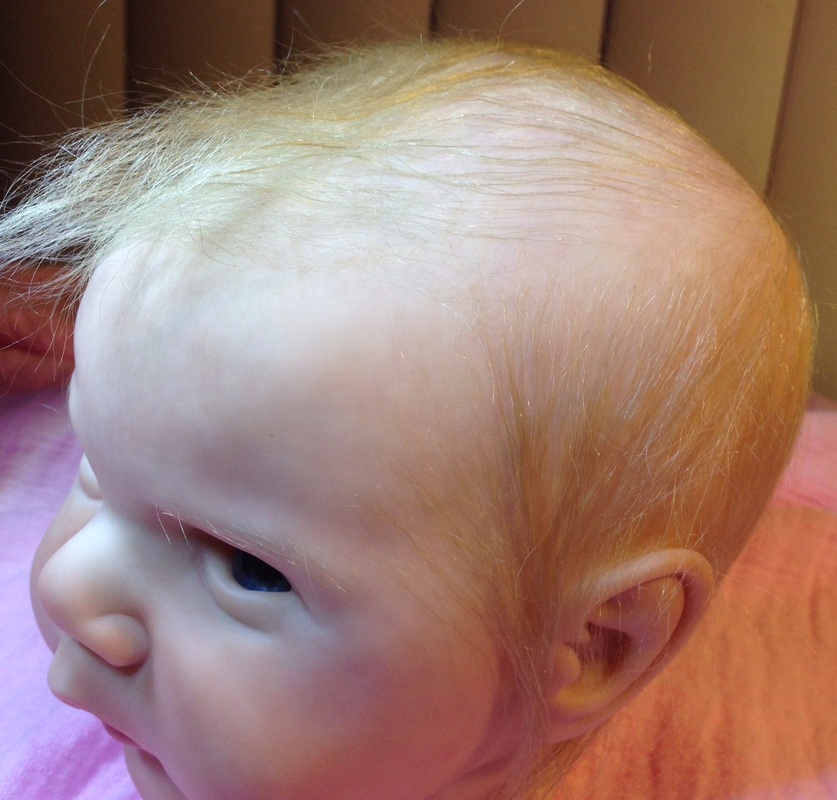
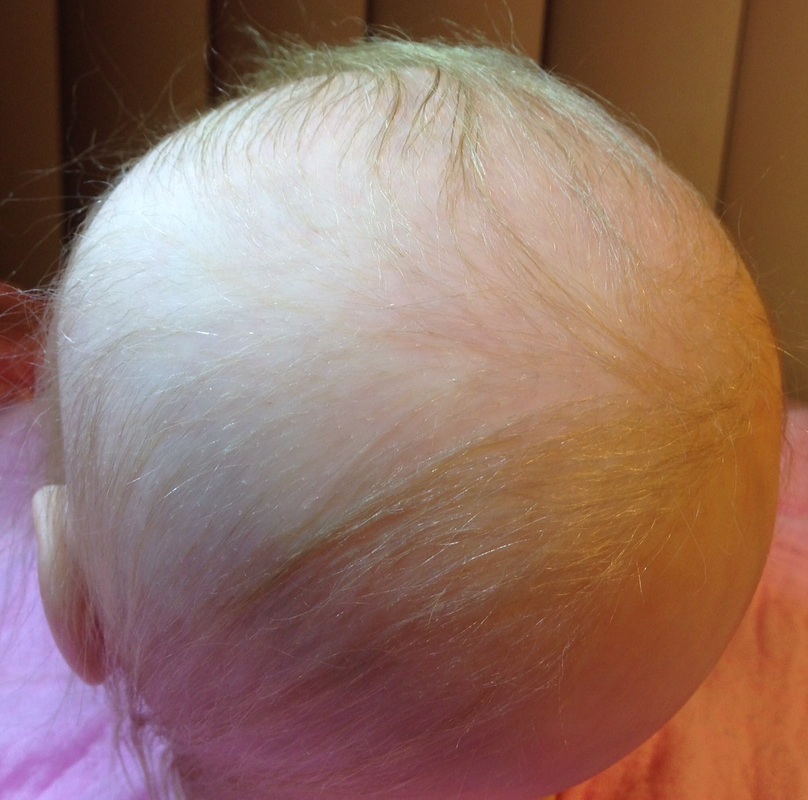
Today was a great day. In the amount of time it takes to watch Disney's "The Emperor's New Groove," I finished Wyatt's rooting! I filled in that little bald section on the back of his head and added a little more depth to the eyebrows. I must admit that Wyatt's mommy has converted me into a blonde lover. I had my reservations at first because it so hard to see individual strands of blonde hair when I'm rooting. But a head full of it is simply gorgeous. I can't wait to see his hair in the sunlight! 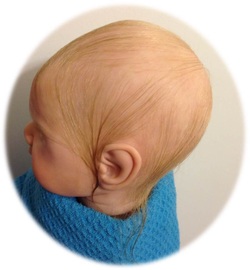 As expected, our little guy was in need of a haircut. When I finished rooting, his hair fell a good two inches below his neckline - not very newborn like. So, tonight, I also gave him my special newborn baby trim. When you see this trim, you'll know that it was not done by a cosmetologist. I wasn't going for a bowl cut or a bob. Instead, I cut his hair to look like it has never been cut at all! Ironic, isn't it? Wyatt's hair is long at the crown but gets shorter as you approach the hairline - just like a real baby. I left his hair on the long-ish side so we get plenty of layers of that beautiful blonde. But it is still nice and wispy like a newborn baby. 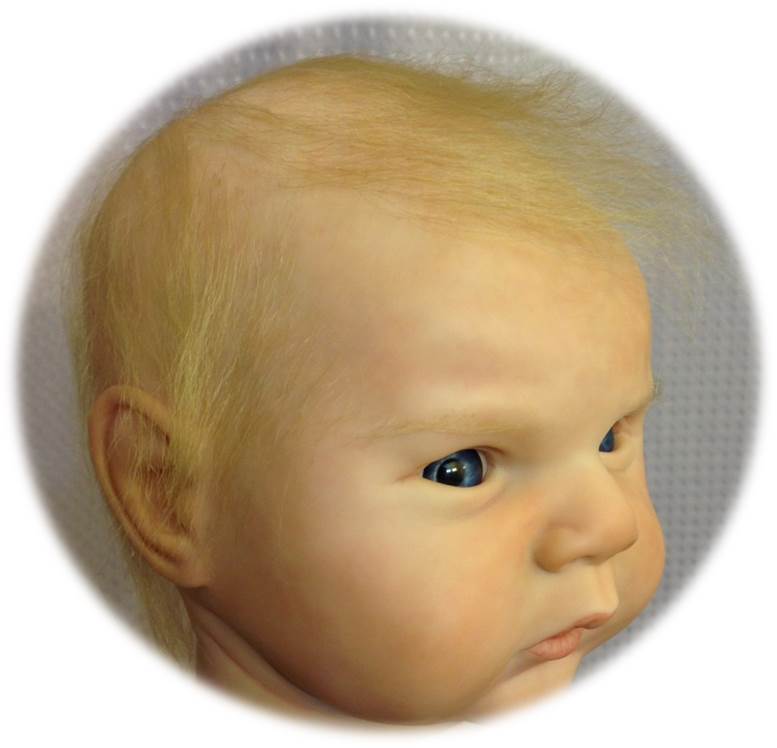
After the trim, I sealed the hair. Sealing is the process of thoroughly gluing the hair at the root so it does not come out when washed or styled. He'll be drying overnight. From there - its all finishing touches. He's almost ready to go home!
I'm back from my little hiatus and rooting away. We've only got a few more inches of rooting to go! He's looking more and more like a real boy every day. |
Reborn Doll Babies
All
Reborn Doll ArtistHi! My name is Kim. I am a reborn artist based in NC. I have been creating dolls since I was a child. I discovered the art of life-like baby dolls in 2011 and have been reborning ever since. Archives
December 2016
|


 RSS Feed
Home | Custom Dolls | Portrait Dolls | Pricing and Payment | Contact Us
Promotions | Reborn Baby Doll Care | Vote for Us
Promotions | Reborn Baby Doll Care | Vote for Us
Reborn Dolls distributed by CustomDollBaby.com are high-end collectibles not intended for children under age 12
© 2017 Custom Doll Baby, Inc.
© 2017 Custom Doll Baby, Inc.