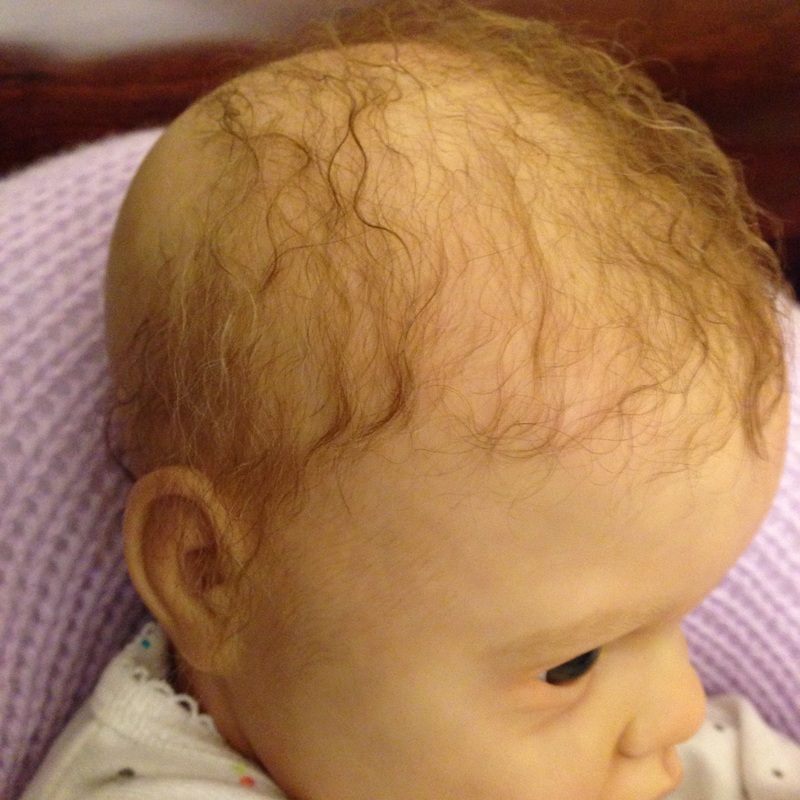
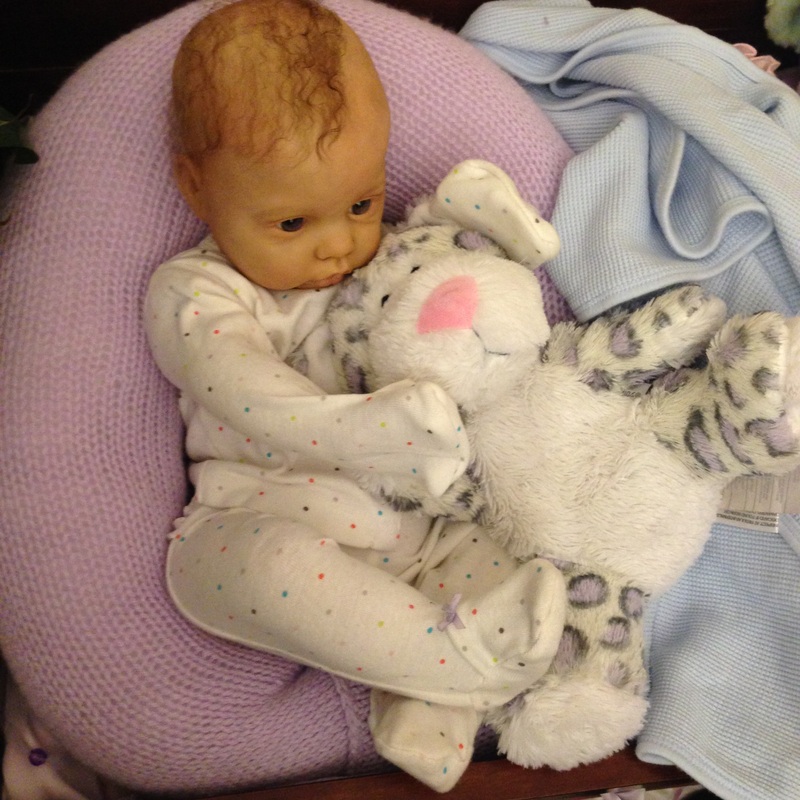
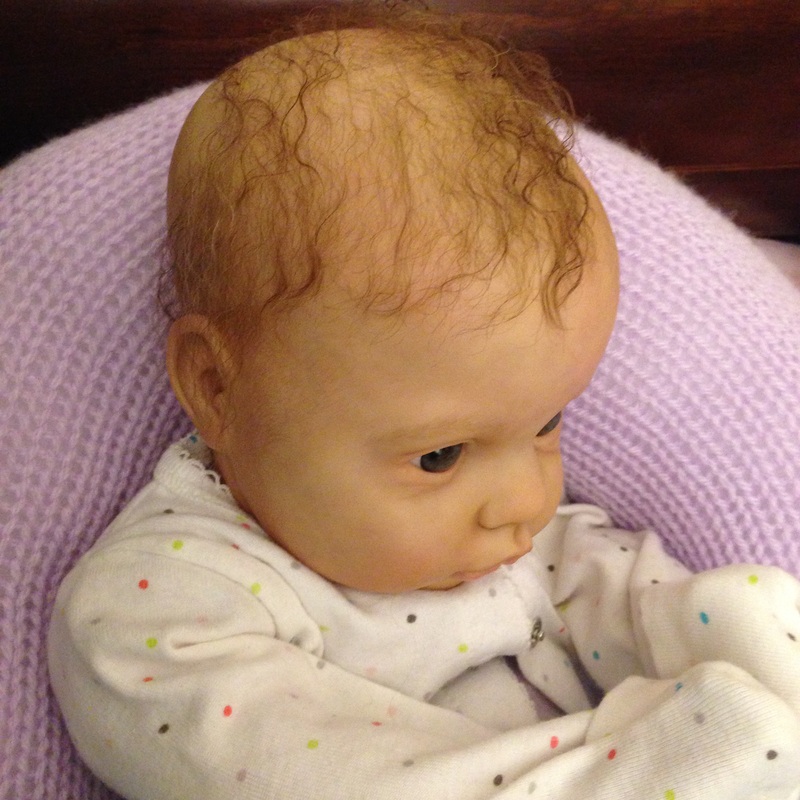
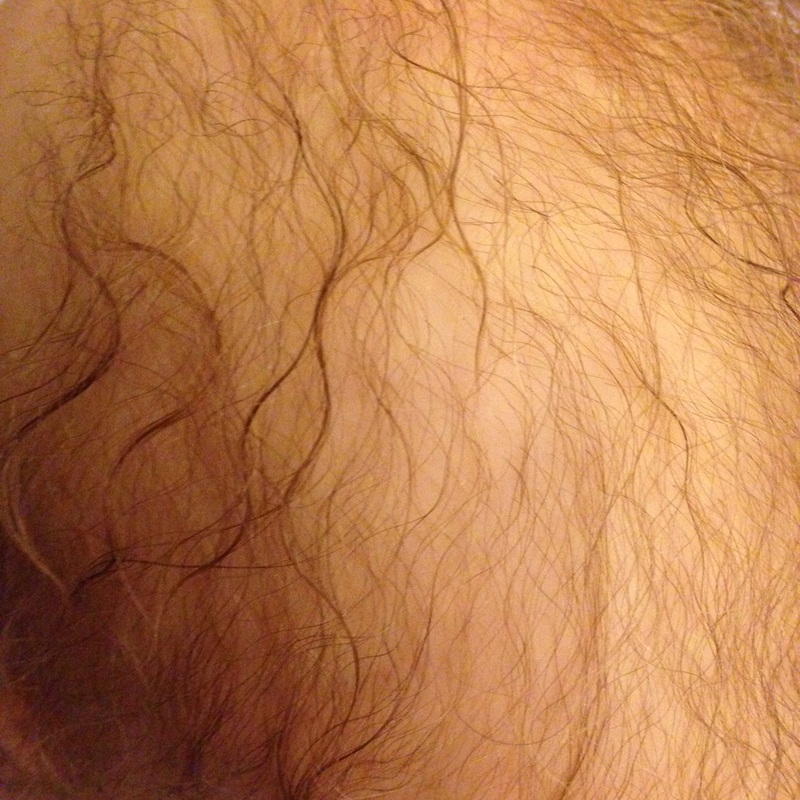
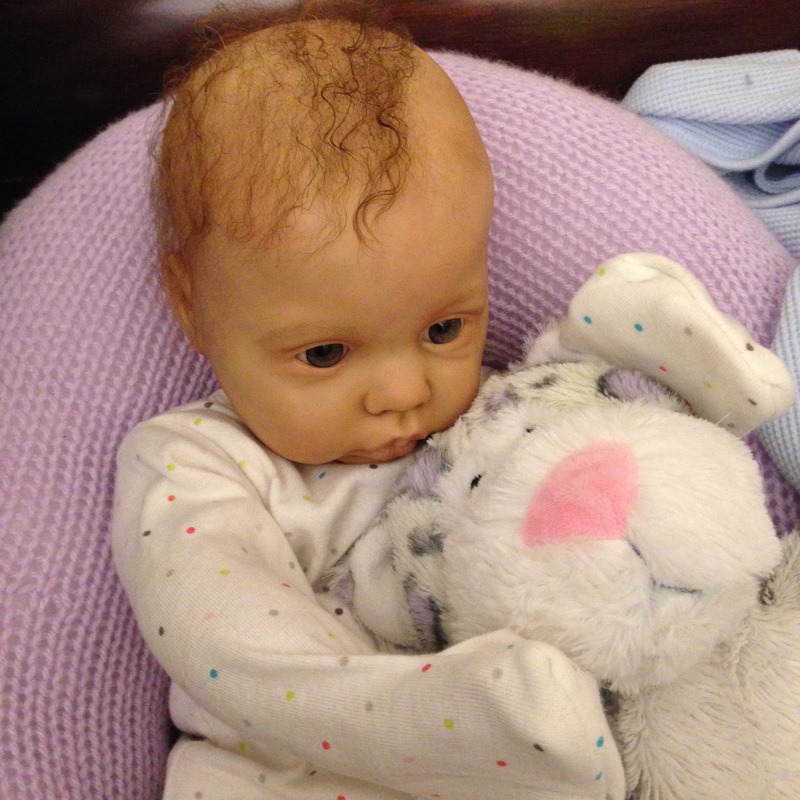
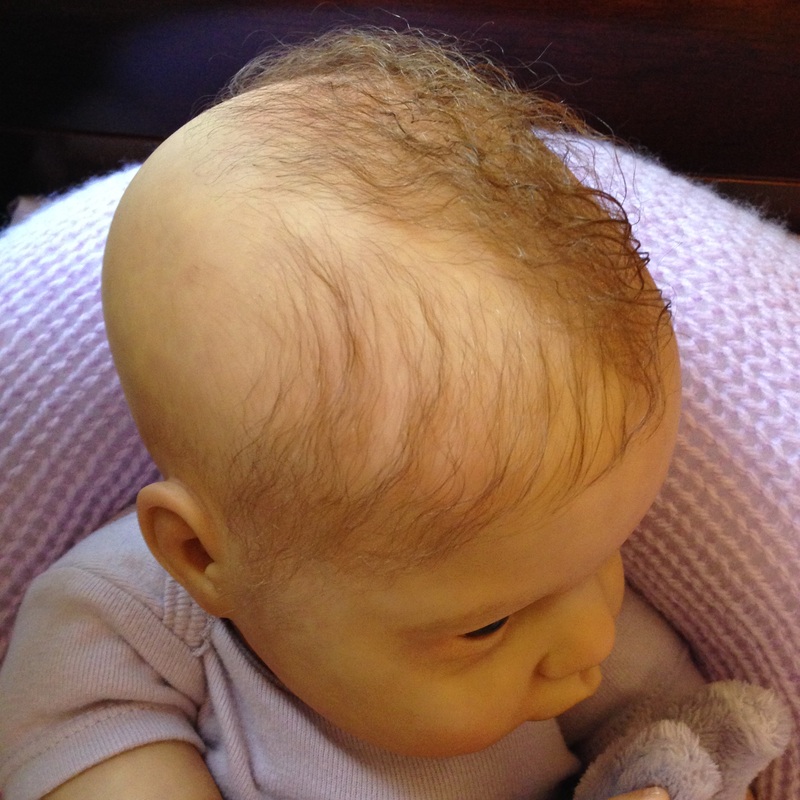
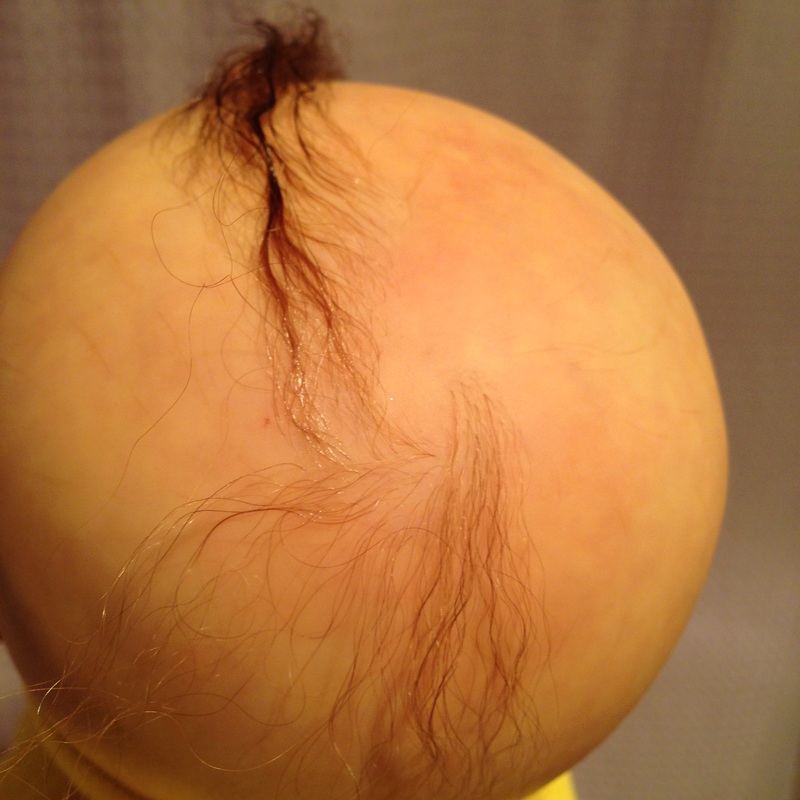
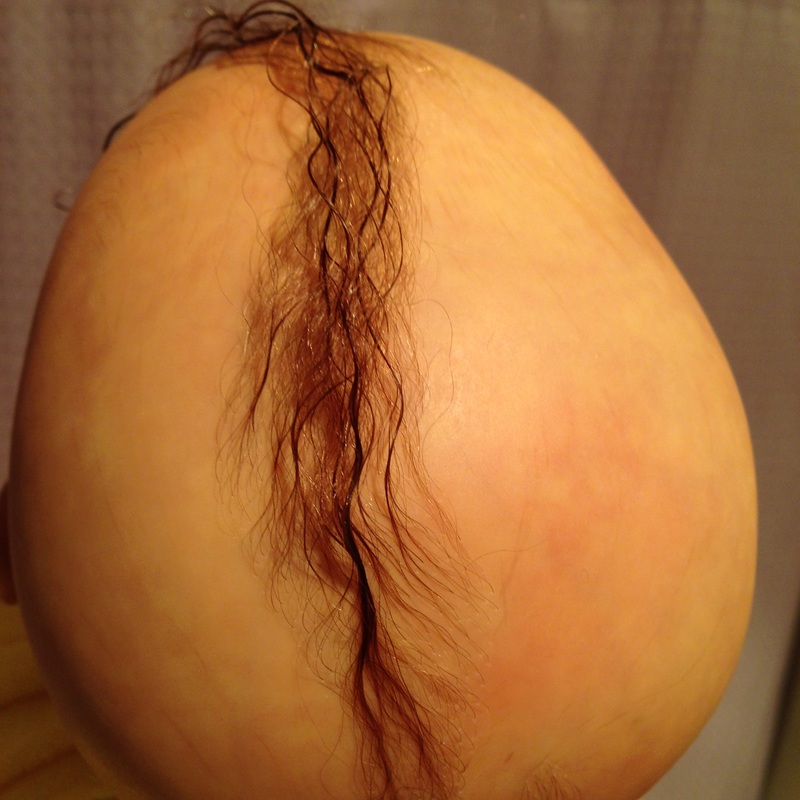
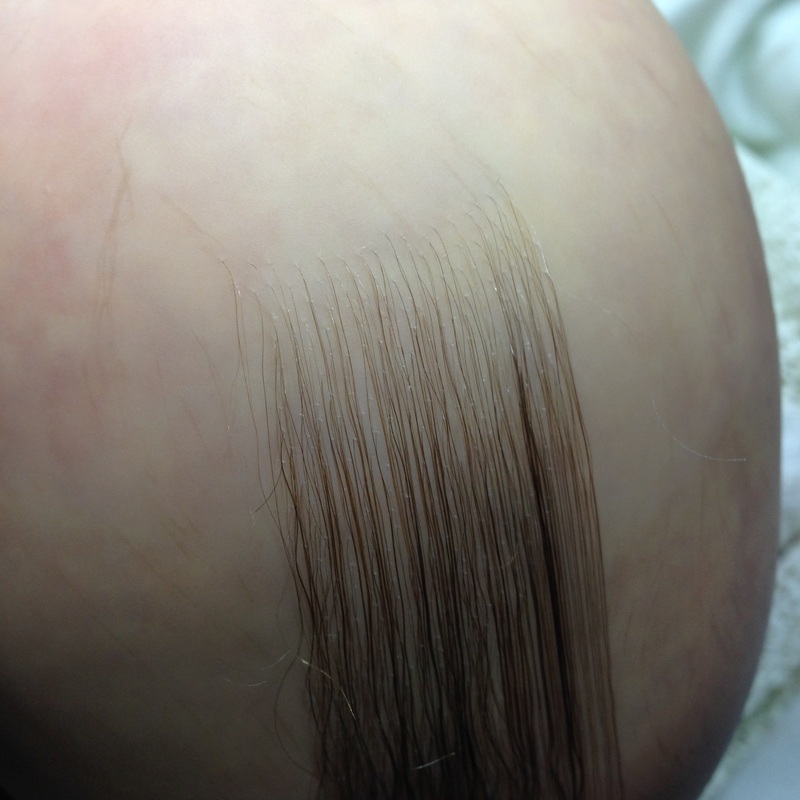
 We're continuing to root Alaina Grace's curly, sandy brown hair. The hairs are so fine and so soft. We're slowly making our way around the side of the head. I'll come back later and fill in more of the hairline. We've got a long way to go...:)
0 Comments
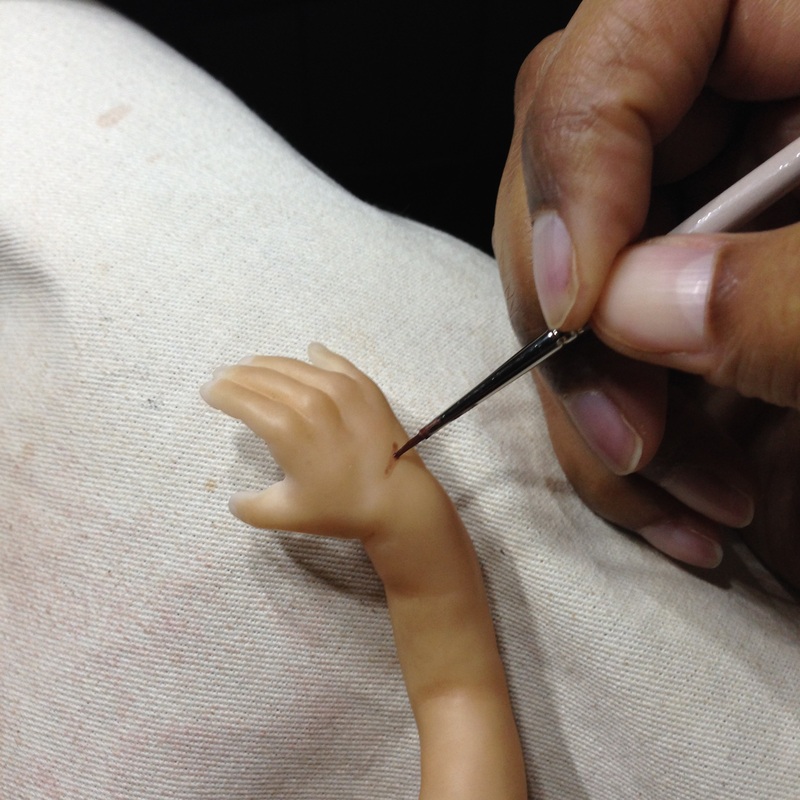
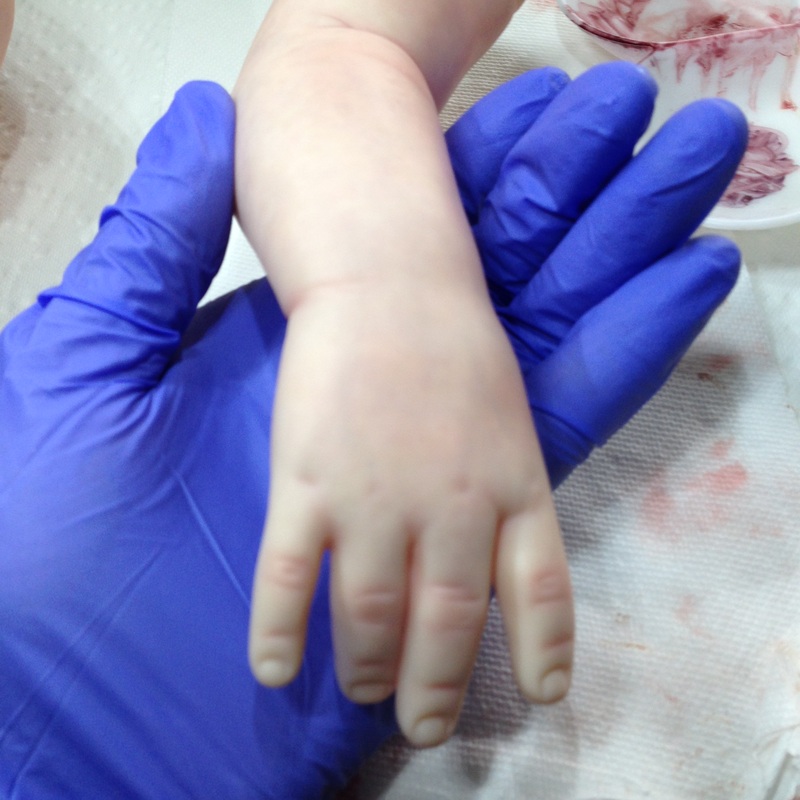
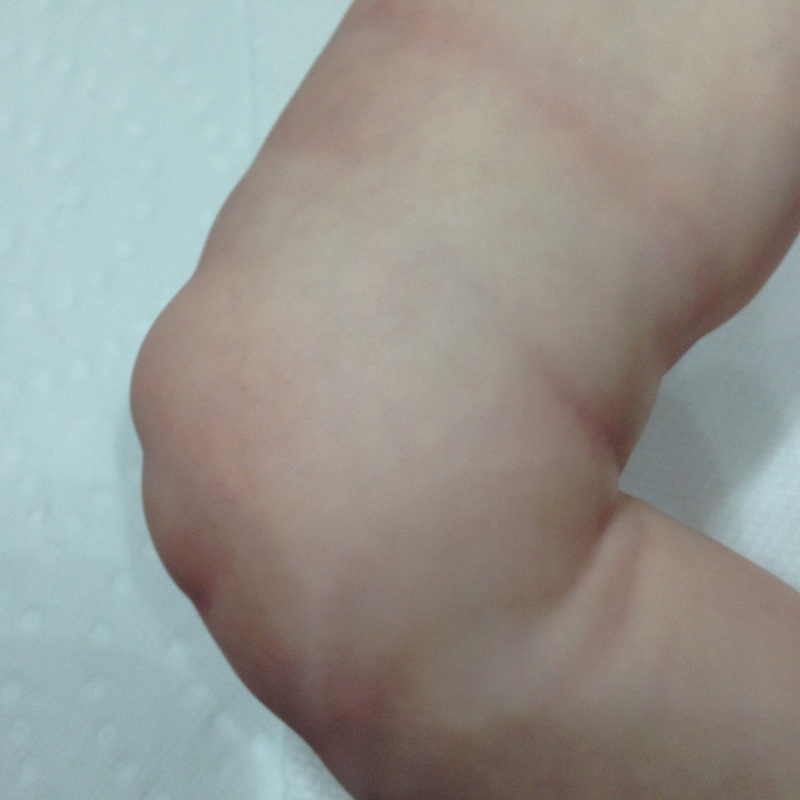
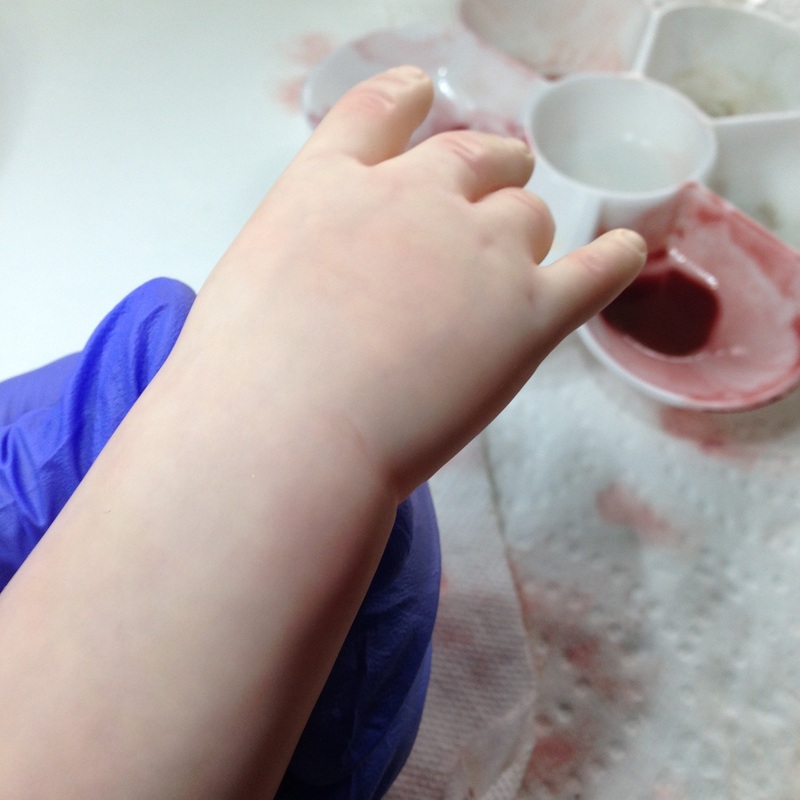
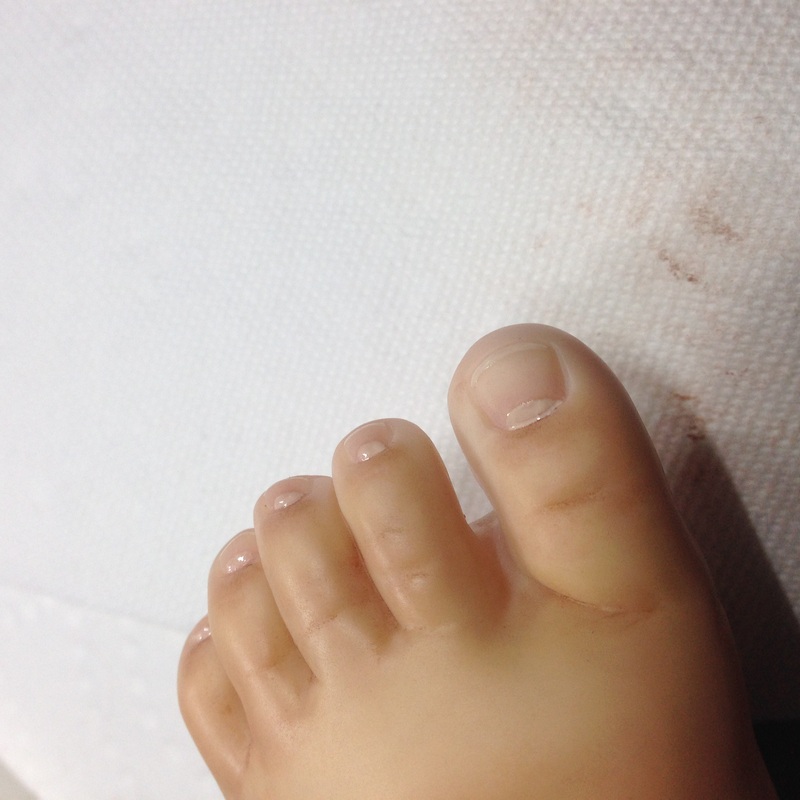
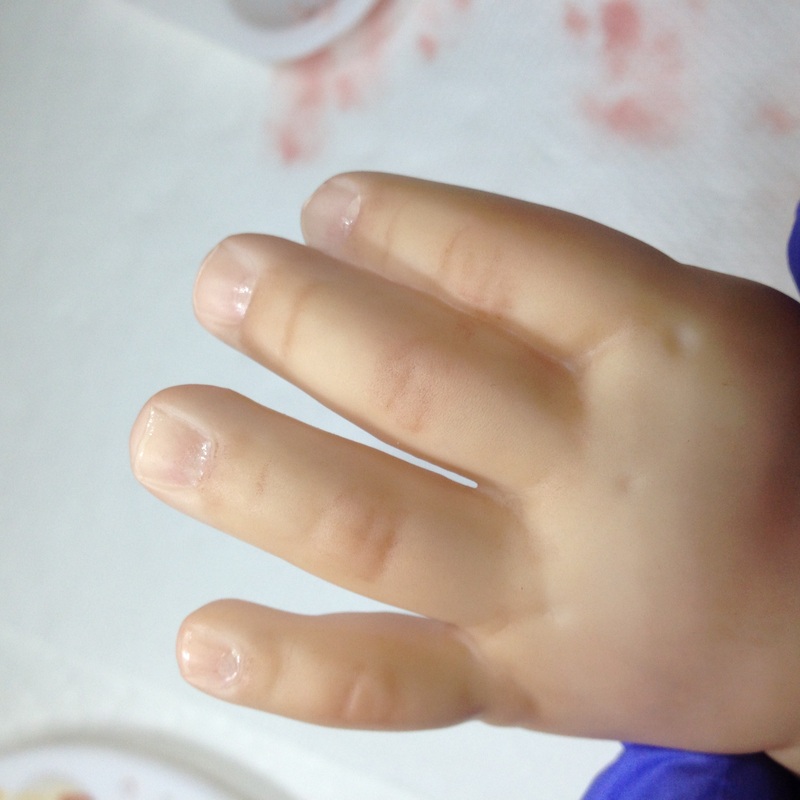
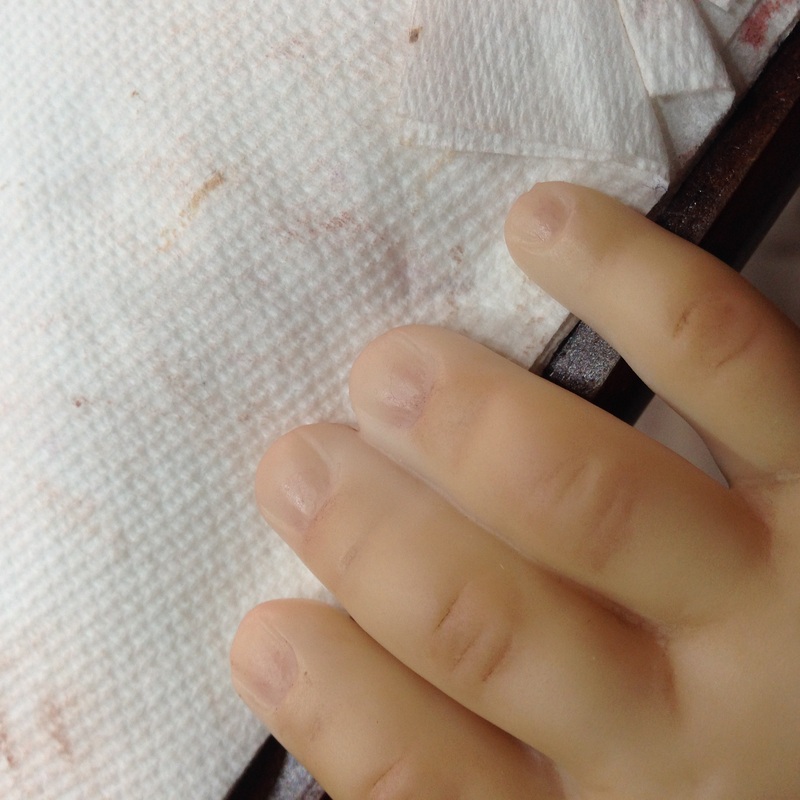
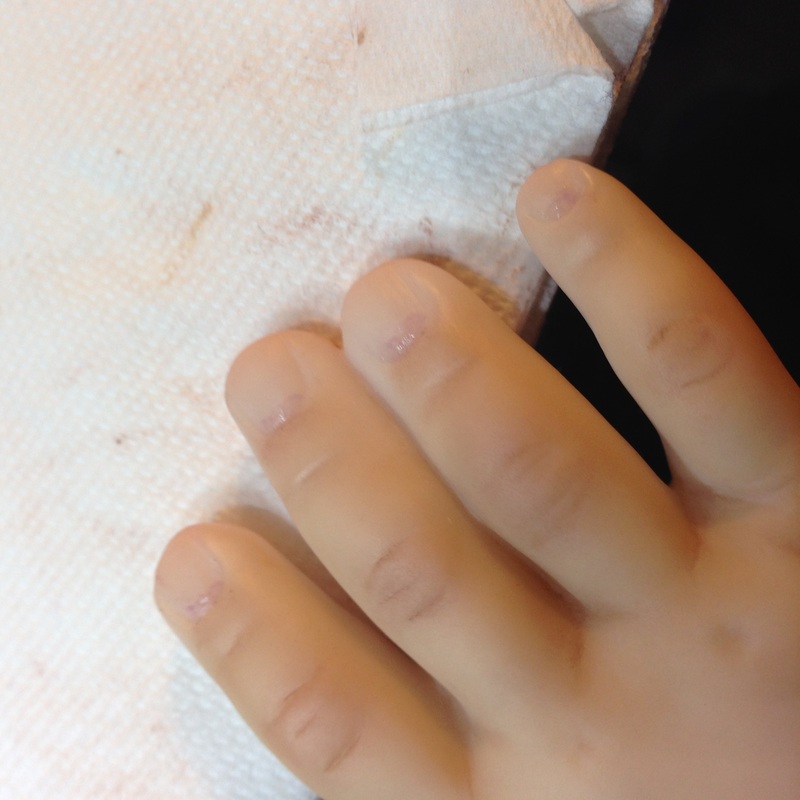
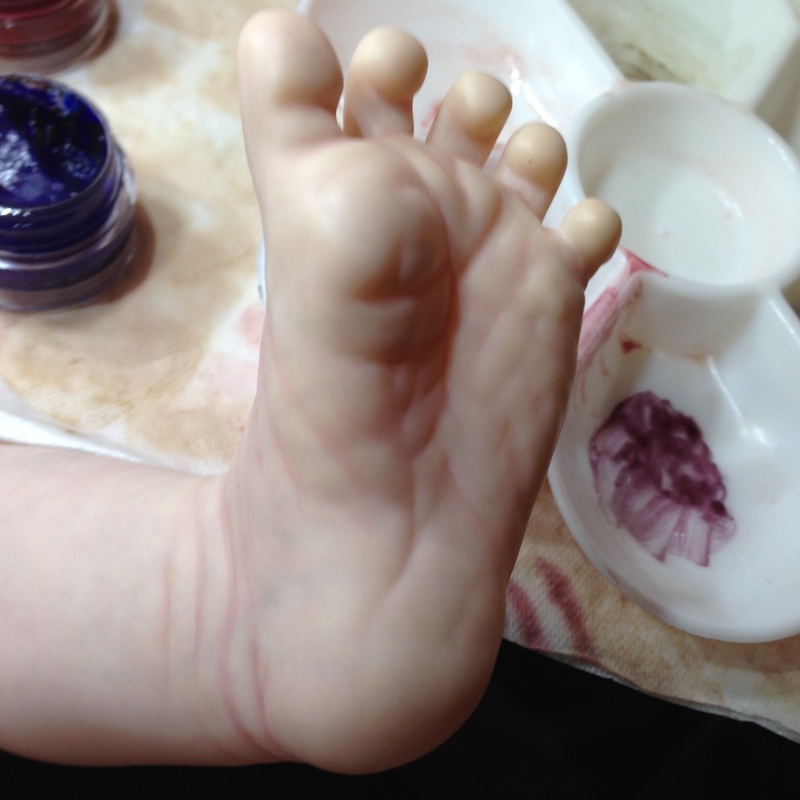
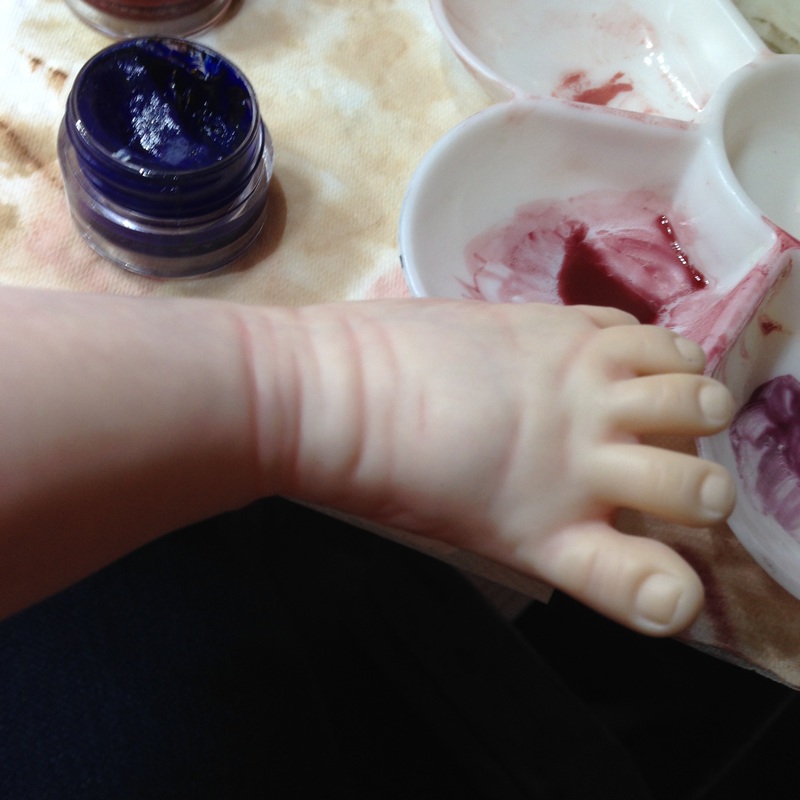
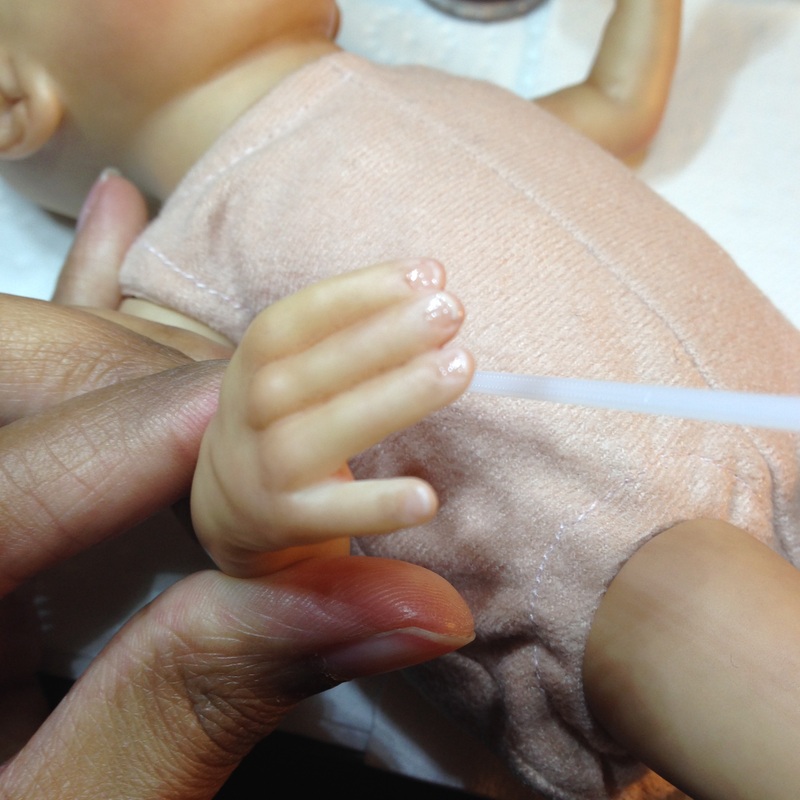
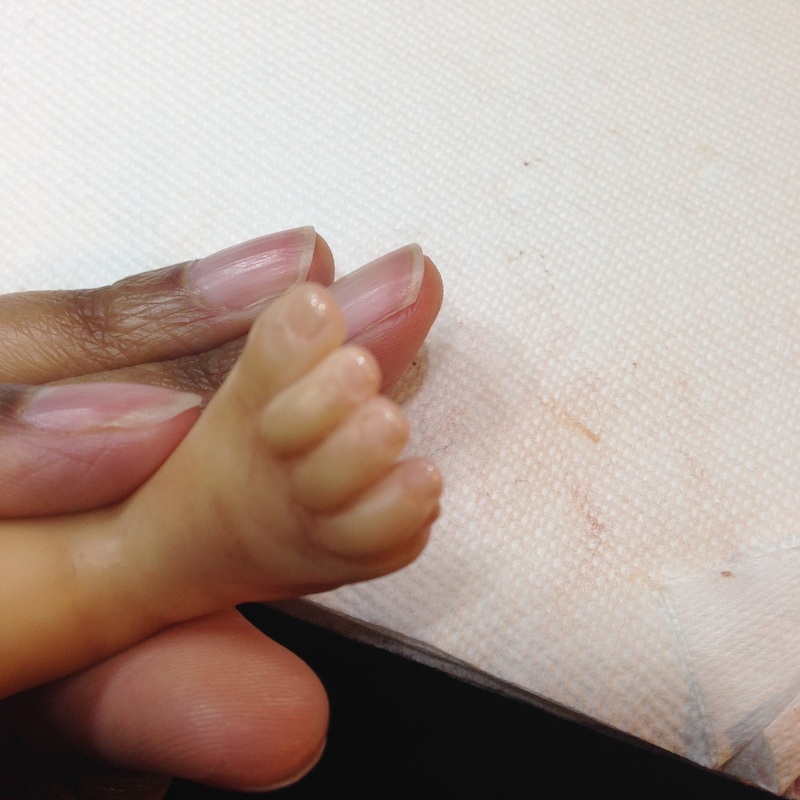
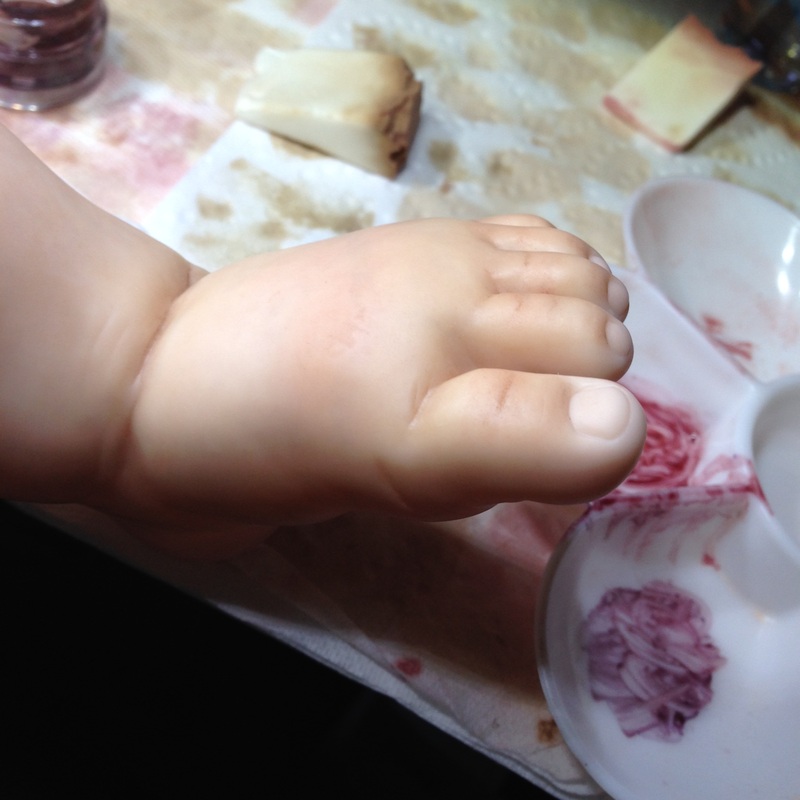
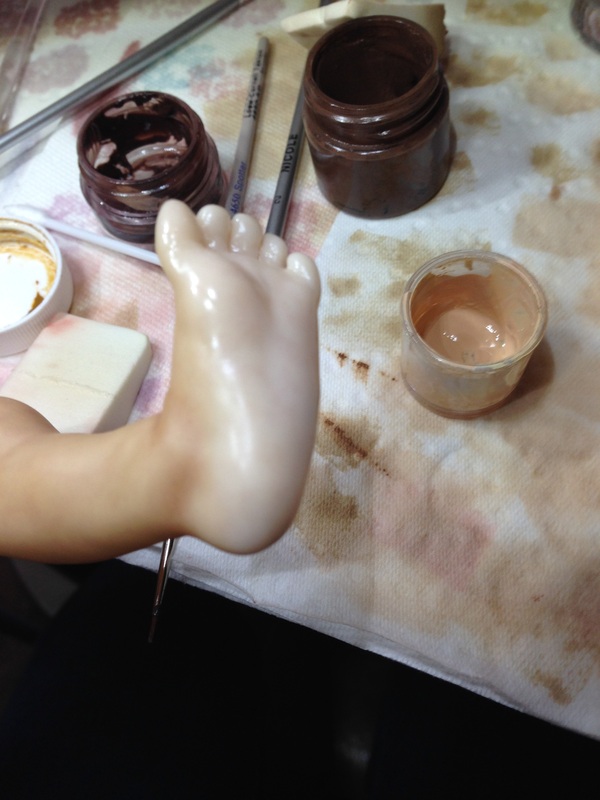
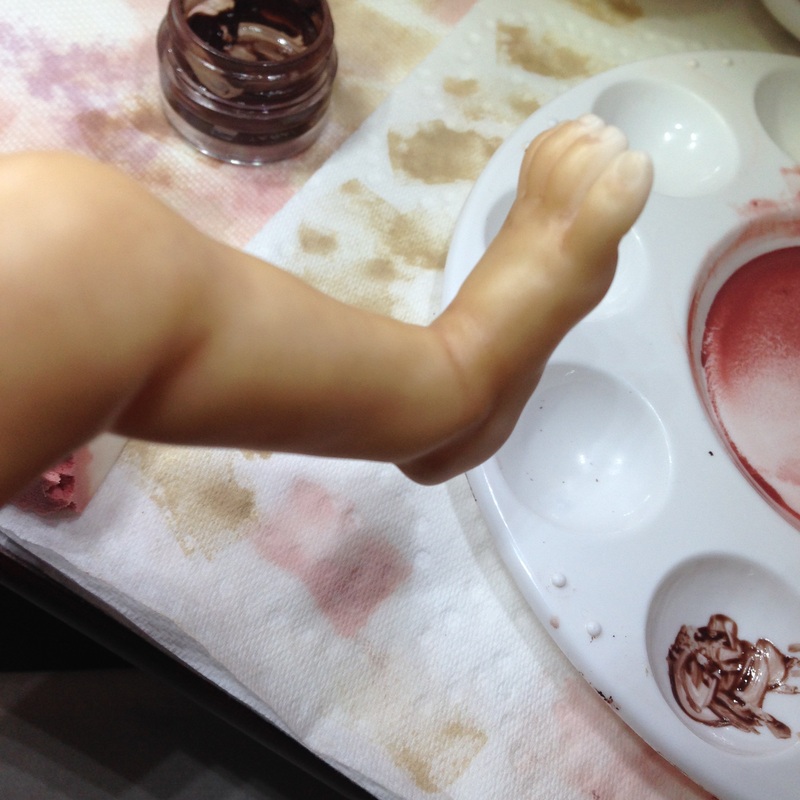
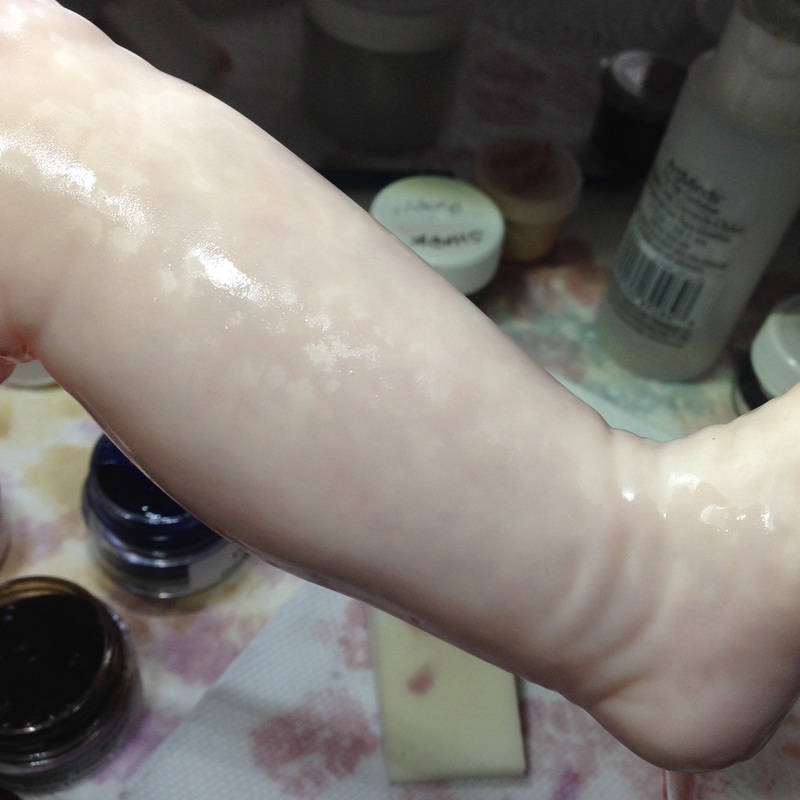
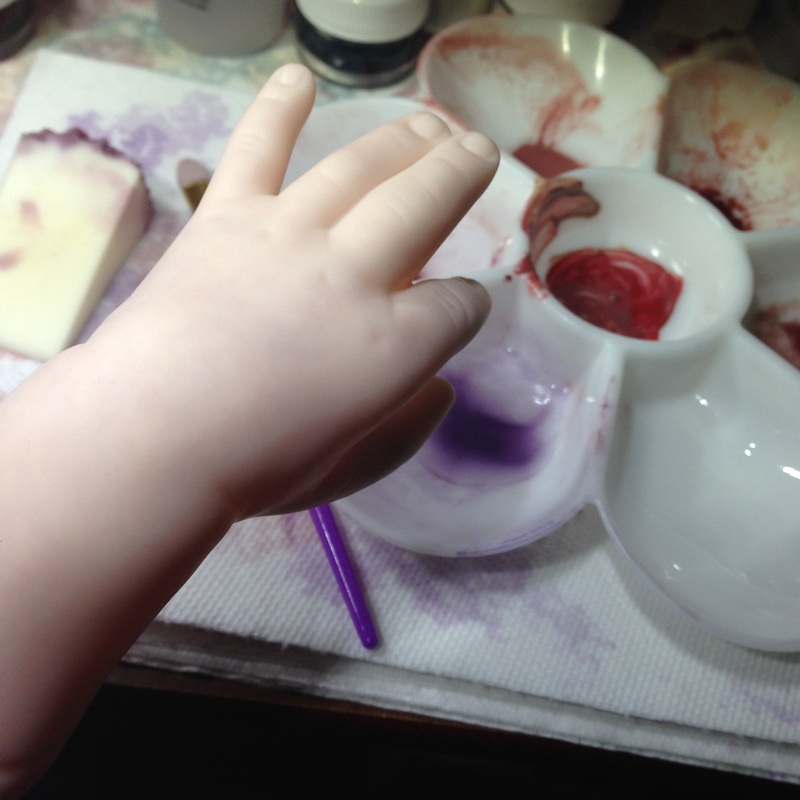
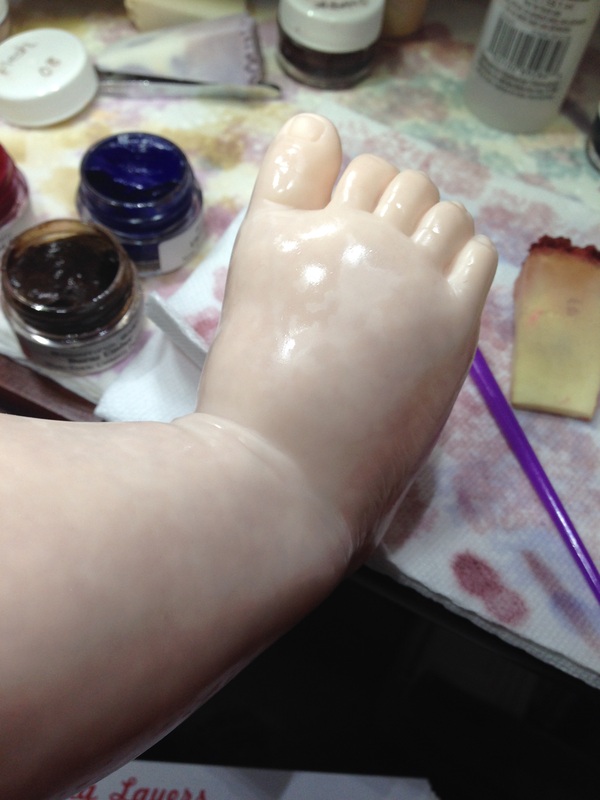
 Unlike the previous blush washes, accent blushing brings out the super cute rosy areas on a baby by strategically highlighting certain spots such as the knees, elbows, cheeks and toes. I'm using a custom blushing blend to create gorgeous highlights on Amalina's portrait doll. I'm kinda on a roll with this "vlogging" thing, so I hope you enjoy the video! (I actually get really, really sleepy when I watch this video. Am I exhausted from a hard day's work or preparing to become the next Bob Ross? LOL) 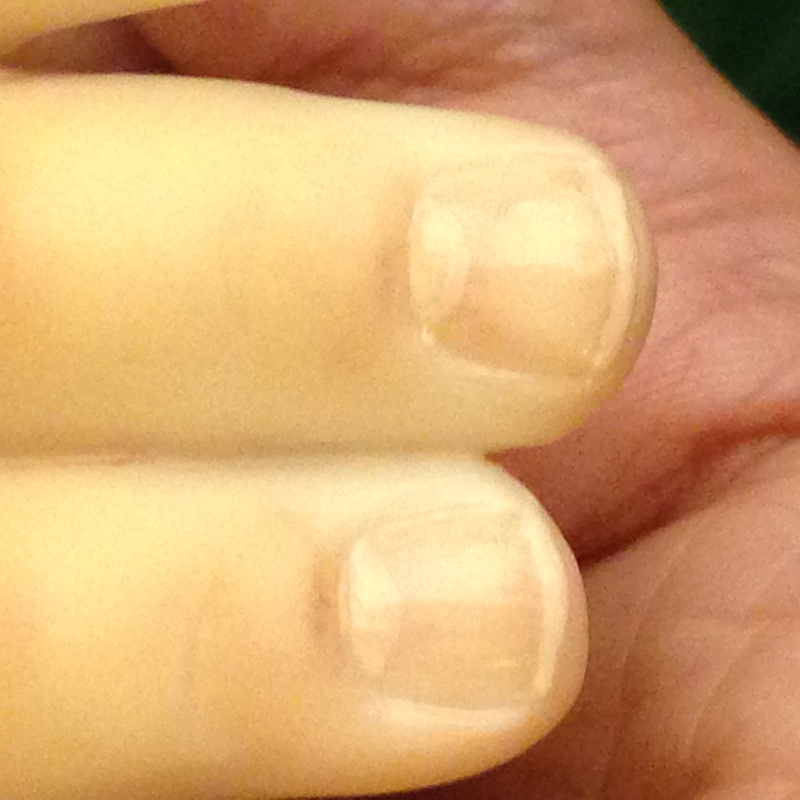 The following video and post covers several days of painting. Creating gorgeous lifelike fingernails is done in multiple layers. The first two layers of purple and pink create what I like to call the "sunset" at the base of the nail. The paint is cured between each layer. Next, I create a modified flesh tone with thinning medium and use that solution to paint the half moons on the horizon of that sunset. At the same time I add the nail tips. Then I cure this layer. (Learn more on my upcoming tutorial: Tips for Perfect Tips.) Finally a dark blush color darkens the top of the nail bed as well as the wrinkles under the nail. Add a few gloss layers for shine and say hello to your perfect baby manicure! Watch the video below to see Colyn and Cadyn getting their nails done. As the proud new owner of one of those fancy smartphone tripod contraptions, I'm now excited to offer Work in Progress videos! Here's how we did Amalina's blush wash on her arms and legs (I hope I'm pronouncing her name correctly!): This second blush wash further brings out her complexion on her arms and legs. Once everything is just right, we'll begin accent-blushing: adding darker blush colors to specific areas for added cuteness. :) 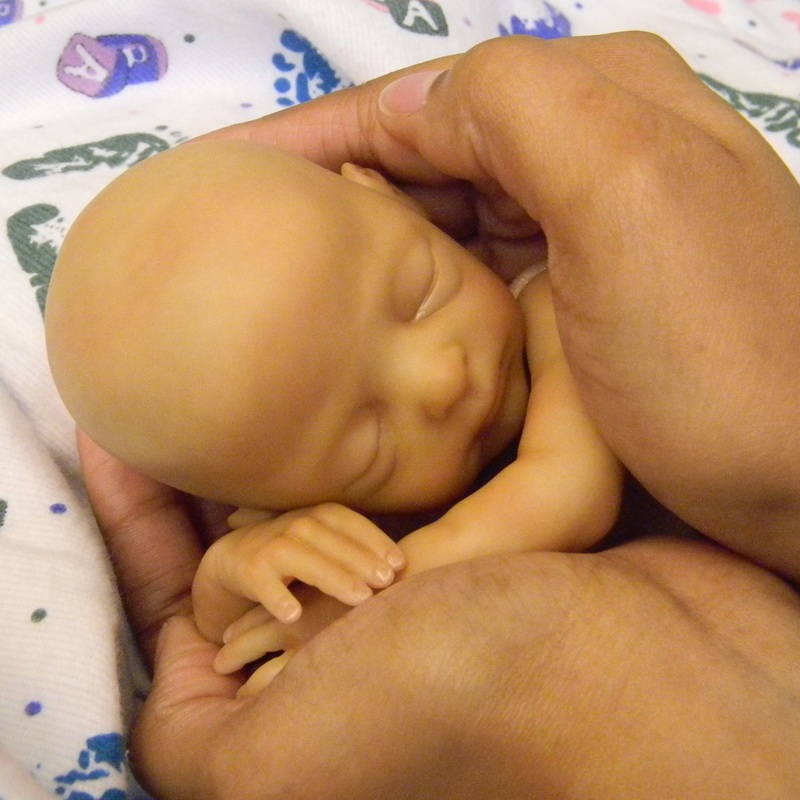
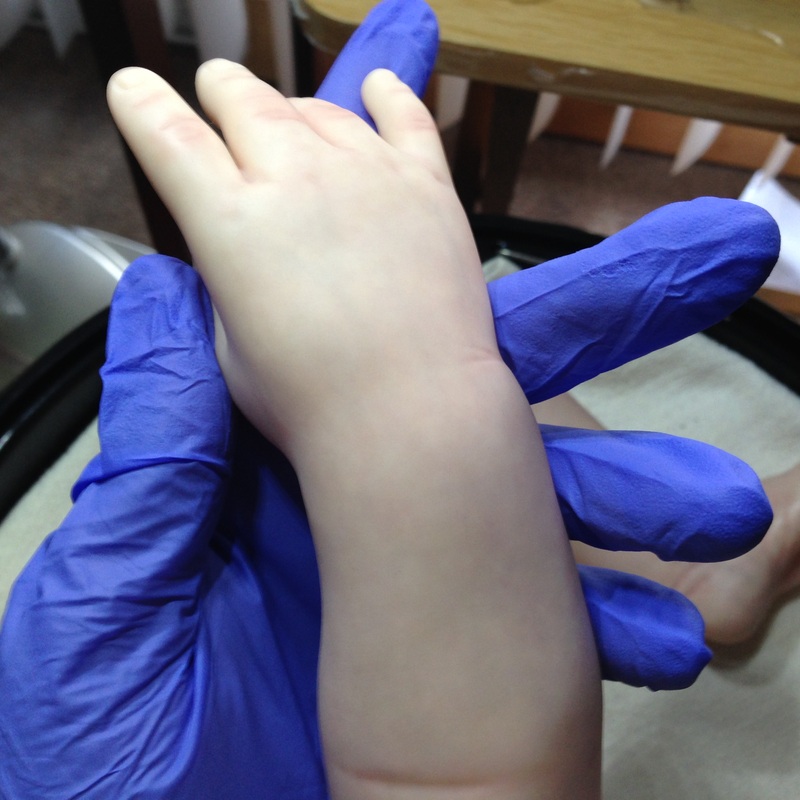
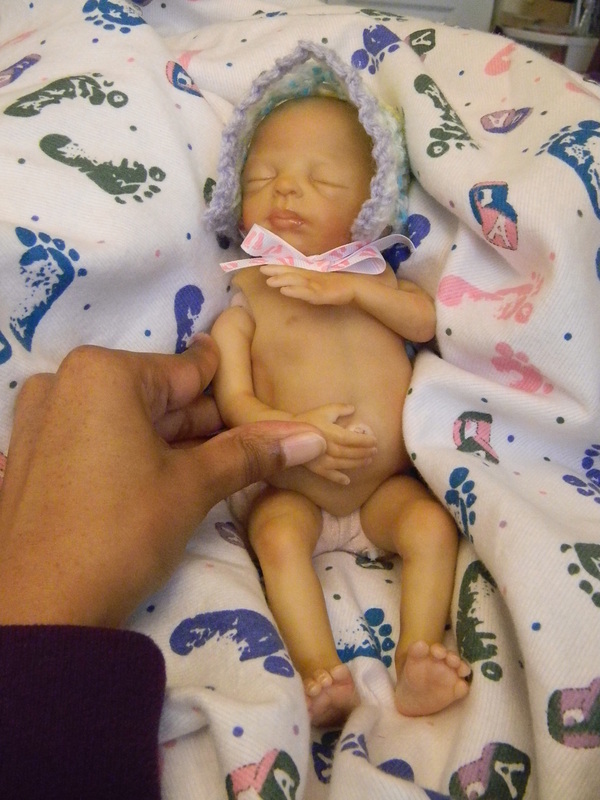
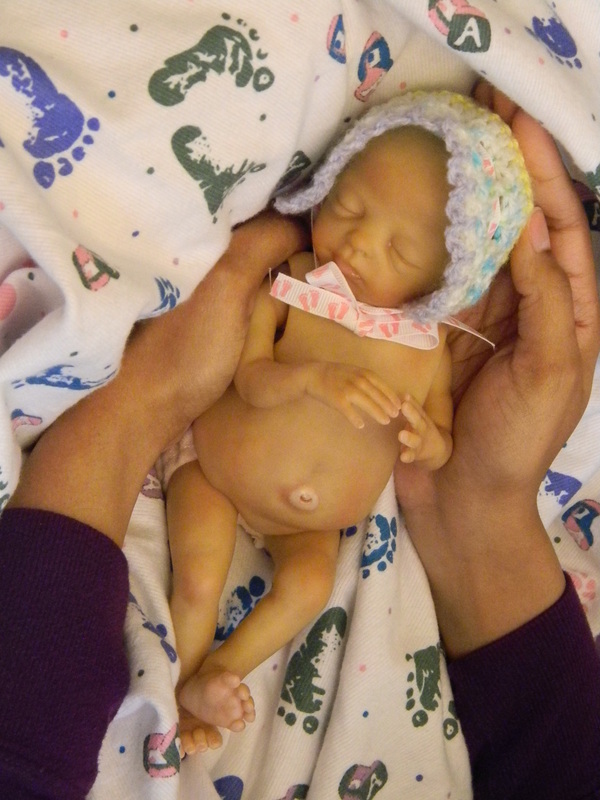
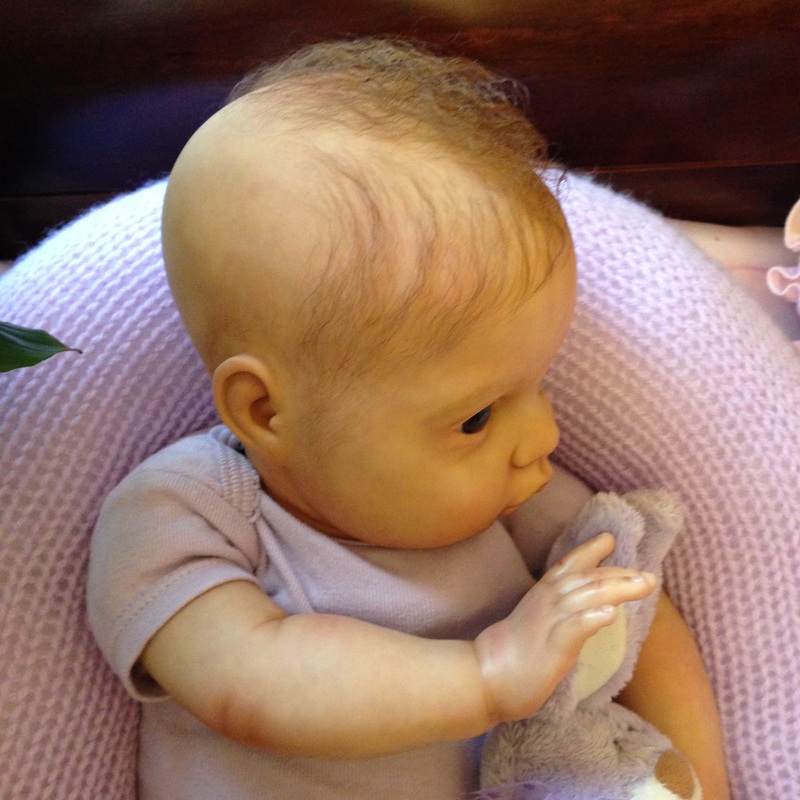
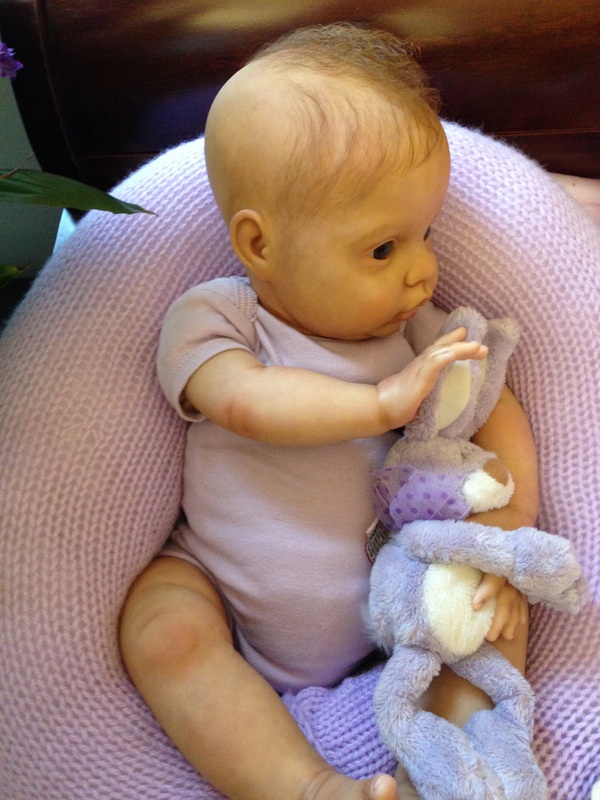
We're not ready to do Layla's final photo shoot yet because I'm still waiting to receive one of her outfits in the mail. She's so tiny that she can only wear NICU garments or outfits handmade specifically for her. While we wait, I just took a few quick pictures today to say, "Hi Mom!"
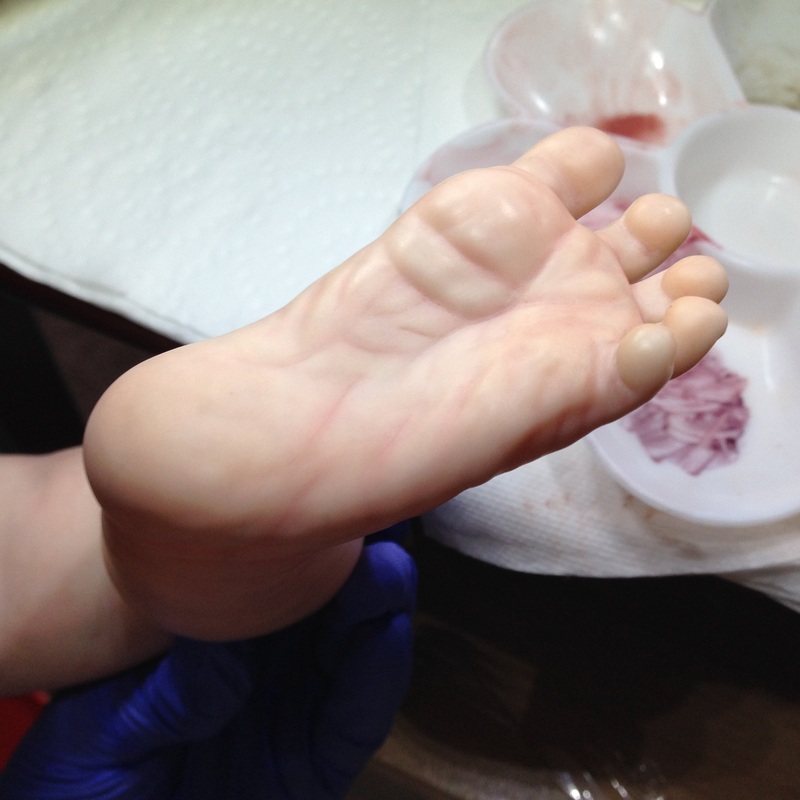
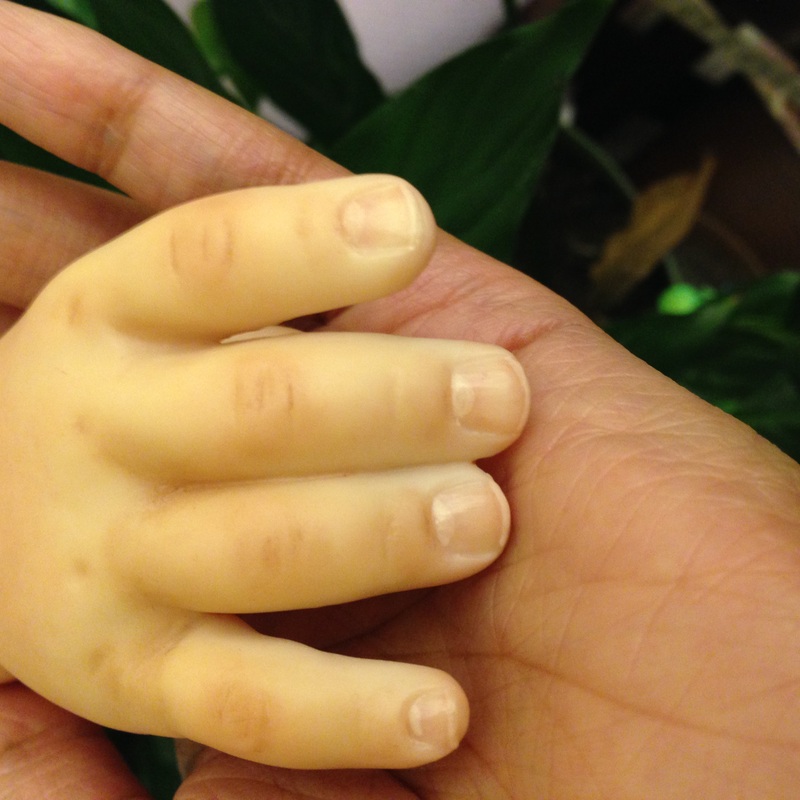
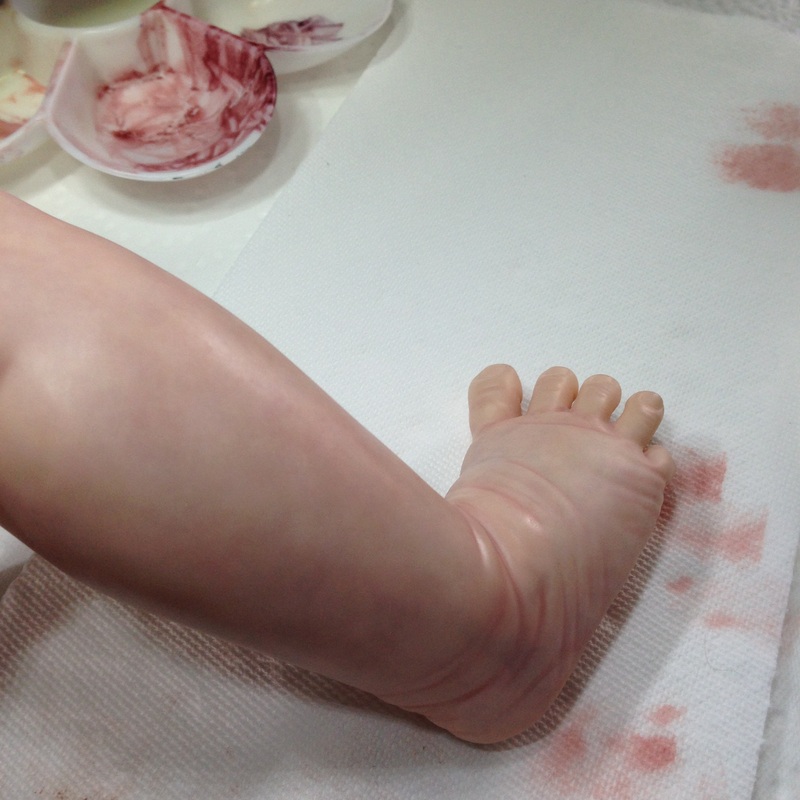
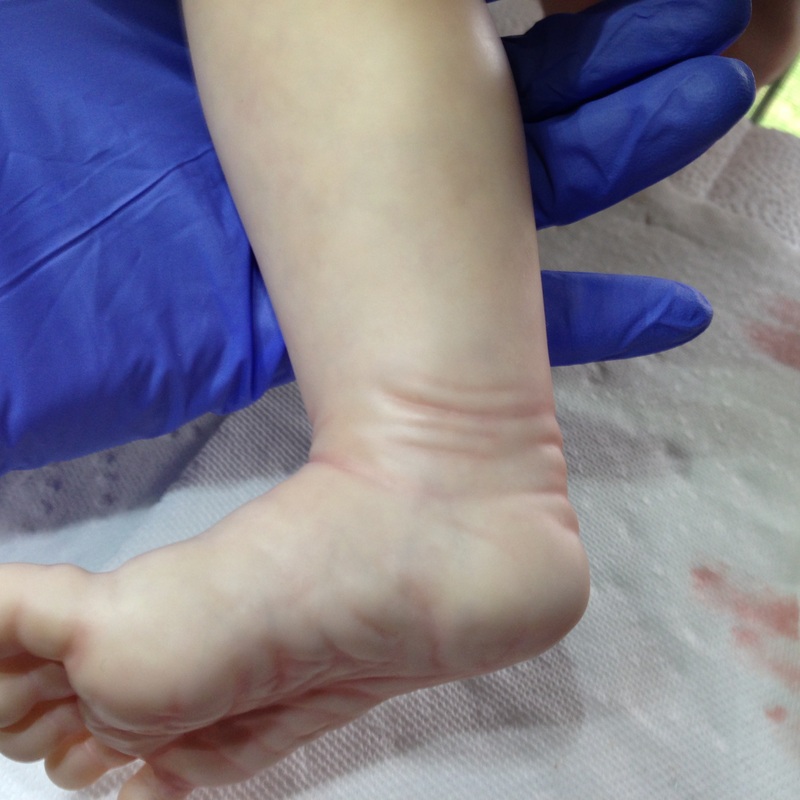
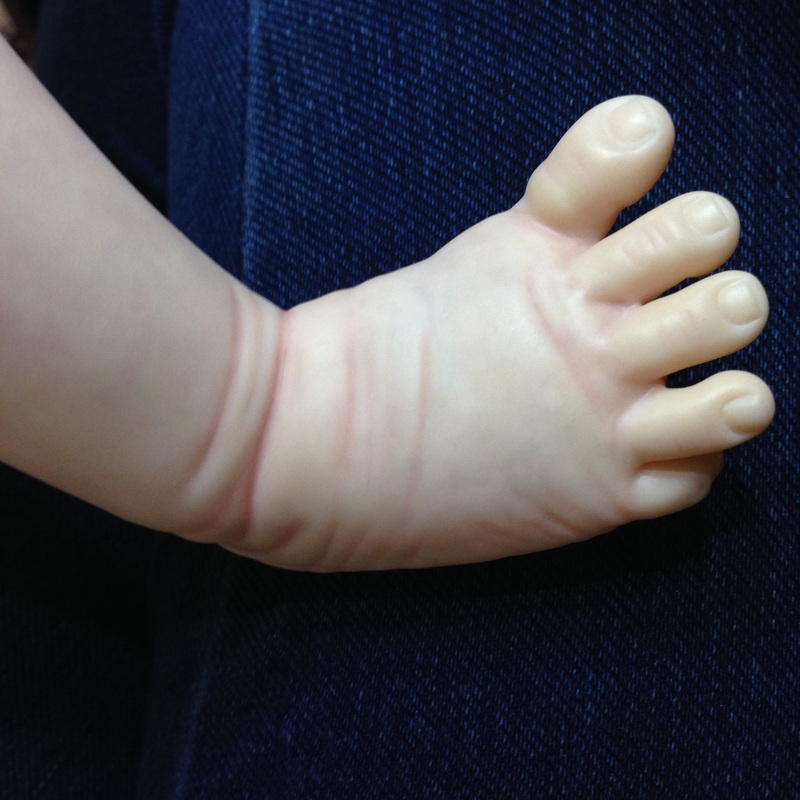
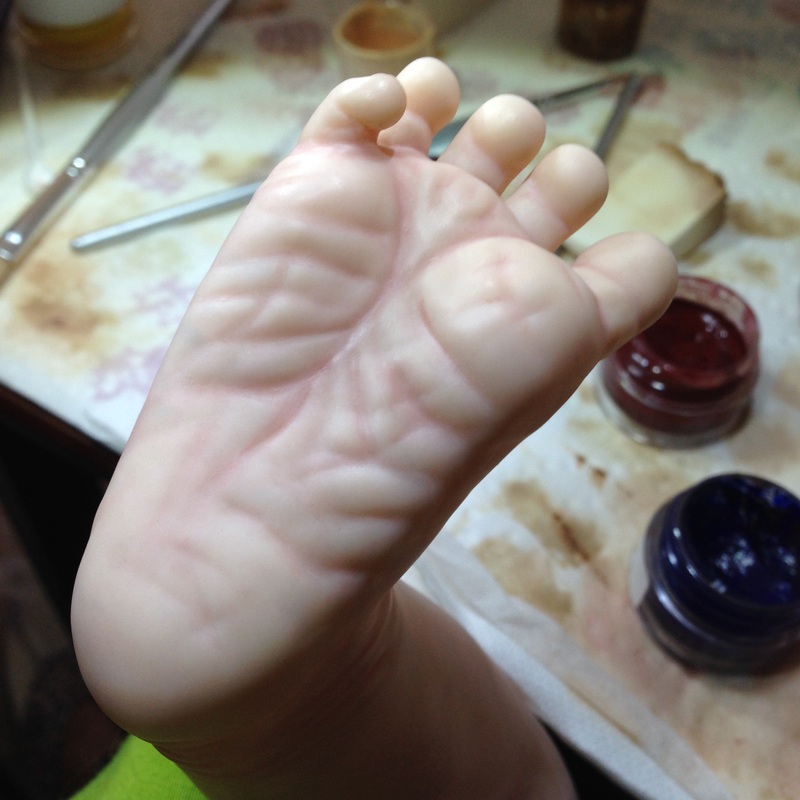
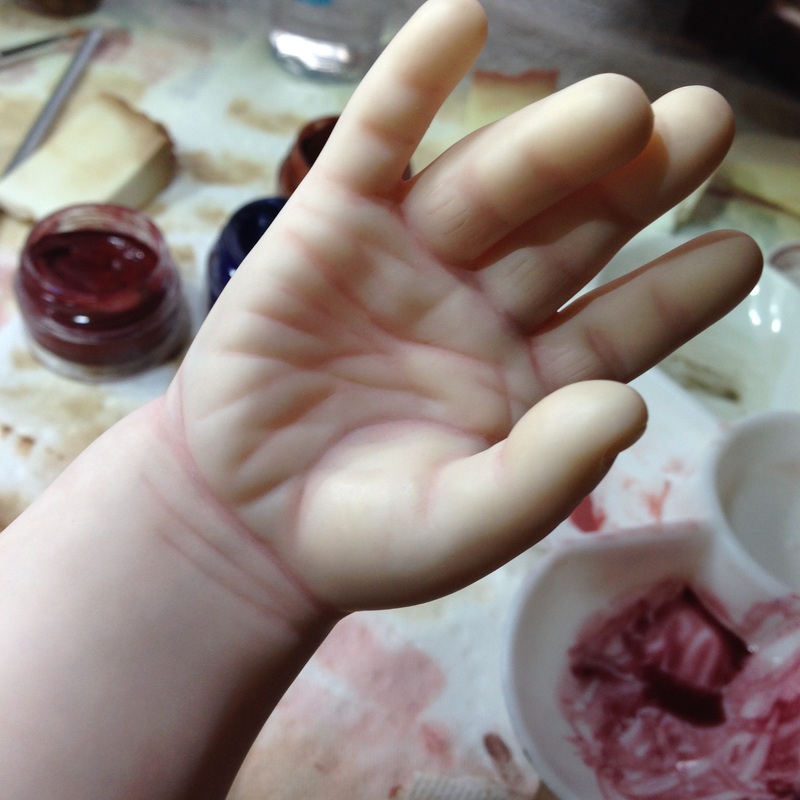
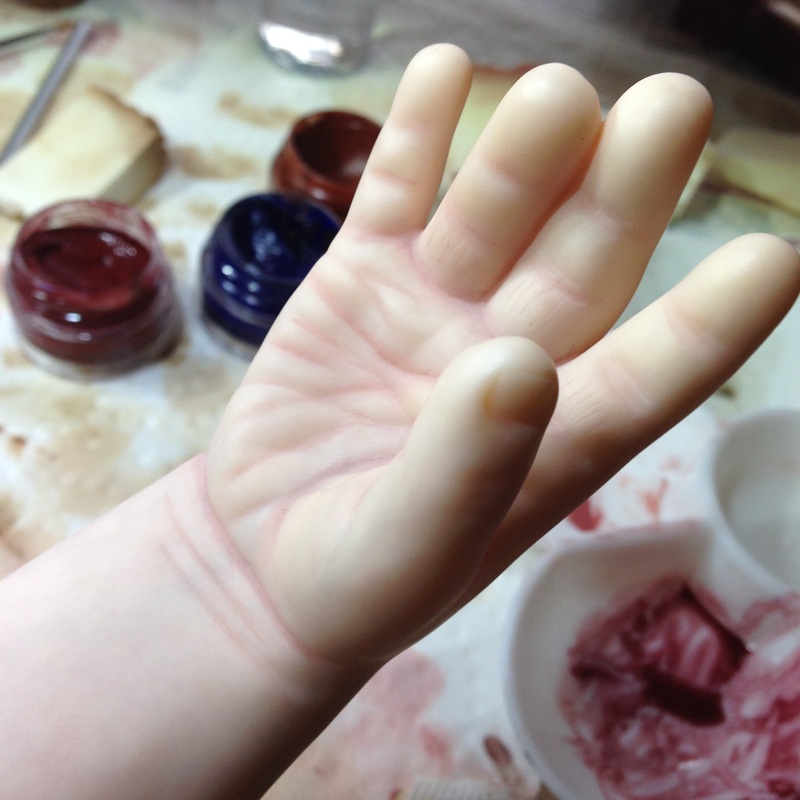
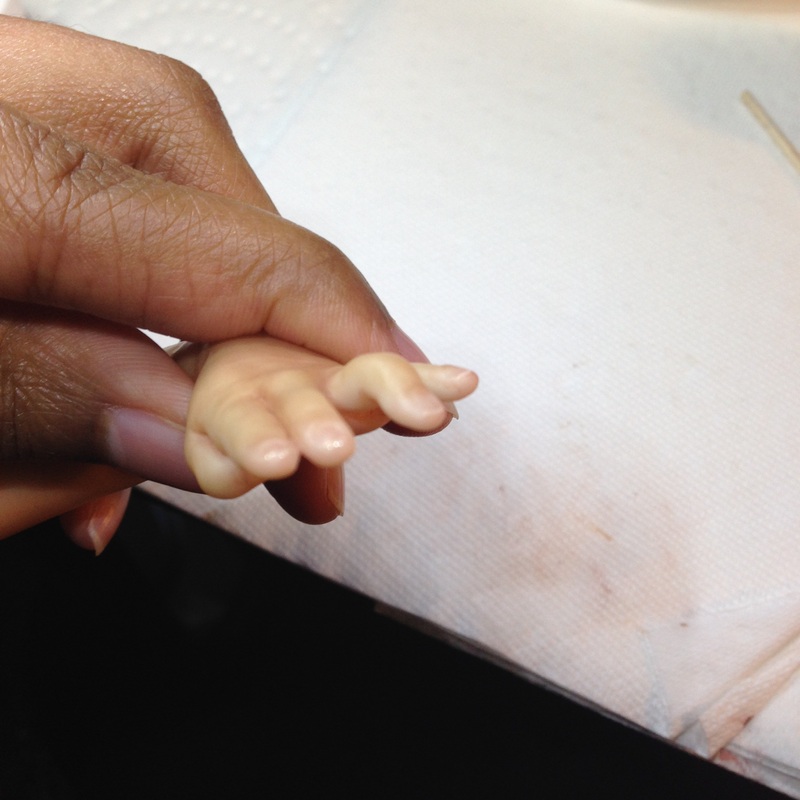
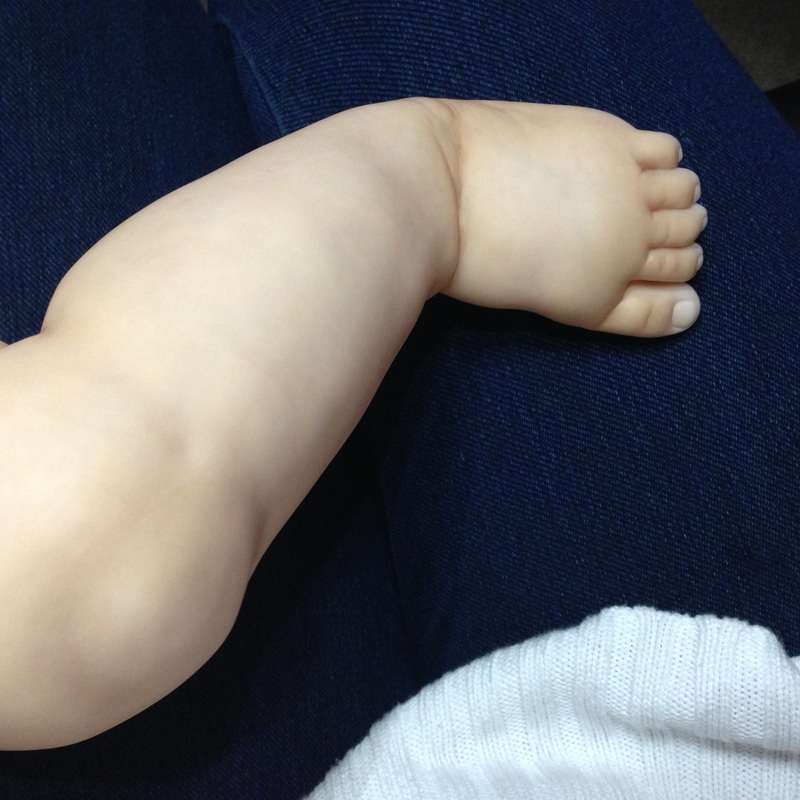
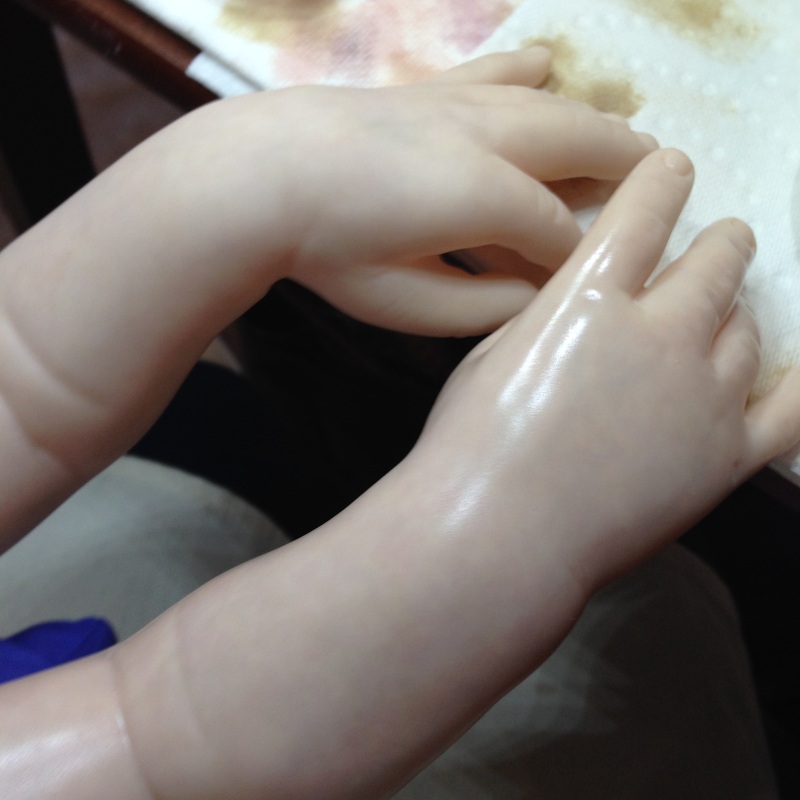
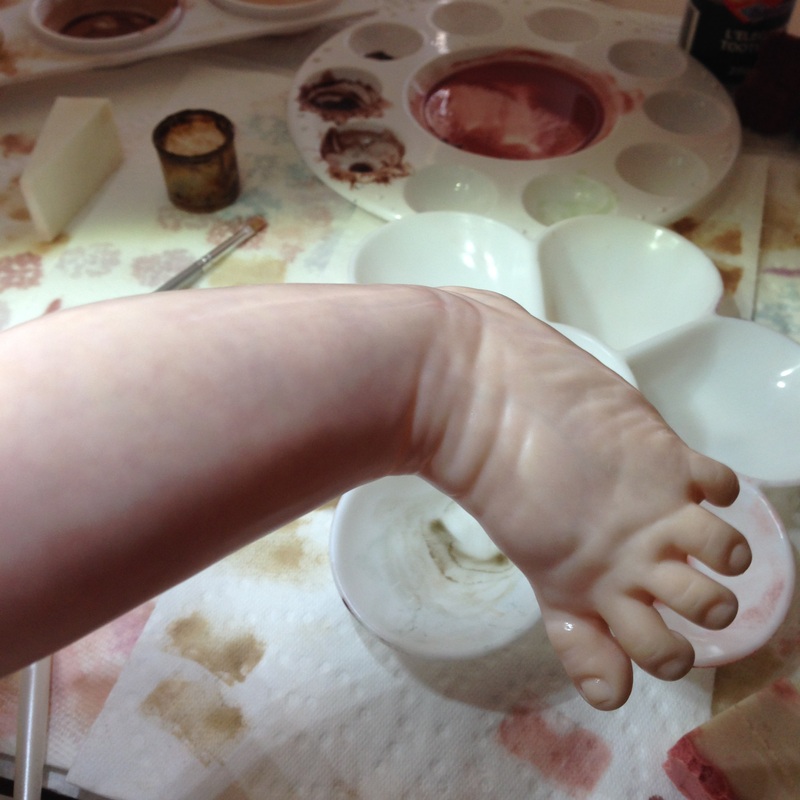
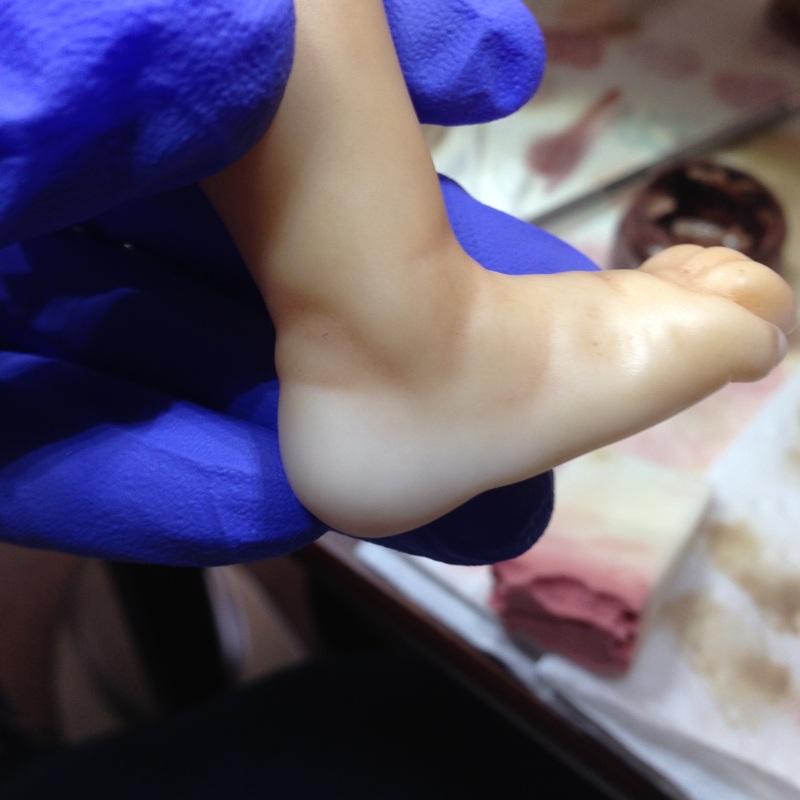
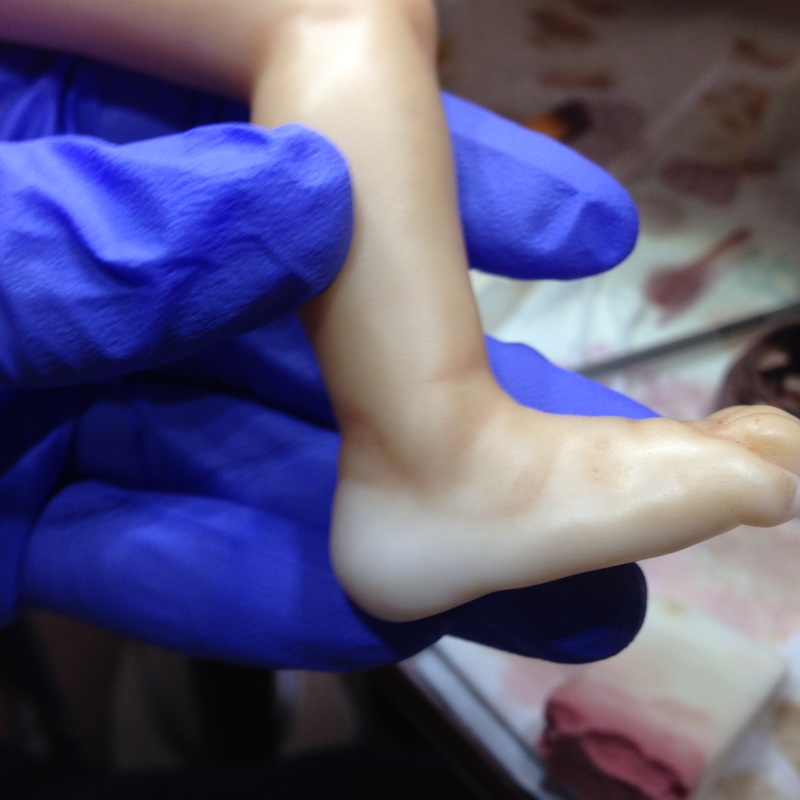
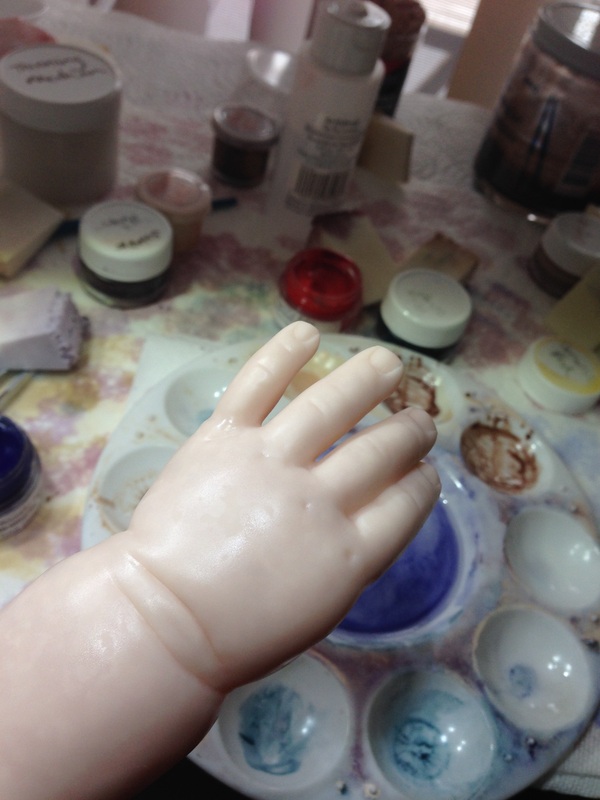
But after years of studying other dolls and real babies, I now see creasing and shading as an opportunity to really add the "wow" factor to my dolls. As you can see, its totally worth the many hours spent painting each of these tiny details. For Amalina, I created a custom purpleish-pink blend for her shading. Shading adds depth and dimension to the baby's skin. Then I added a little more blue to that mix to get her dark-purple creasing color. Painting the creases creates the illusion of depth, making the baby's wrinkles and skin folds look real. Two layers down, several more to go!  To finish up this precious little baby, I'm adding her final tiny details. I created a special blend to shade the creases on the palms of her hands and the soles of her feet. I also painted her little finger nails and the tips of her nails. After using a gloss varnish to give her a beautiful shine in all the right places, this little one is ready for her photos and preparation for the journey home to Mommy. 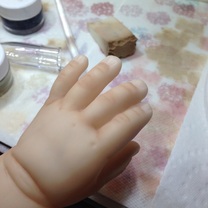 Even though I managed to get the twins to match, I still felt like they needed one more flesh layer to add a gold tone to the skin. So, I did a quick gold wash before completing the shading. Once the shading was done, I started blushing the dolls from their rosey cheeks to their kissable toes. I still have more details to paint, but they are coming along great.
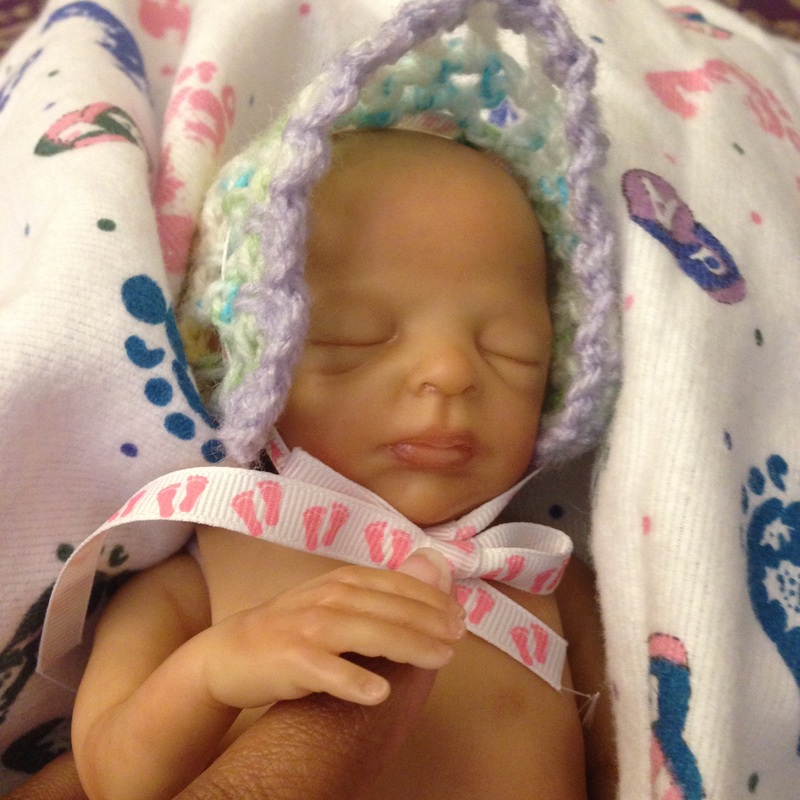
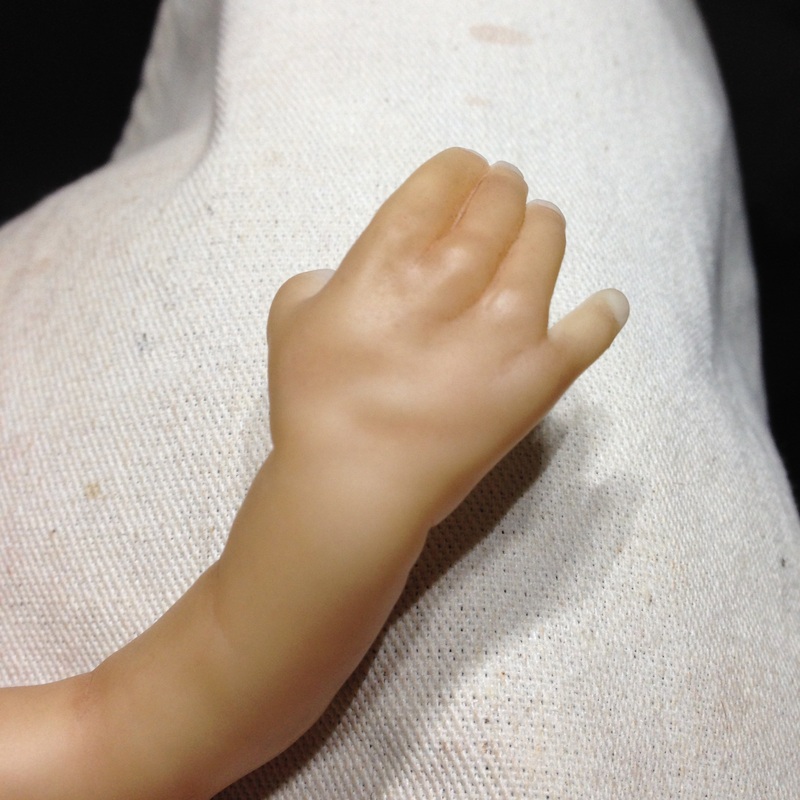
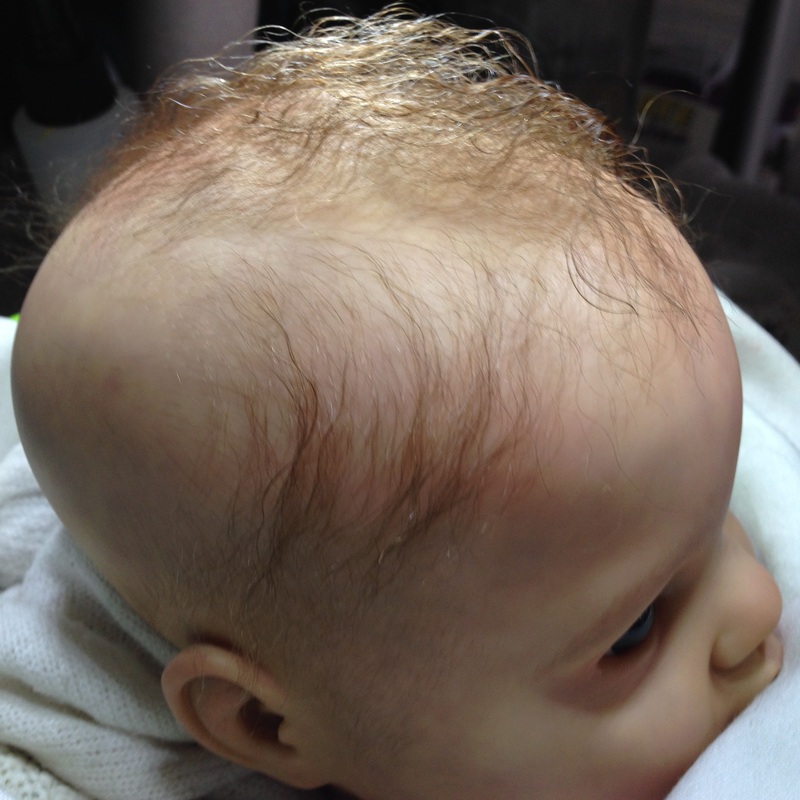
 With Layla's flesh tones complete, we're now ready to add some detail. She's super tiny, so I'll be working under high magnification. :) I added a flesh tone to the palms of her hands and the soles of her feet. Then I shaded her creases and indentations to add dimension to the skin. Finally, I added several layers of blushing to give her that warm lifelike look. She's so sweet!  Baby's exhausted and artists' hands are sore, but we had a very productive day rooting. I finished up the top of the head where the hair is thickest. I even rooted the hairs such that they would create a cute little puff right on top, just like a real baby (see images below). Her hair is super soft and sweet wet or dry. Looking forward to her getting more hair soon...once we've both recovered. ;) 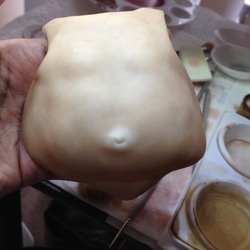 A few more coats of paint helped us to achieve Layla's mommy's complexion on her baby. She's looking very sweet so far.
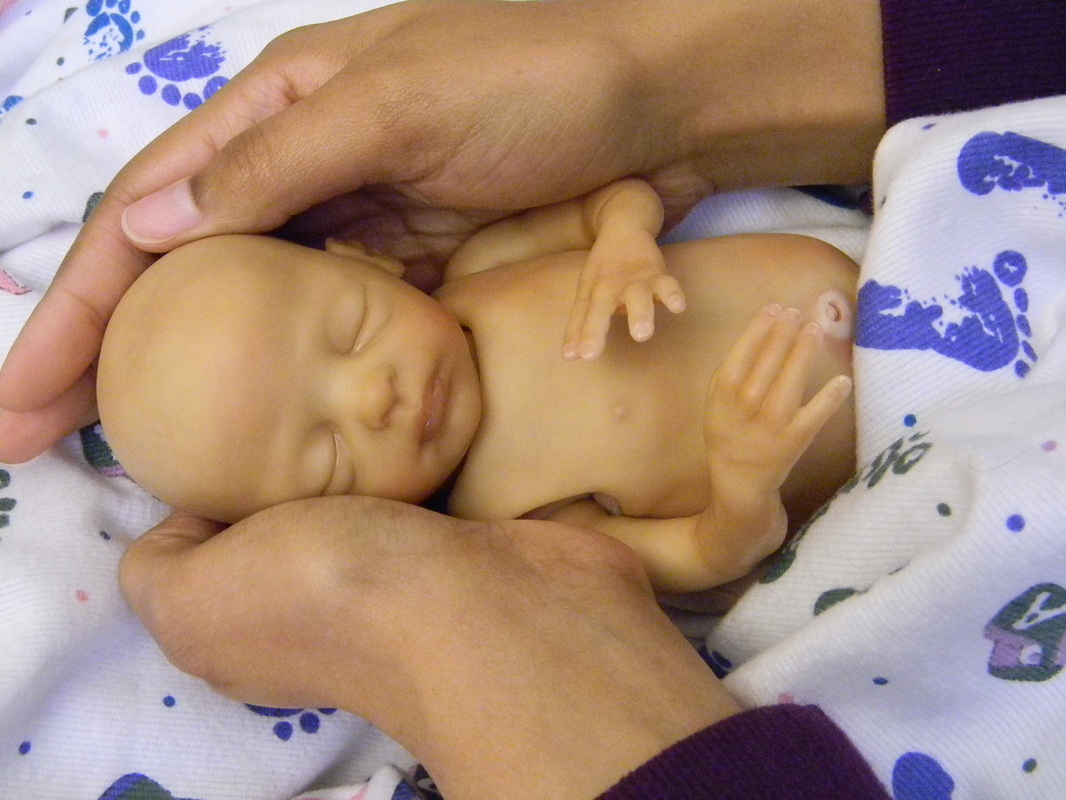
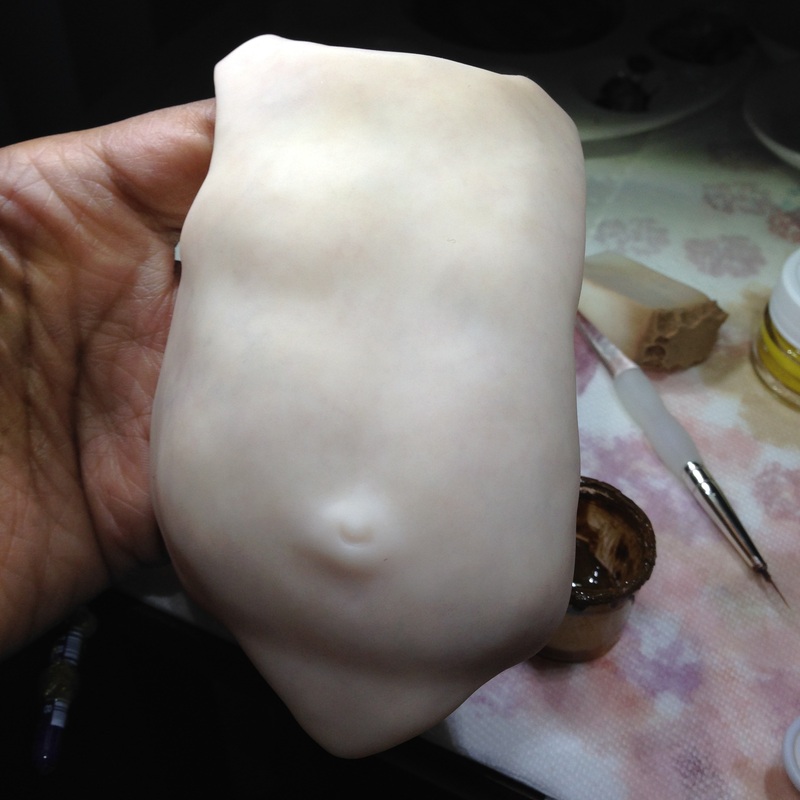
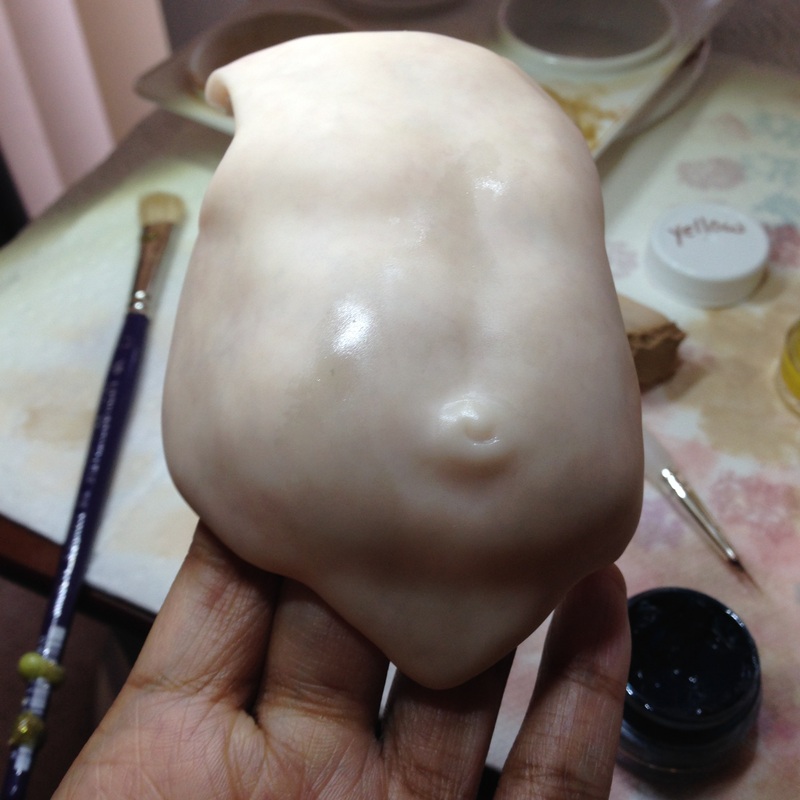
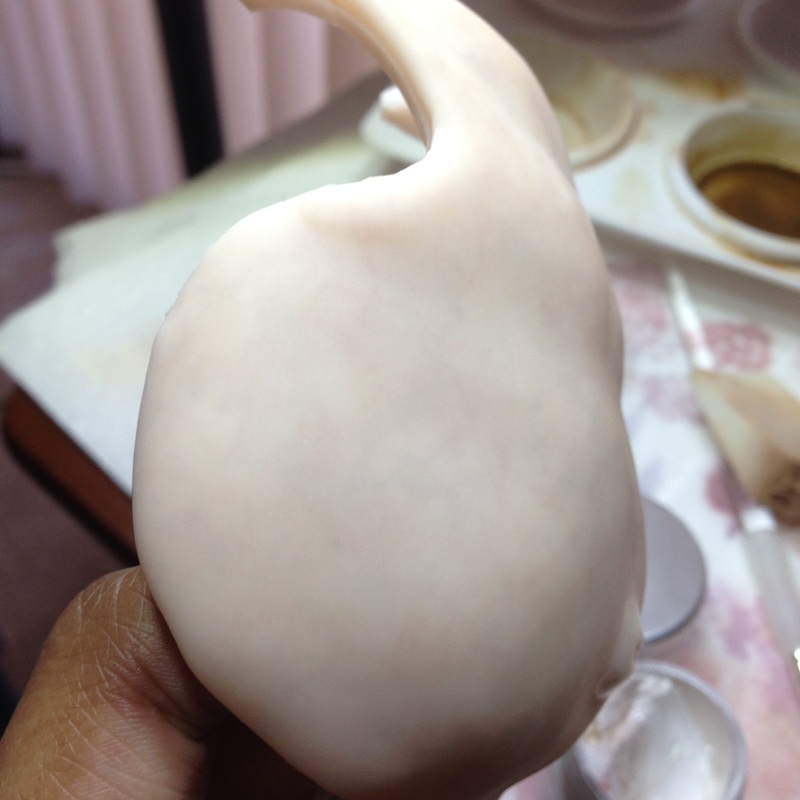
Next, we'll start her shading and detail layers, which will be very detailed since she is so tiny! 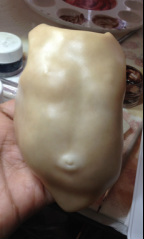 Her mottling turned out beautifully. Today I am focused on Layla's flesh tone layers and blue accents. Since I am working from her photo, I spent a little time adding blue highlights where I saw them on her skin - most prominently on her belly. At the same time, I'm build out a custom flesh tone blend so she looks like mommy. What a precious little one! Click each photo for more details: 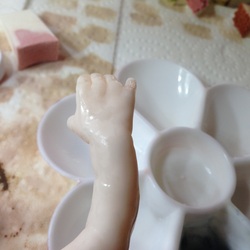 A baby as young as Layla really benefits from lots of mottling. I've added mottling layers in blues, greens, reds and purple to create a super-lifelike skin pattern. Once the mottling has been cured, we'll start to add her flesh tone layers. She's looking lovely so far... 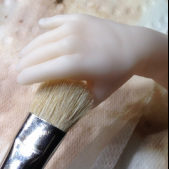 We often think of the Holidays as a time to celebrate and enjoy family. But for many of us, it is also a time of great pain. On Christmas Eve, a beautiful baby girl graced our lives with her adored presence before slipping away to Heaven. In memory of this precious little one, I'm honored to create her portrait doll. Layla's memory baby will be created from Promise by Marita Winters. Just like Layla, Promise is only 10 inches long at just 20 weeks gestation. While painting her base coat layer today, my heart was captured in amazement at how tiny she is! What a Beautiful Angel! 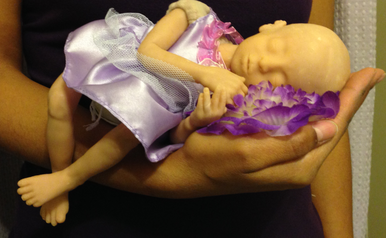
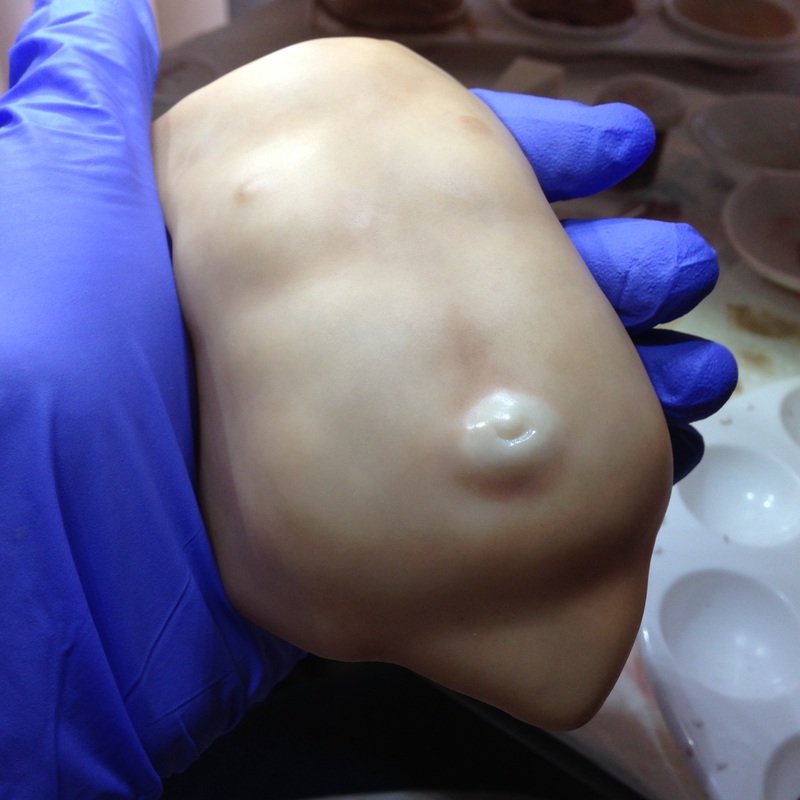
Layla's Portrait Sculpt
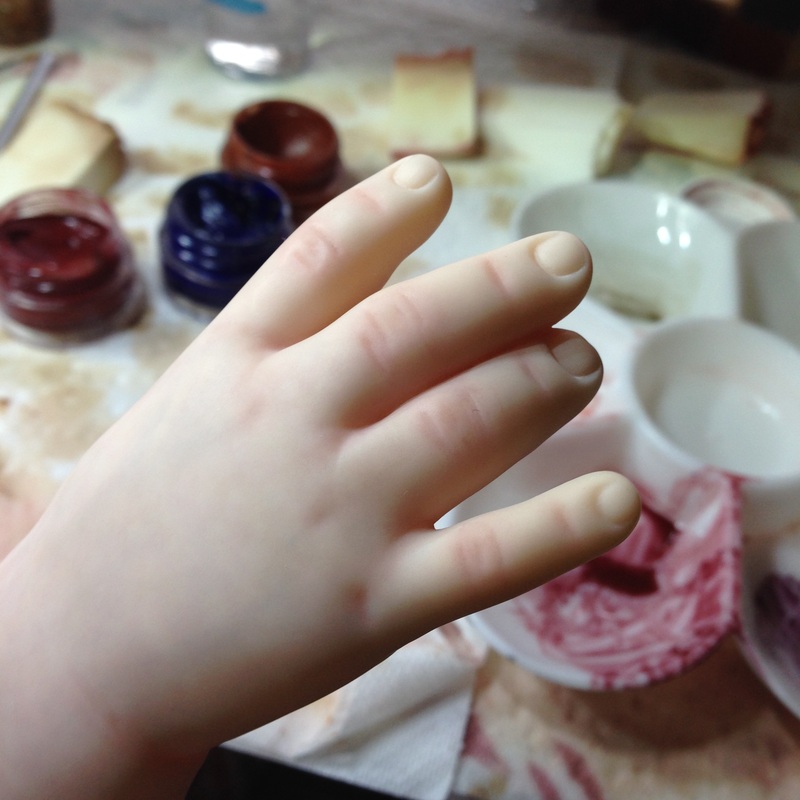
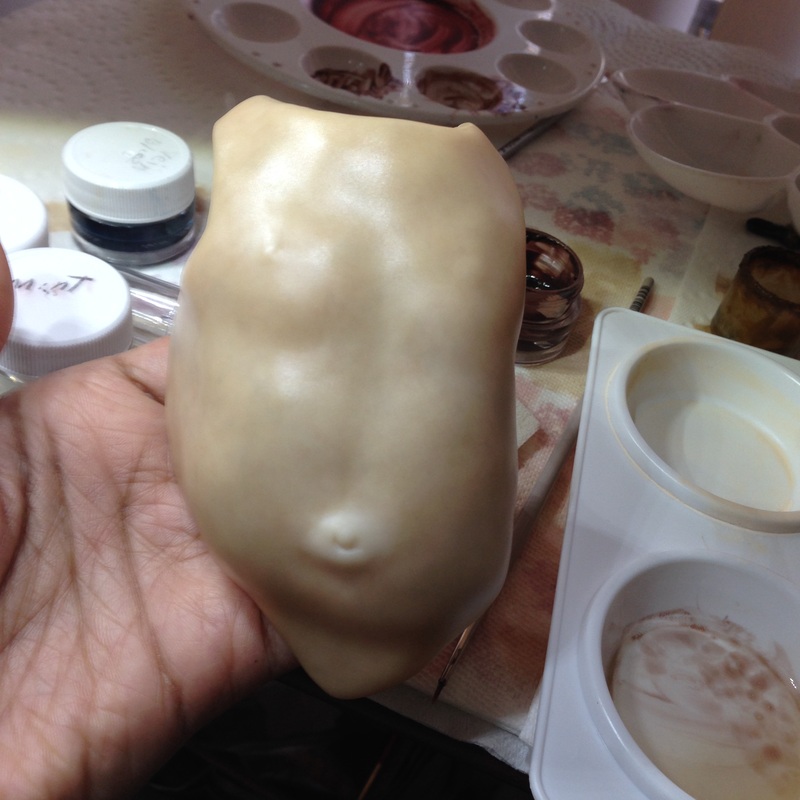
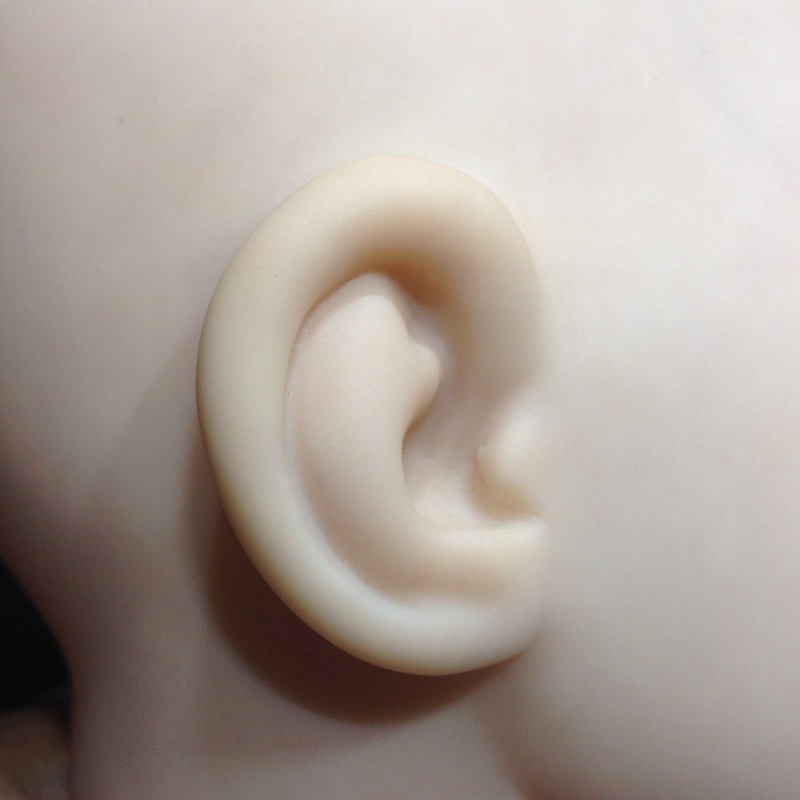
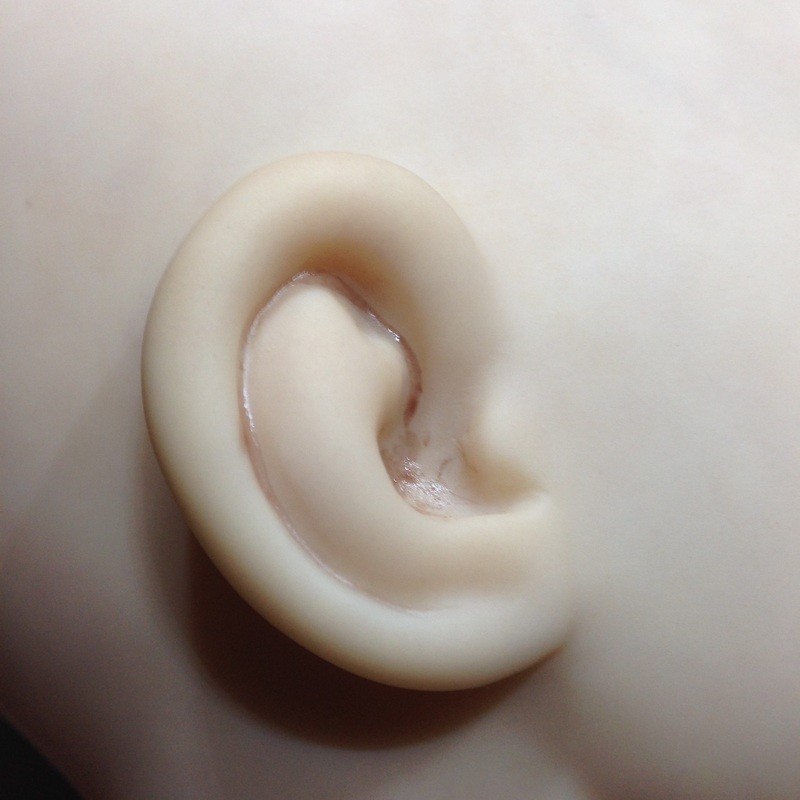
Sculpted by me, currently under development for reproduction in silicone. 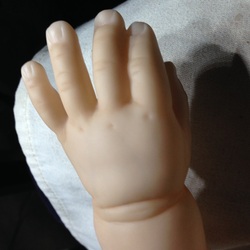 Somewhere between the end of the complexion layers and the beginning of the creasing step we find the shading. Shading is the process of gradually adding depth to baby's complexion by strategically darkening certain areas. On biracial babies, shading looks especially lifelike on the nail beds and knuckles. The photos below give you a sense of how the process works in the ears. We'll have to do a few rounds of this to achieve the lifelike look we want. 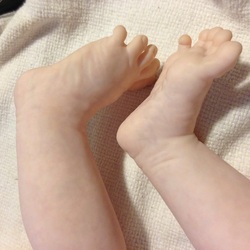 We're finally wrapping up Amalina's flesh tone layers. One more layer on the arms and legs gave us that perfect complexion with subtle veins and mottling.
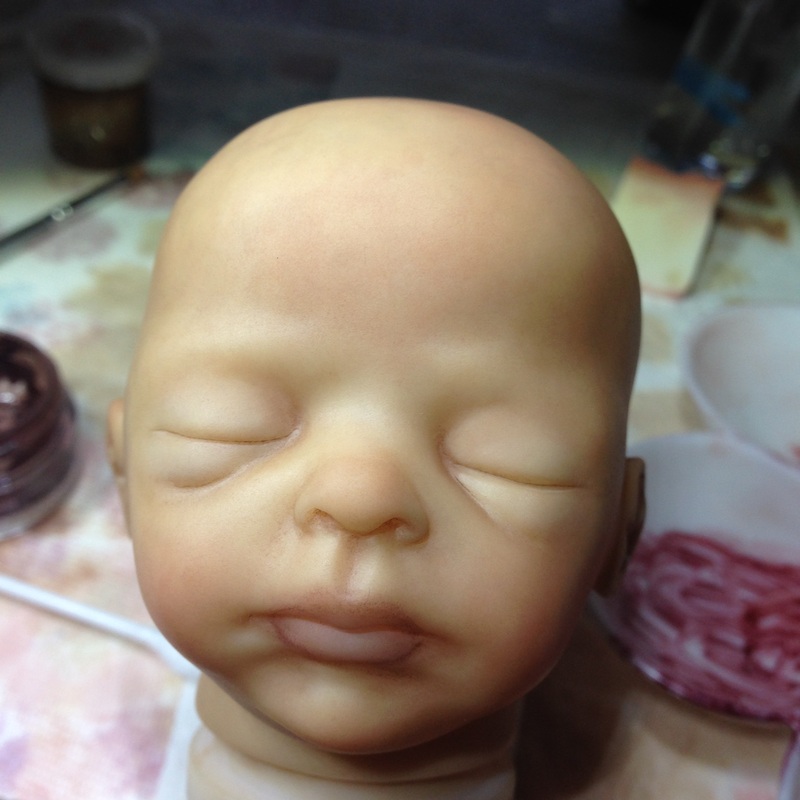
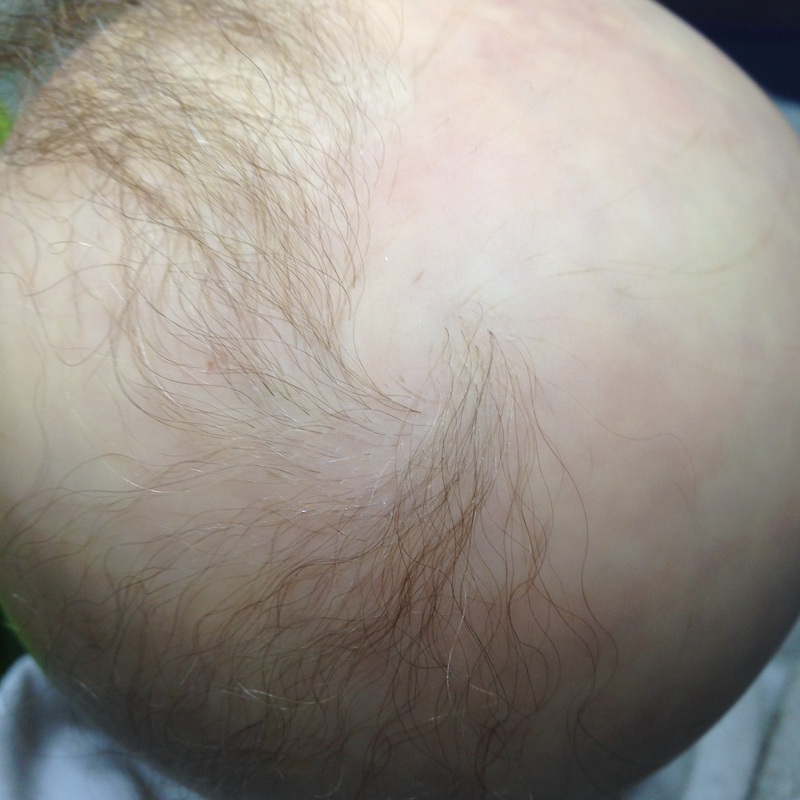
I added two more layers to the face, where her skin is most smooth. This little lady is finally ready for blushing and other detail work!  With her her hair growth pattern painted and set, we're now ready to start Alaina Grace's rooting. She has sandy-brown hair like her mom and dad. I like to root in strips from the hairline to the crown. The back of the head reminds me of a pie chart slowly approaching 100% as we go. :) This is my first time working with the gorgeously wavy, luxuriously fine APlusMohair. She's going to look beautiful! 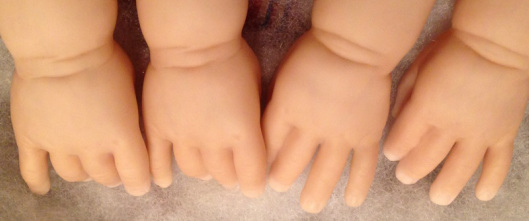
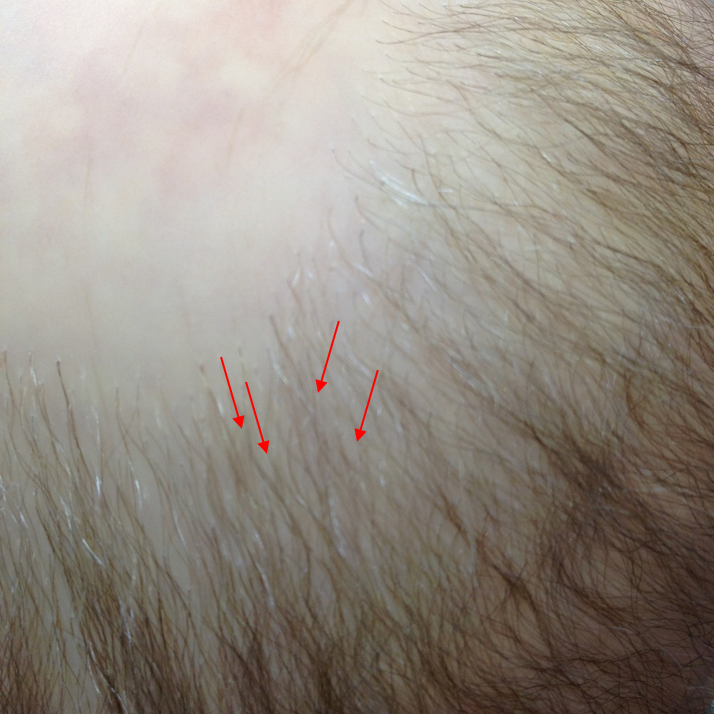
I knew when I signed up for toddler twins that I was taking on a challenge. Toddlers are big babies; i.e., lots of surface area to paint. Big babies times two = 2 x lots of surface area. But I never imagined that the most challenging thing would be getting them to look like twins! Donna RuBert's Cookie and Kitten are made of two completely different kinds of vinyl. One is neutral colored, one is peach. Even the paint adheres to them differently. So I spent two days just neutralizing the peach one and blushing the neutral one until they finally matched. Several layers of paint later, I'm thrilled that I can no longer tell them apart! Looking good, kids! 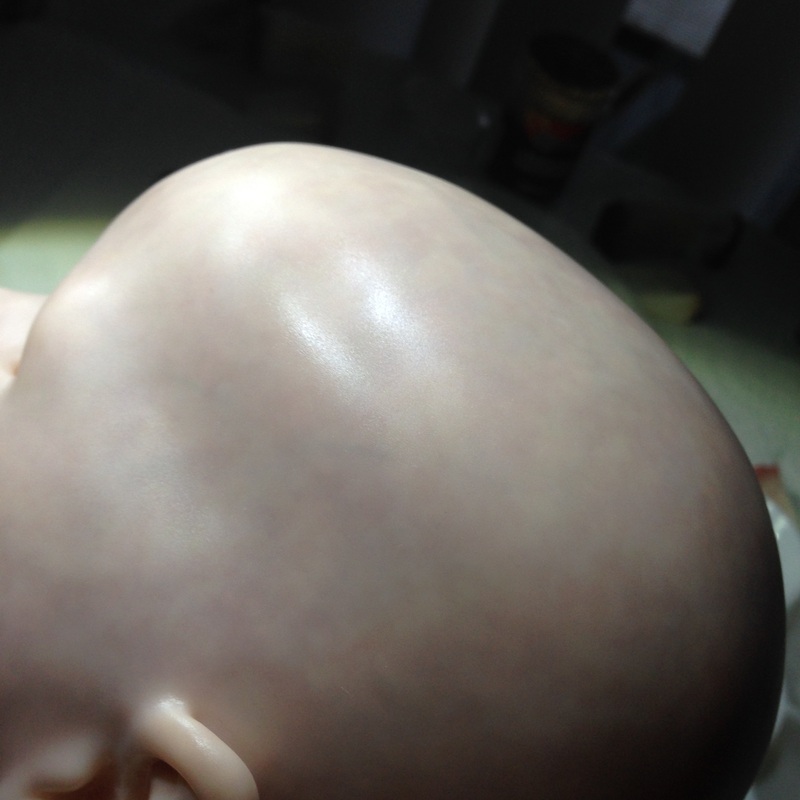 Now that we've perfected our beautiful mottling and veining layers, its time to bury all that under the skin. LOL I'm adding numerous flesh tone layers to Amalina's doll to give her that perfect peaches and cream complexion. I've done so many layers now that I've actually lost count, but we've still got a few more to go! So far, looking good... 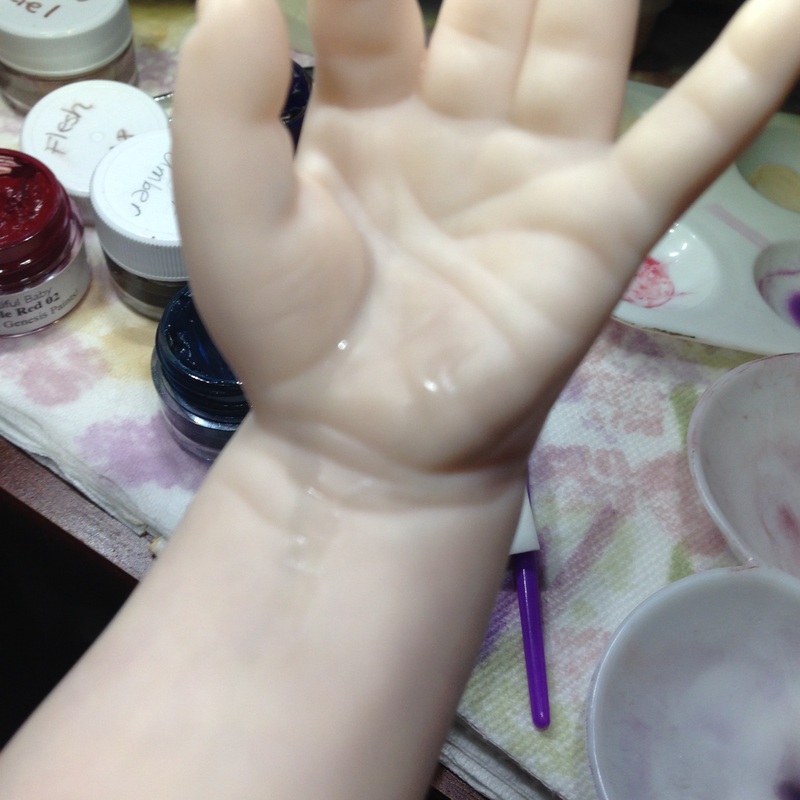 As the late, great Michael Jackson would say, "Don't stop till you get enough." I certainly take that to heart when I'm painting the "under-skin" layers. I don't stop till the baby truly looks real. To make Amalina as lifelike as possible, I continued to add layers of blood red, purple, green and even yellow. Once I was happy with the mottling, I started to paint her veins. I'm quite picky about my veins, so do check out my Veining Tutorial for more on how it is done. :) Once those layers have been cured and had time to set, I'm going to do a little more blue shading in the hands and feet till they look just right. Then she'll be ready for her flesh tone layers. 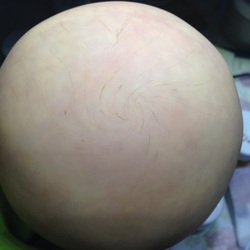 Every good process has guidelines. To ensure that my rooting looks just like hair growing out of the baby's scalp, I'm happy to invest a day in planning out where these little hairs are going to go. I carefully plot out the hair growth pattern from crown to hairline. A truly realistic baby should have at least one swirl at the crown. Lightly painting that swirl helps me angle each hair in the direction that it naturally grows. At the same time, I paint the hairline. Even mohair is not as fine as the tiny baby hairs and peach fuzz on the baby's forehead. So I paint those hairs for a lifelike look. They are a little hard to see right now, but I'll go back and darken them as needed once the rooting is done. 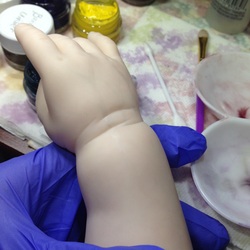 Shortly after we began Cadyn, her Mommy decided that she needed a twin brother. :) After a few days of painting, Colyn is finally catching up with his sister. I just finished his mottling and veining. Once I've added a few flesh coats, they'll finally be twins. :) |
Reborn Doll Babies
All
Reborn Doll ArtistHi! My name is Kim. I am a reborn artist based in NC. I have been creating dolls since I was a child. I discovered the art of life-like baby dolls in 2011 and have been reborning ever since. Archives
December 2016
|


 RSS Feed
Home | Custom Dolls | Portrait Dolls | Pricing and Payment | Contact Us
Promotions | Reborn Baby Doll Care | Vote for Us
Promotions | Reborn Baby Doll Care | Vote for Us
Reborn Dolls distributed by CustomDollBaby.com are high-end collectibles not intended for children under age 12
© 2017 Custom Doll Baby, Inc.
© 2017 Custom Doll Baby, Inc.