
|
To find out how we got from the before photo to the after photo, click Read more!
1 Comment
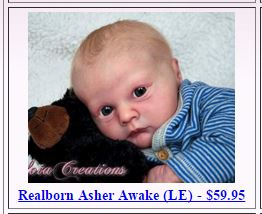 When you're first starting out, it seems that reborn dolls are not very expensive to make.
You think, "I can get that doll for $59.95?" Not quite. 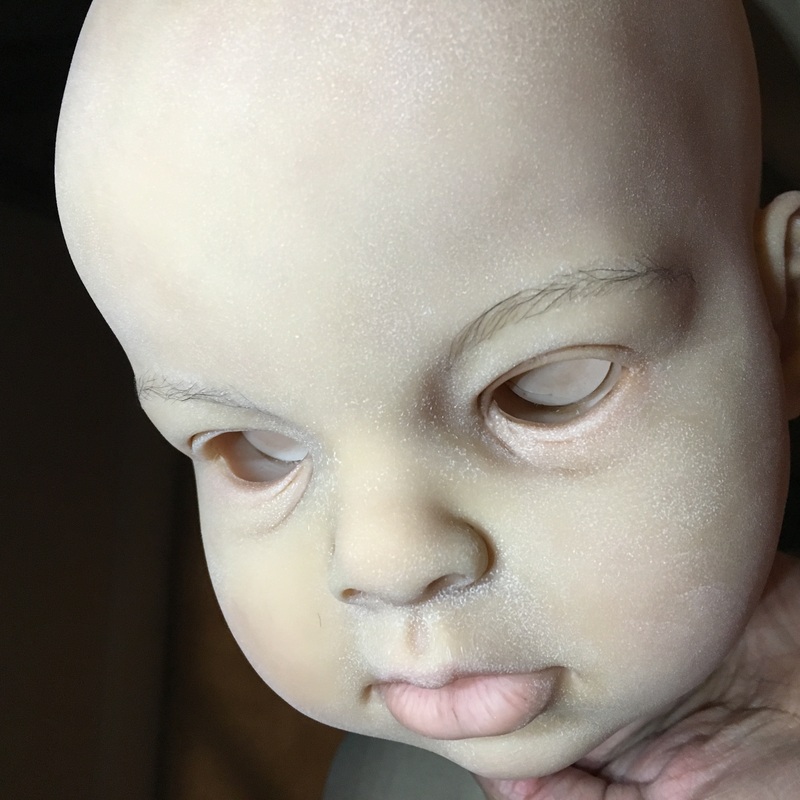 Picture this: You've been reborning your doll kit for weeks, meticulously adding one layer of paint to the other until your doll looks just like a real baby. When you're all done, you decide to protect all your hard work with the Genesis Heat Set Matte Varnish, just like the tutorial told you to. You take a break, come back to inspect your work and find your baby frozen in white matte varnish crisps. Hours of work ruined! What are you going to do??! Click "Read More" to find out!
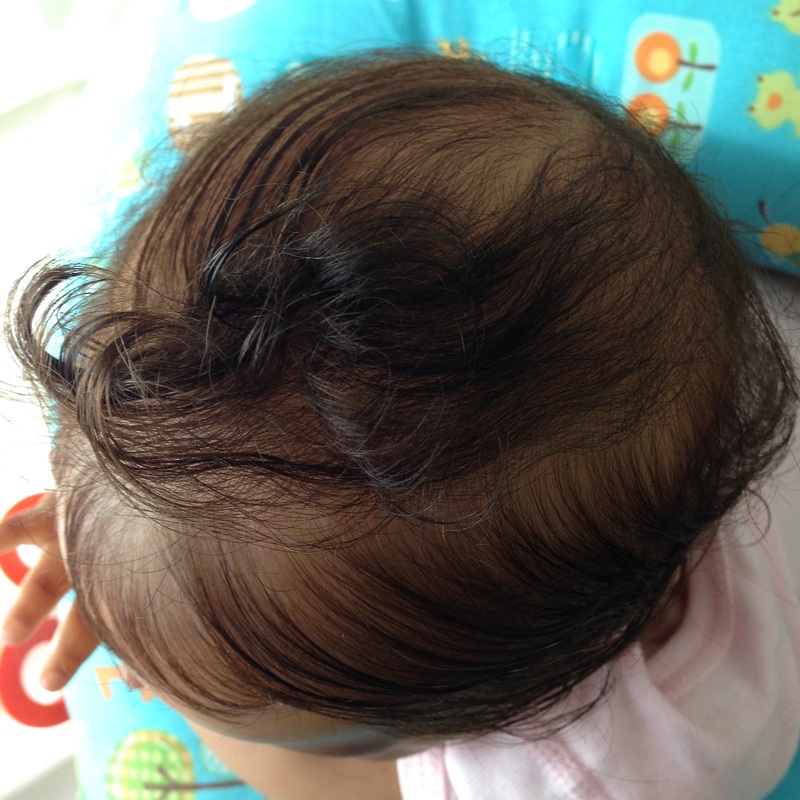
How do you microroot your baby doll so that it looks like the hairs are growing out of the doll's scalp? The Root-A-Loop method is a great way to get beautiful results every time: even for novice rooters! Click "Read More" for details!
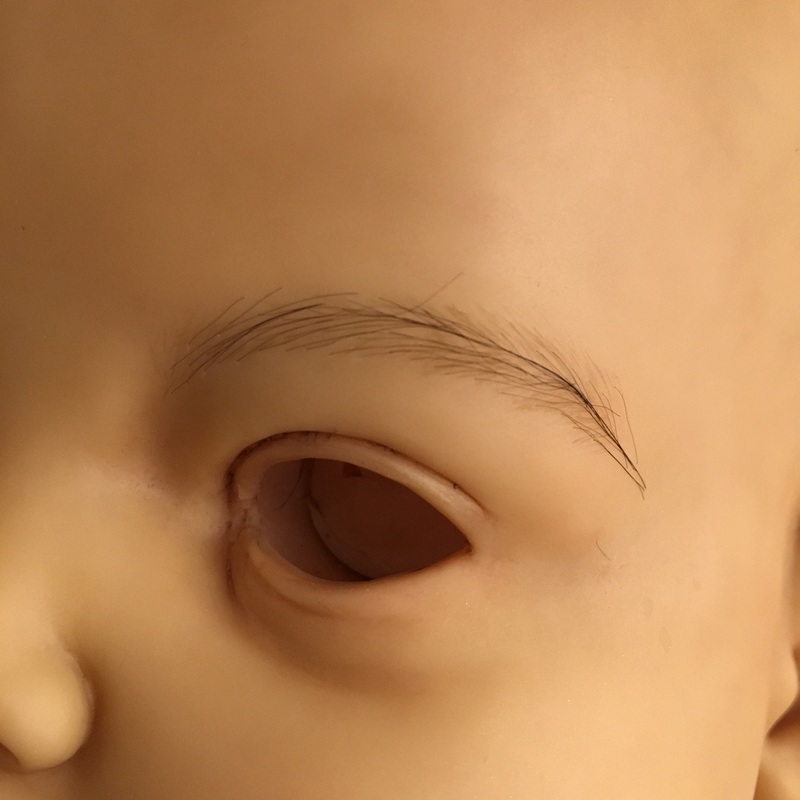 Separate your dolls from the rest with perfect reborn baby eyebrows! Whether you paint or root your eyebrows, this demo is for you!
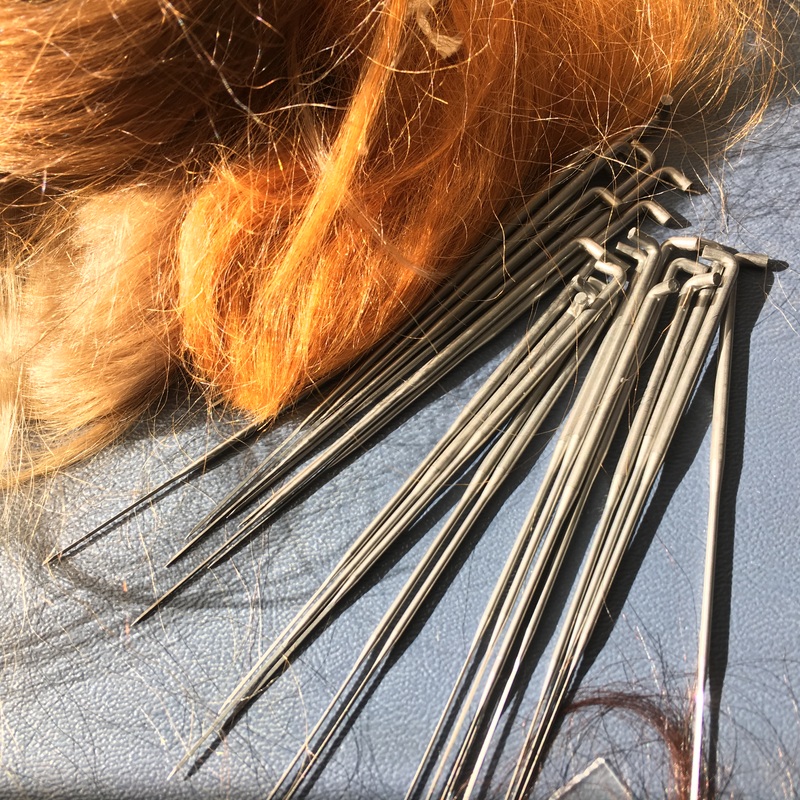
What's the difference between a barbed needle and a notched needle? Why is gauge measured backwards?
Shopping for rooting needles can be very confusing. This guide will equip you to find the best rooting needle for your reborn doll. In order to determine what kind of needle you need, we first need to understand how you root. In this video, I will demonstrate what I see as the three major rooting methods.
 If you're new to creating or collecting reborn dolls, terms like "microrooting" and "43 gauge" sound a bit intimidating.
No problem! I'm going to walk you through what microrooting is and how it works so you'll have everything you need to know when shopping for or creating your reborn baby doll. 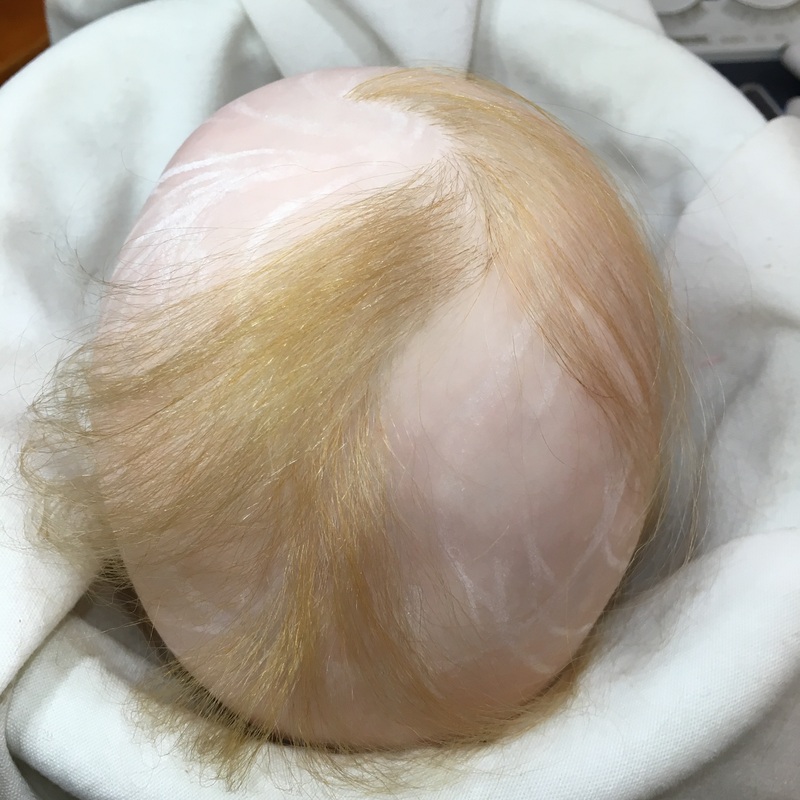 It's time to start rooting!
Learn how to warm the head, prep the mohair, and root a gorgeous natural hair growth pattern on your lifelike reborn baby doll! 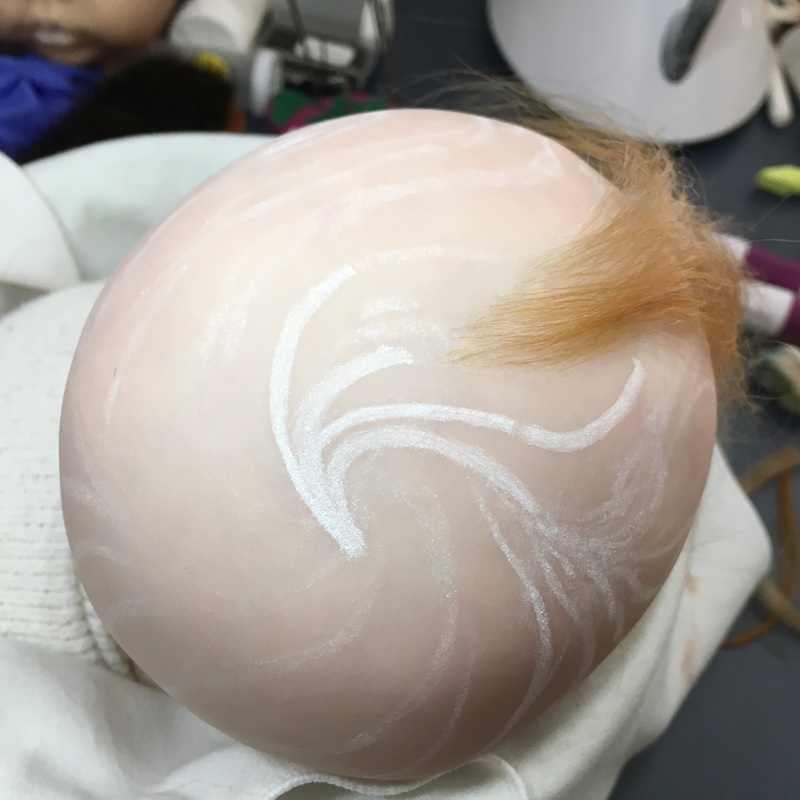 In order to correctly root our rooting plan, we need to understand how to root directionally.
Directional microrooting will allow your hair to flow in the natural growth patter you designed so that your doll will look just like a real baby! Now that you've been through Part 13: Drawing a MicroRooting Plan for Reborn Dolls Part 1, we're ready to continue the lesson in Part 2:
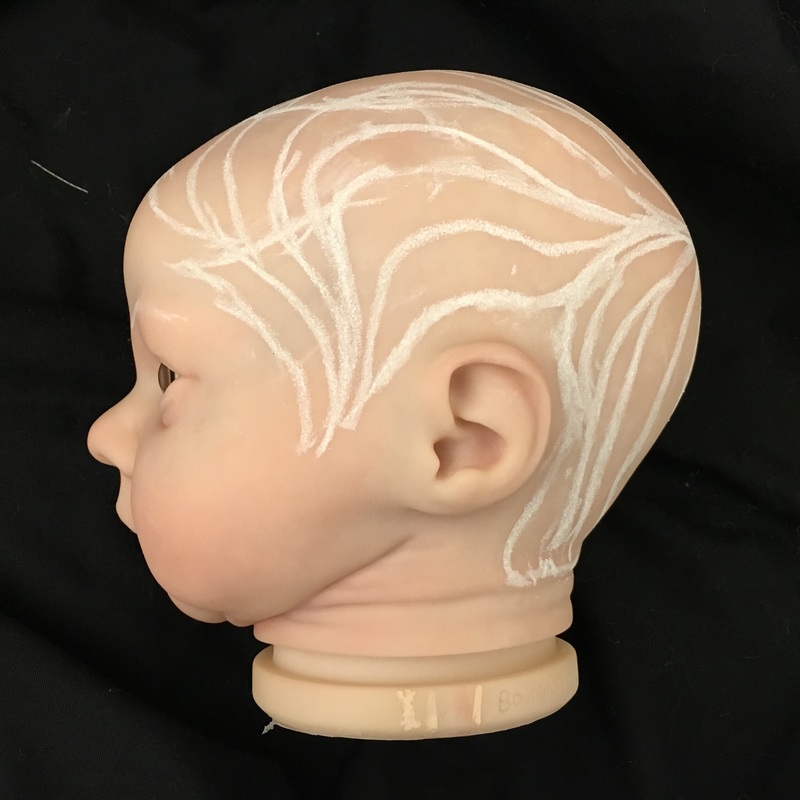 Every good process starts with a good plan!
To root gorgeous lifelike baby hair on your reborn doll, we need a rooting plan. This tutorial describes in detail why, how and where to draw your perfect rooting plan! With the matte skin texturing all set and thoroughly cured, there is only one varnish left to add: the gloss!
 This video will show you how to create beautiful lifelike skin texture on your reborn baby doll using Matte Varnish and Genesis Heat Set Colors.
 The complexion layers are done, the blushing is set and now we're ready to start painting those tiny baby details.
Sweet spots add extra rosiness to those super cute areas. Warm cheeks and rosy toes create a doll that your client will not be able to put down!
Blushing goes a long way in the process of bringing a doll to life. However, it can be challenging to know just where are how to blush your doll for maximum realism. This tutorial goes into detail on how to do just that!
With the complexion layers complete, we're now ready to start blushing! Blushing is one of my favorite reborning steps. It warms the skin and brings out all those cute little baby details.
We've finished and cured the Mottling, Veining and Blue Shading layers, we're done with everything needed to create the illusion of blood flowing under the skin. Now its time to add some skin!
 Of all the reborning steps, blue shading is the most difficult to explain. But it adds such richness and dimension to the baby doll, that I at least have to try!
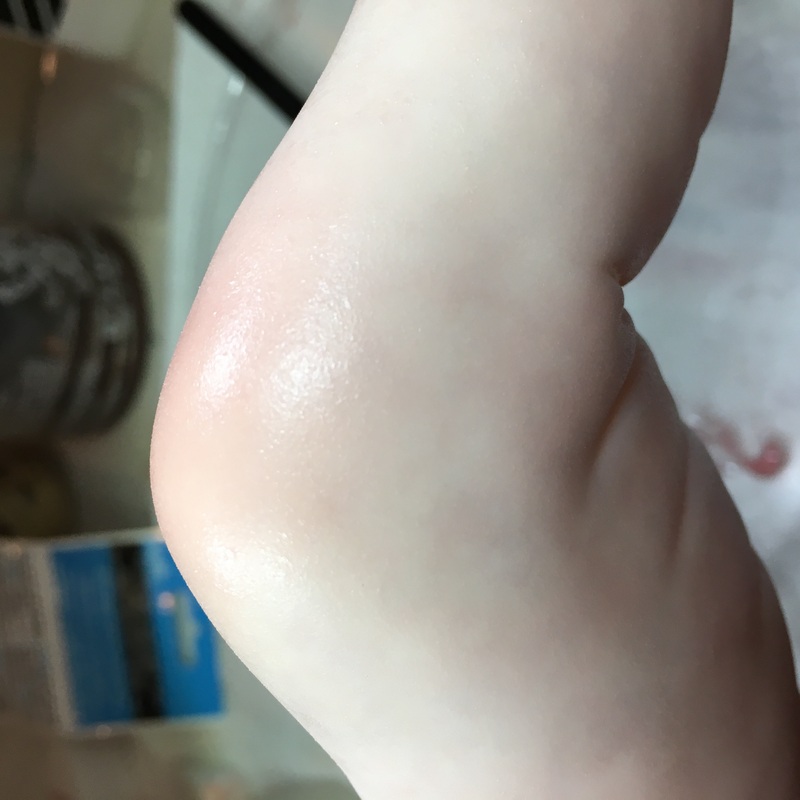
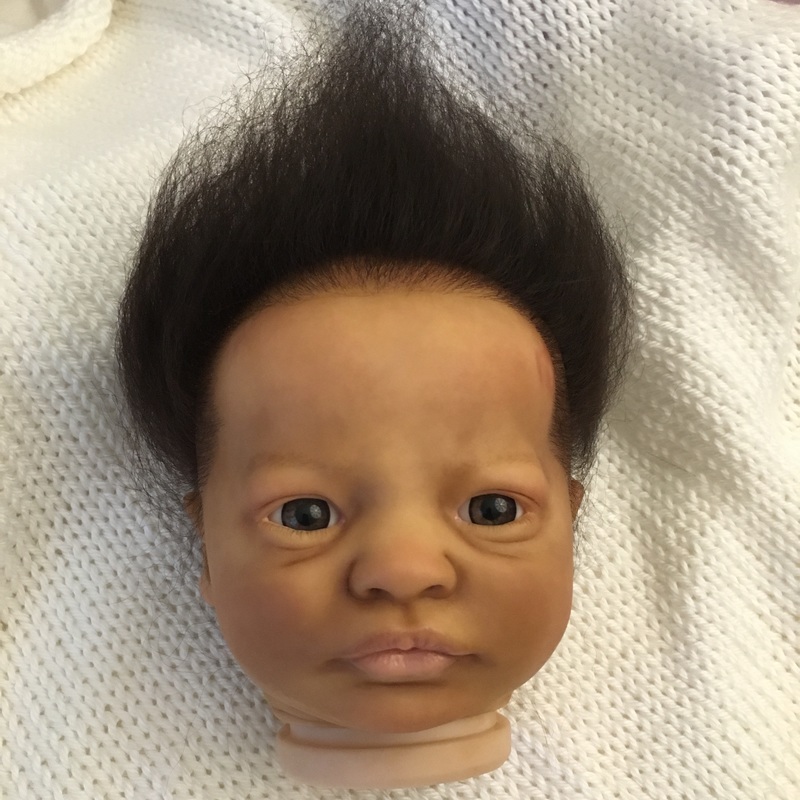
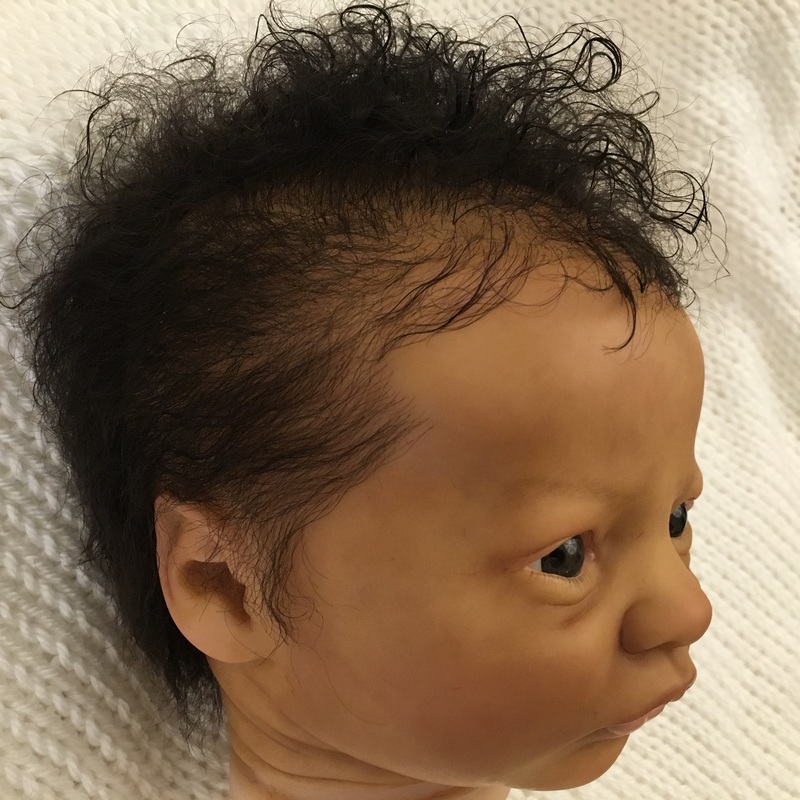
Once you're satisfied with the mottling and the veins, blue shading is the last "under the skin" step before we add the complexion layers... 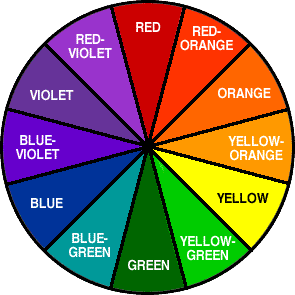 Before turning a doll into a lifelike reborn baby doll, we need to make sure that our canvass is a nice neutral color. Depending on the manufacturer, the vinyl you receive may be a little too orange or too pink for your purposes.
Read more to learn how the color wheel will help you neutralize your vinyl. Mottling is one of my favorite reborning steps. This is where the doll really starts to look like a real baby!
Few tutorials will tell you to paint a base coat on your doll kit. But it is certainly worth the time you'll spend doing it!
|
Categories
All
AuthorHi! I am Kim. I've been creating dolls all my life. I started stuffing cotton balls into my mom's pantyhose when I was a little girl. Now I hand-craft dolls that look and feel like real babies. Archives
December 2021
|
 RSS Feed