|
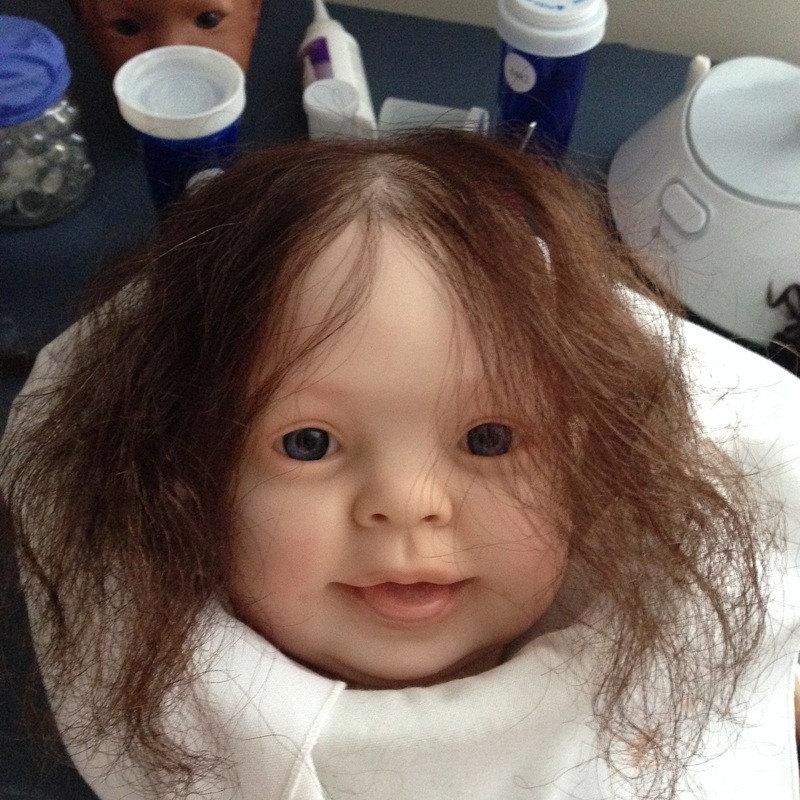
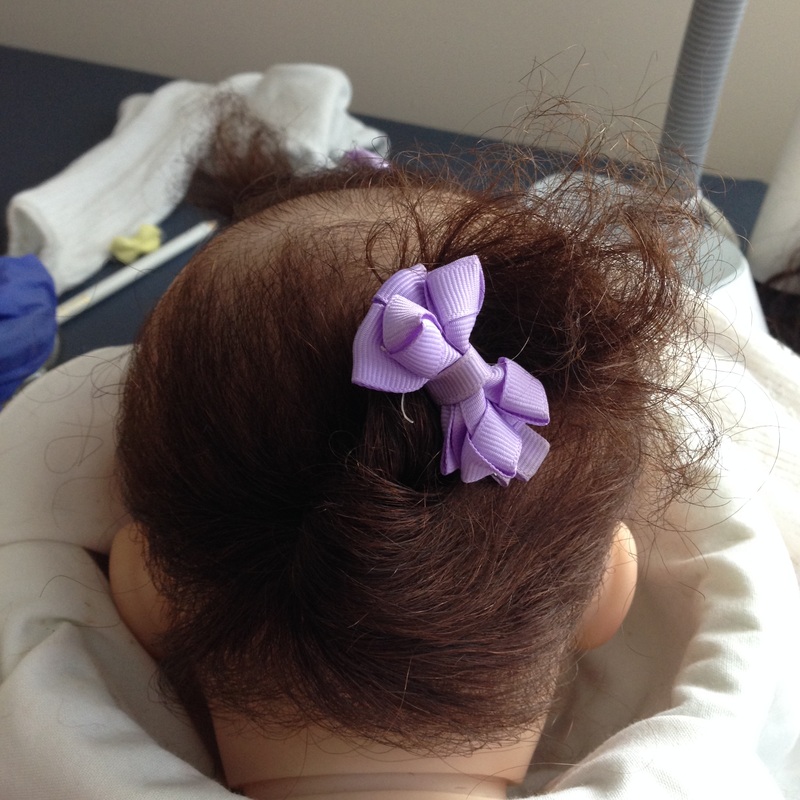
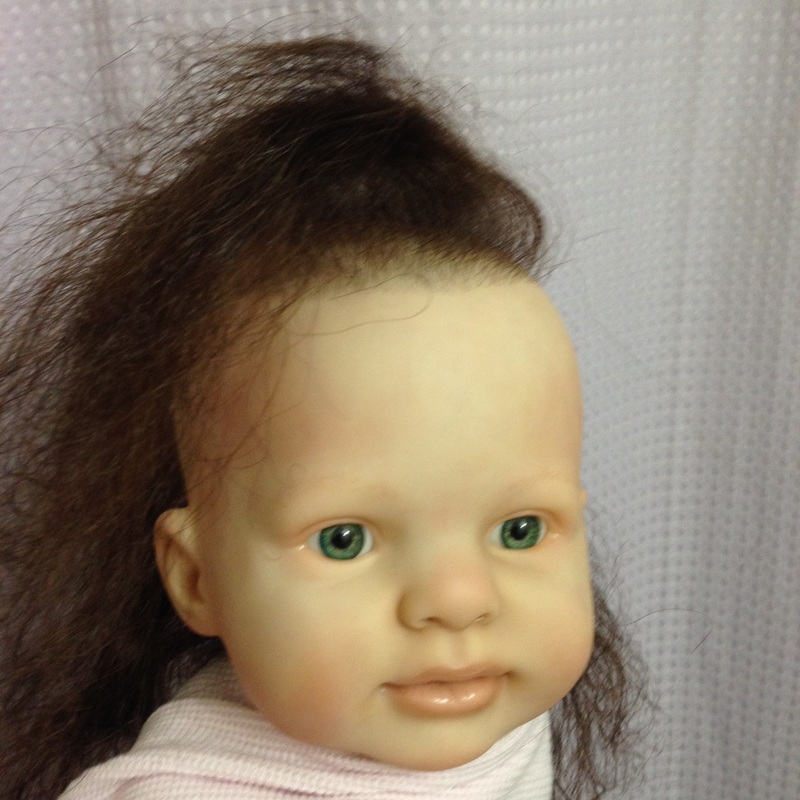
The two toddlers jointly represent the most time I have ever spent rooting any order - ever. They are finally done. Wheew! What a ride! 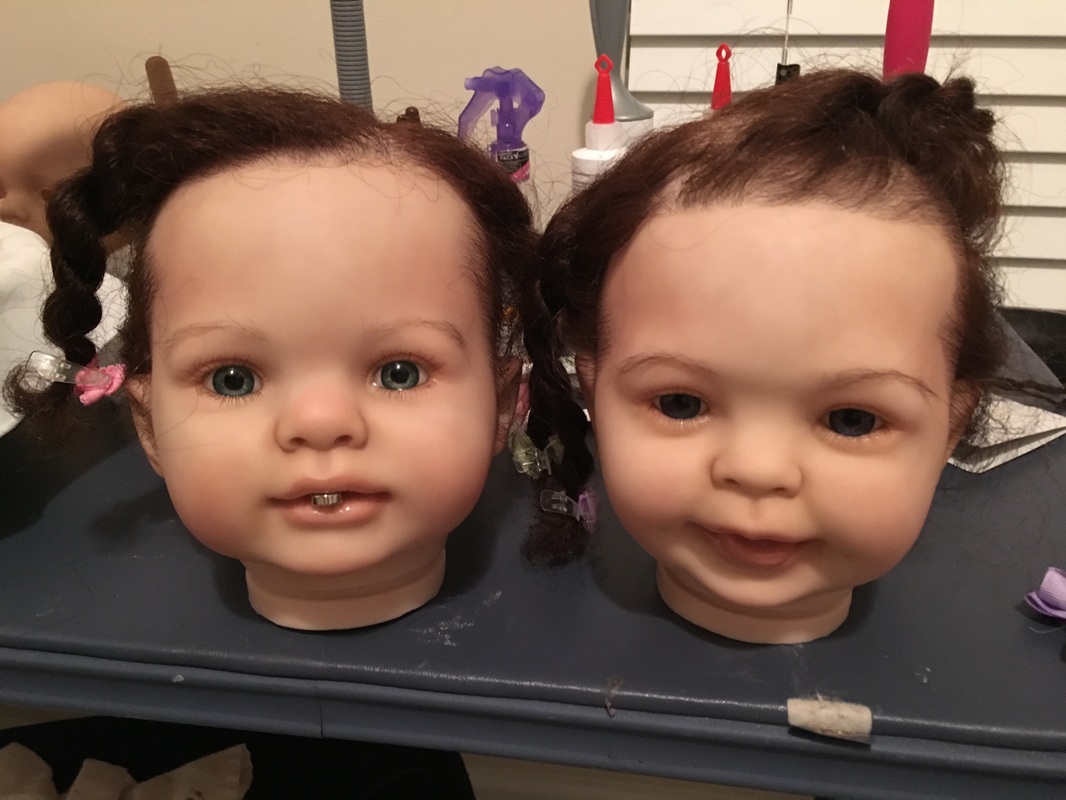
2 Comments
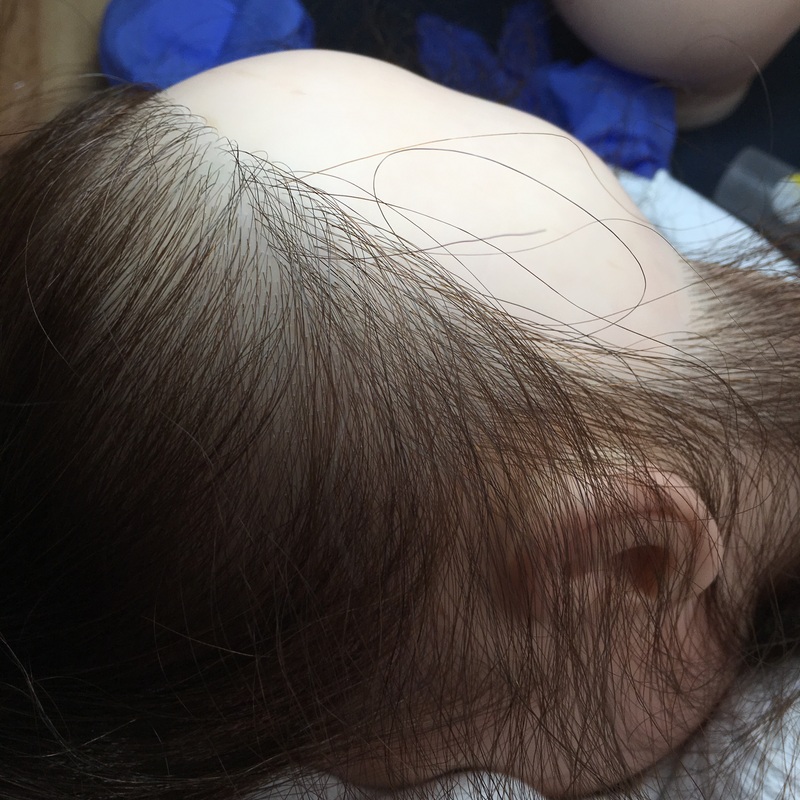
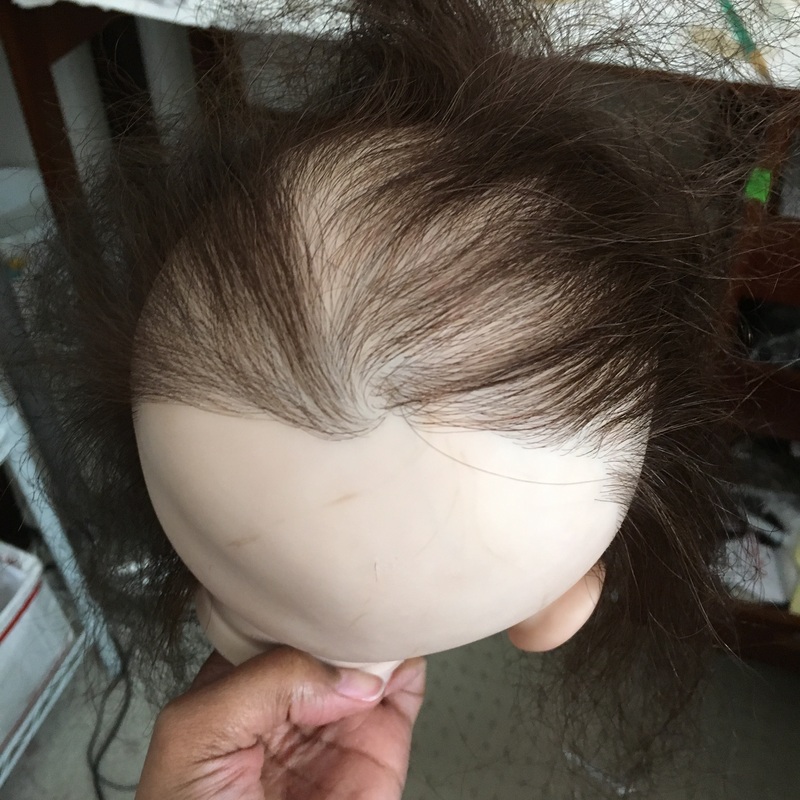
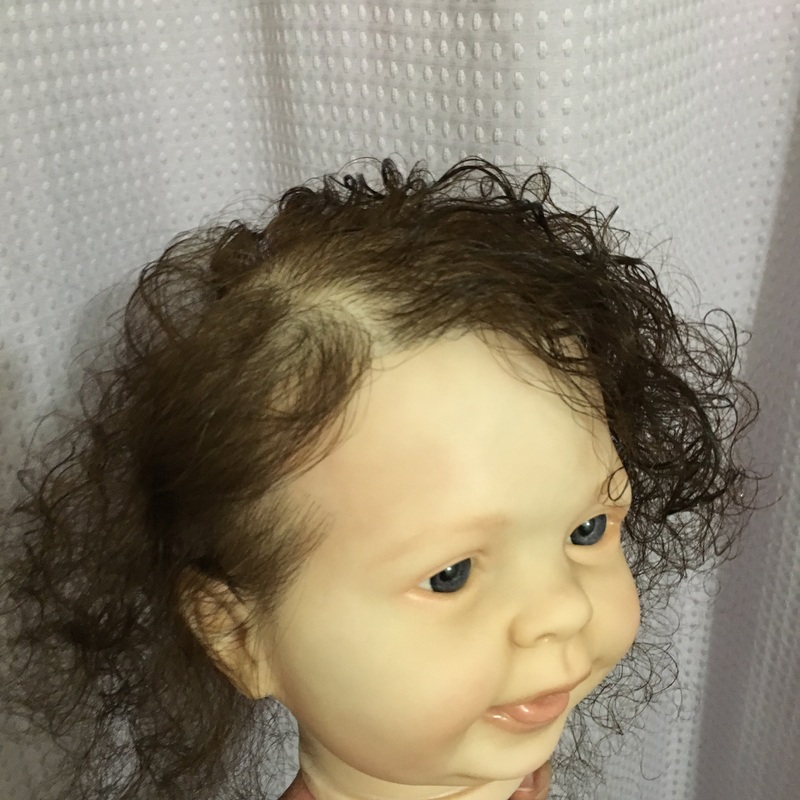
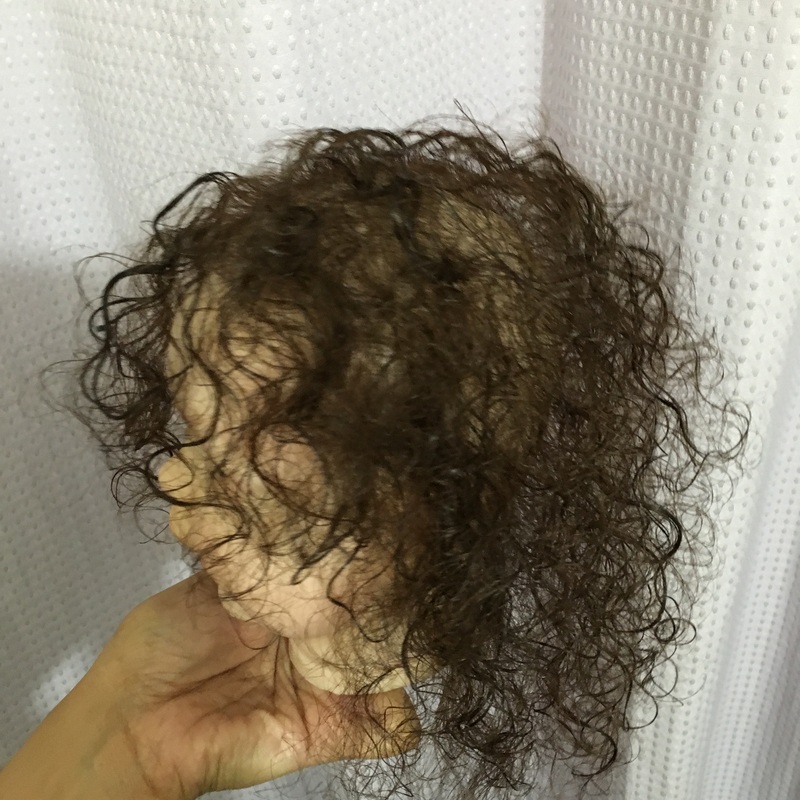
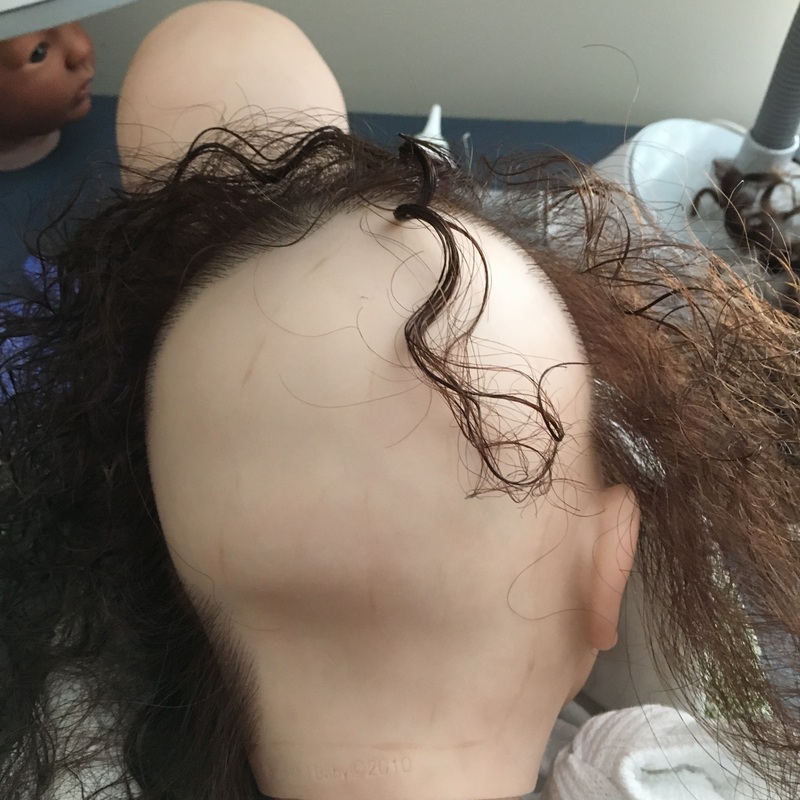
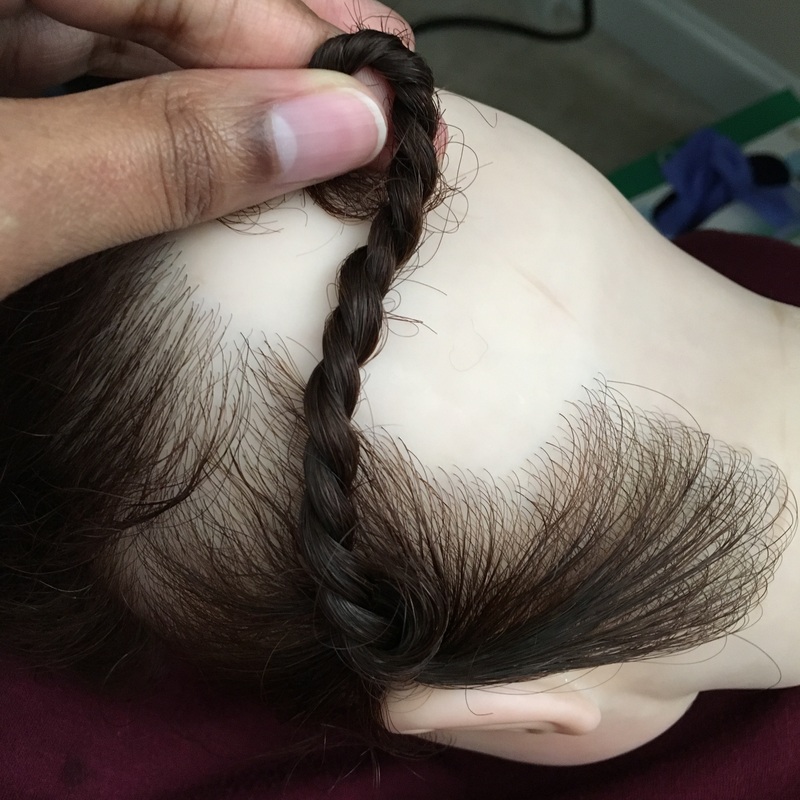
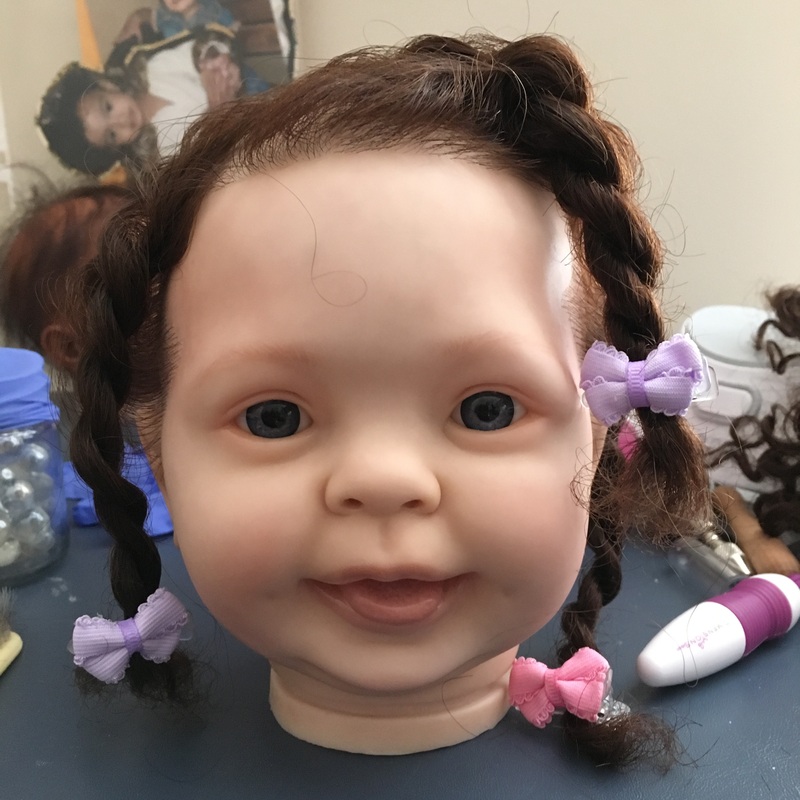
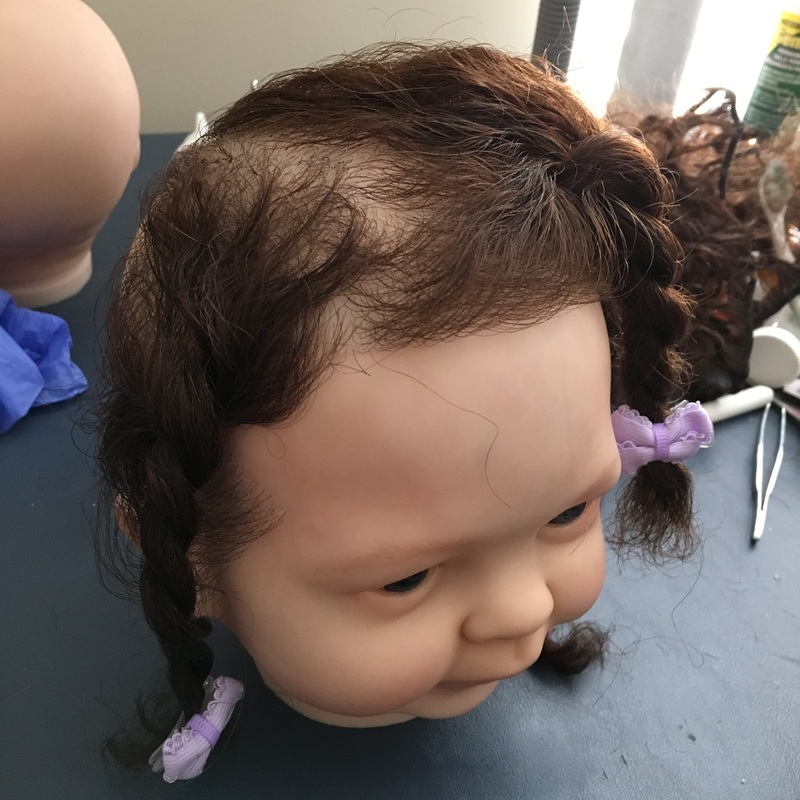
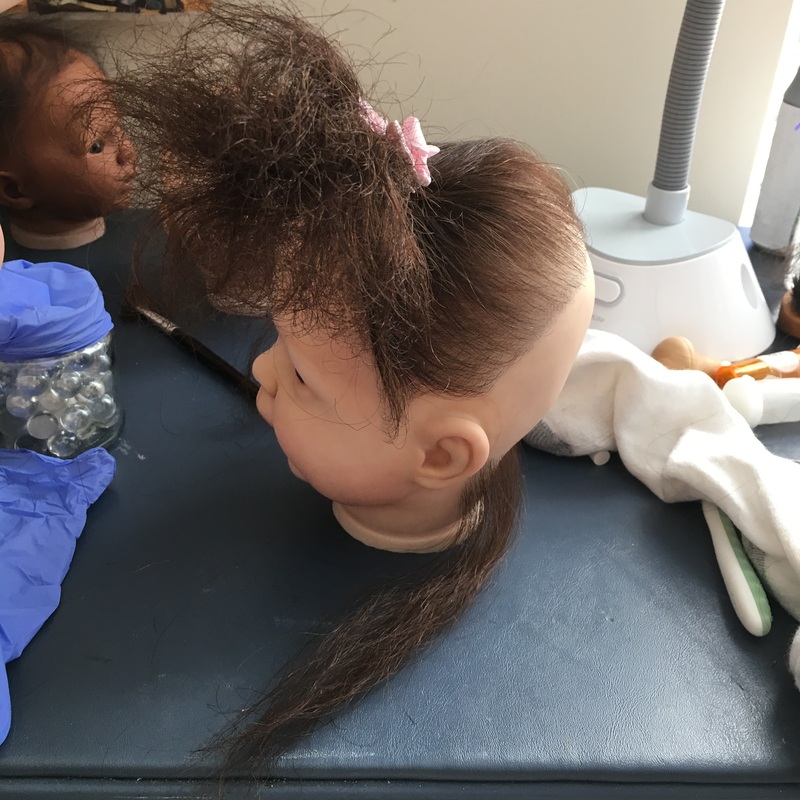
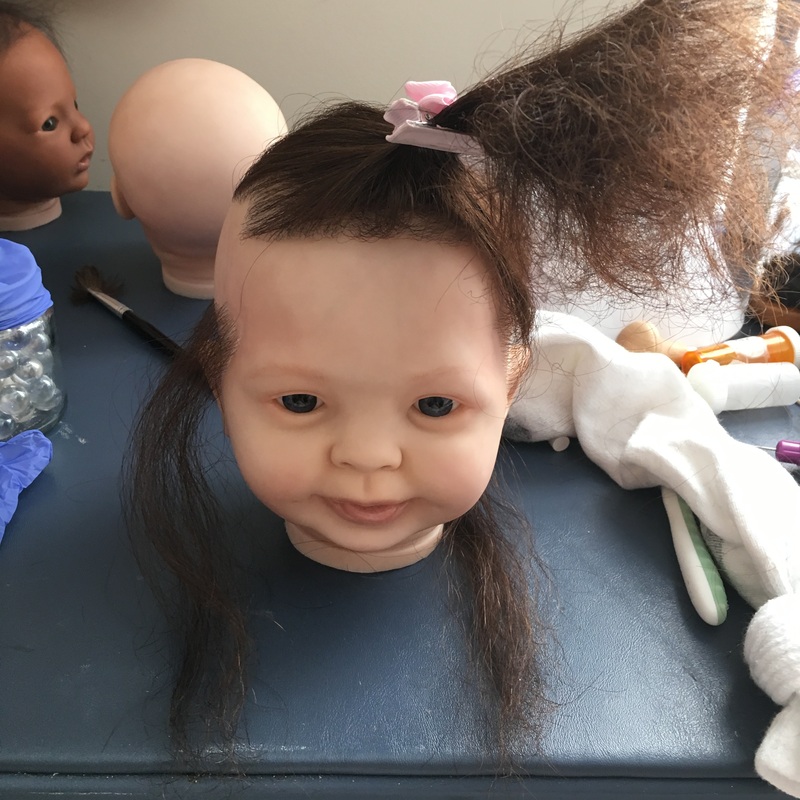
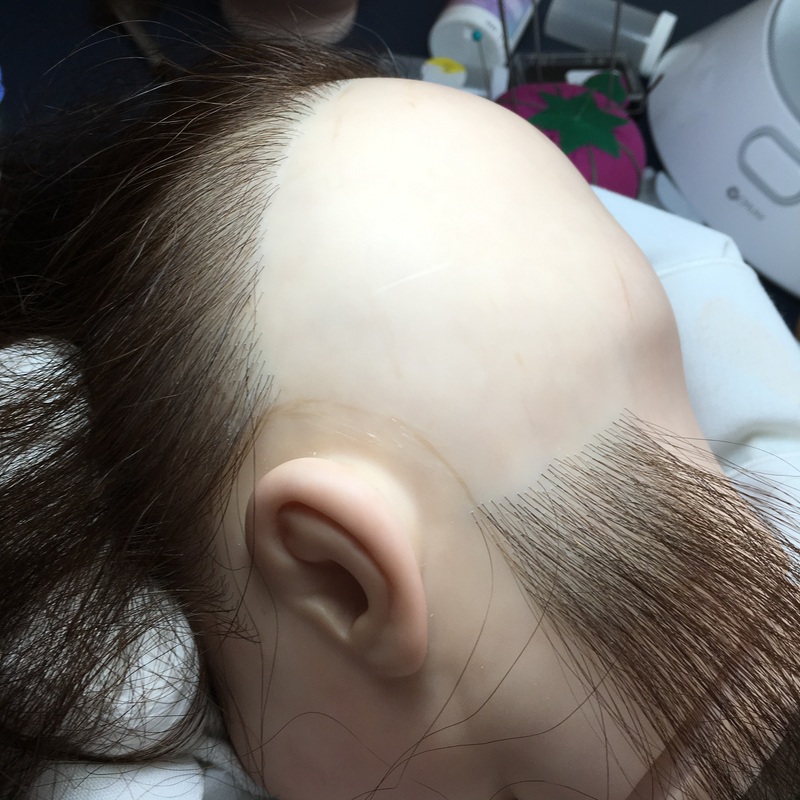
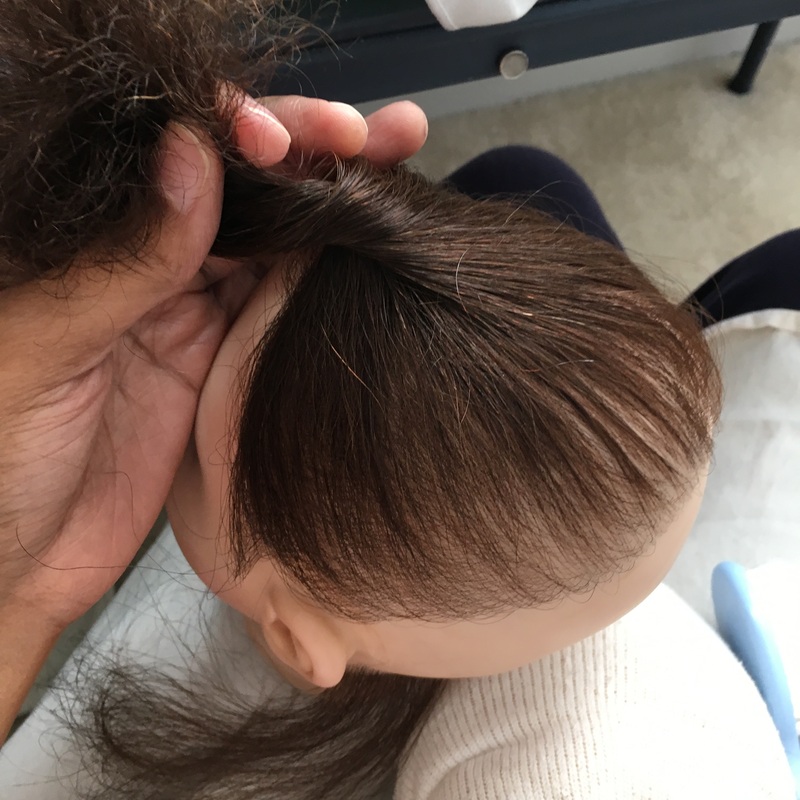
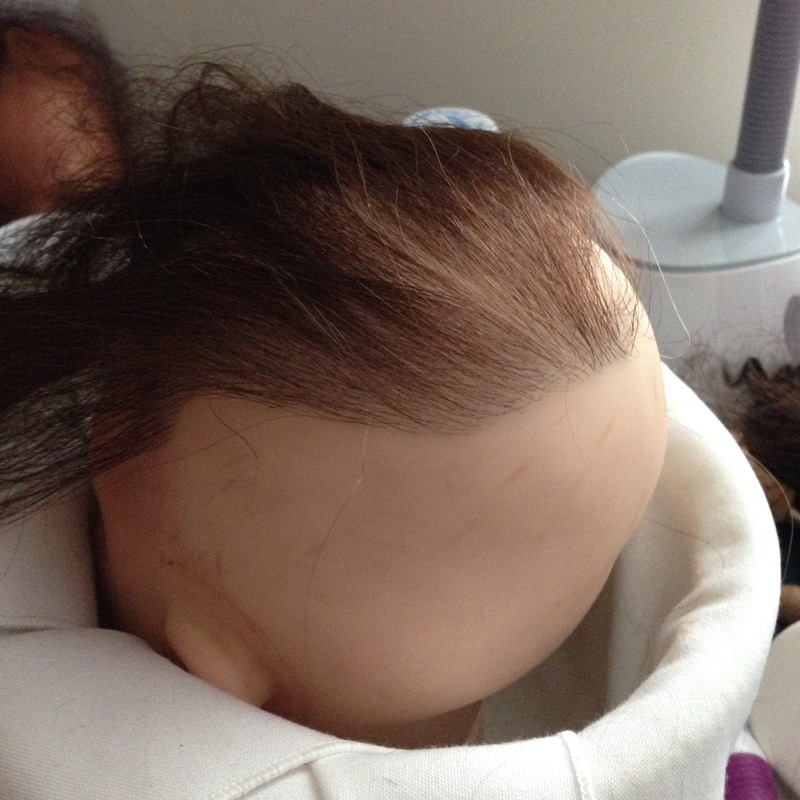
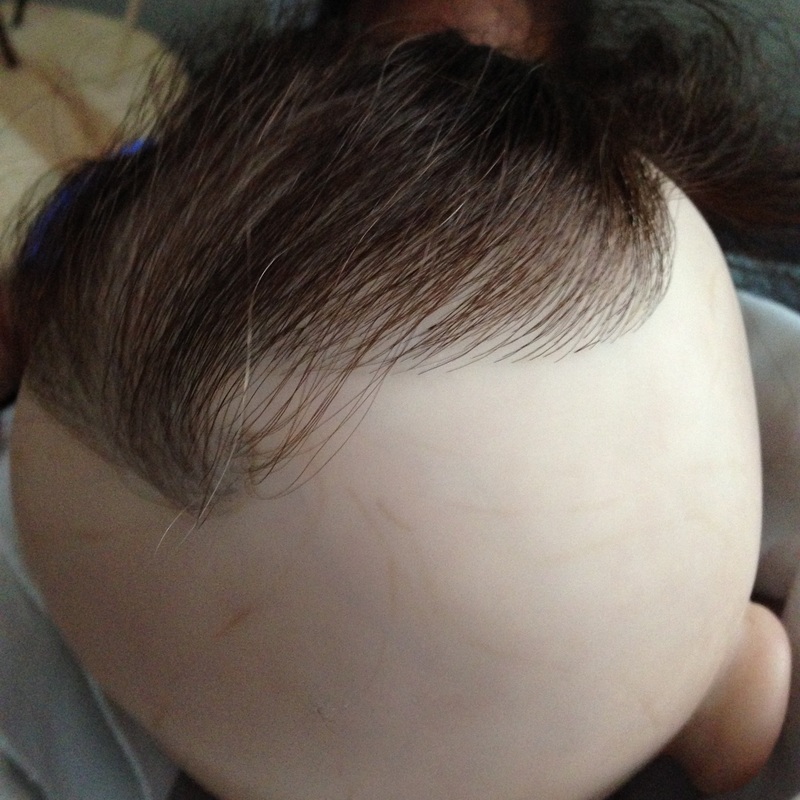
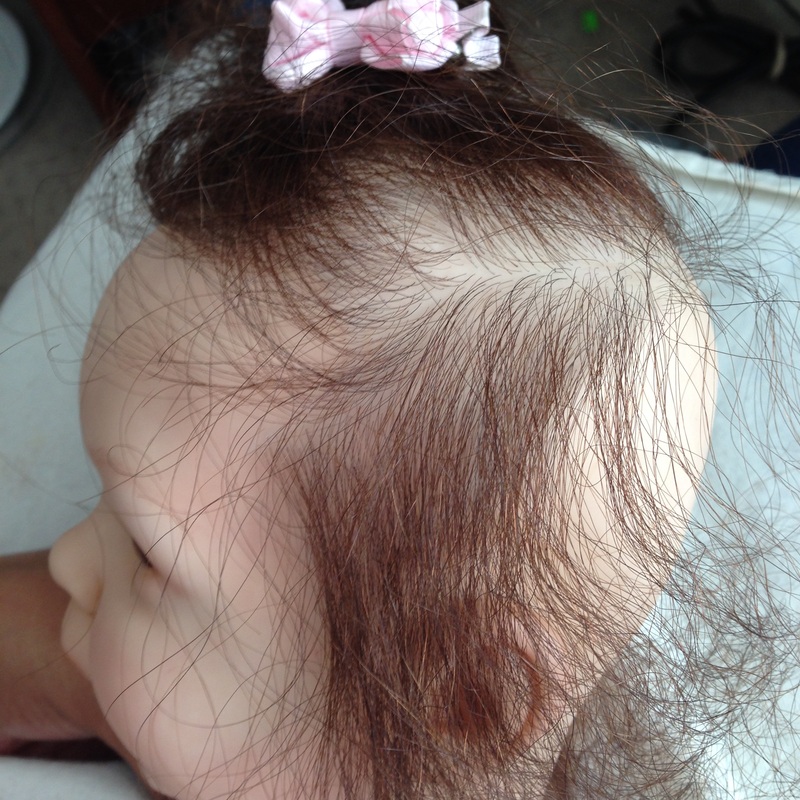
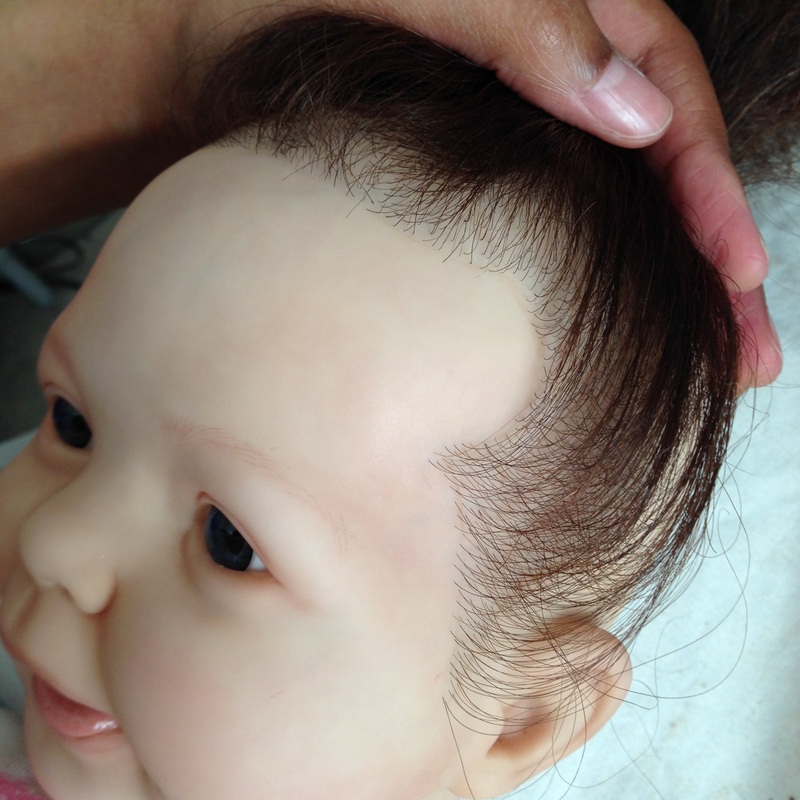
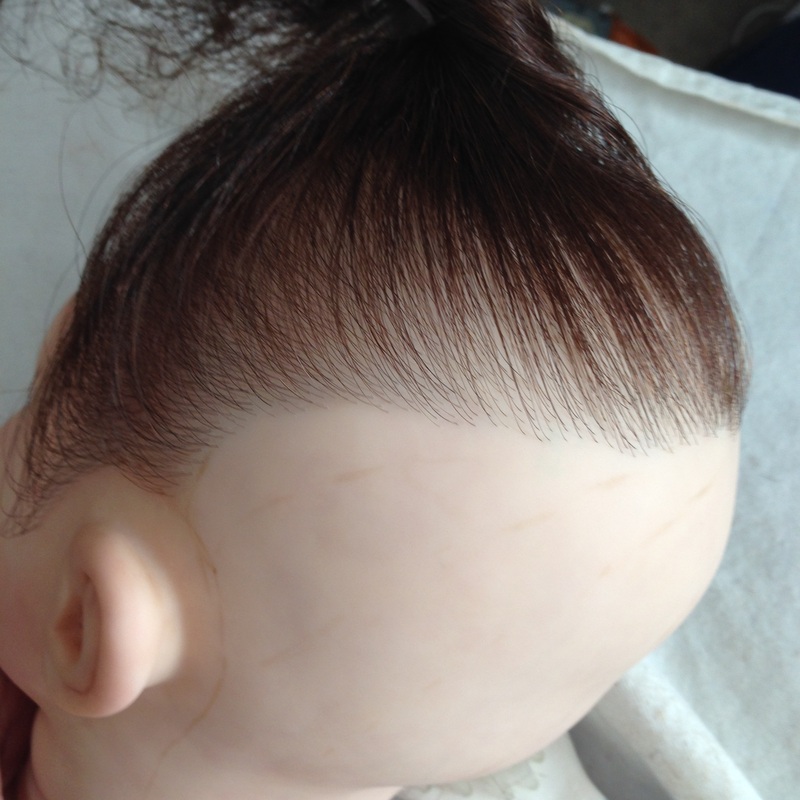
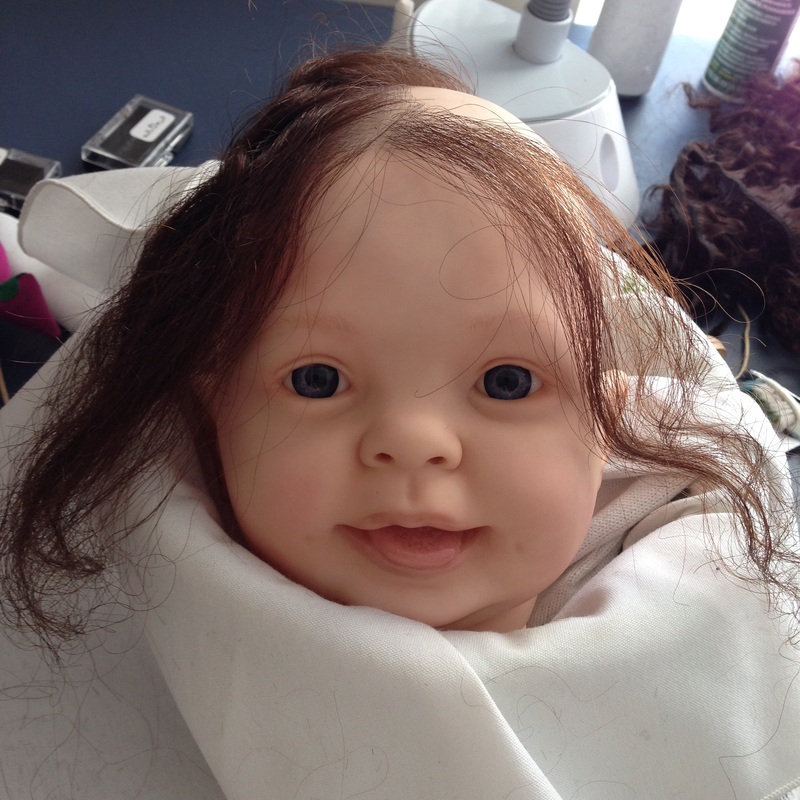
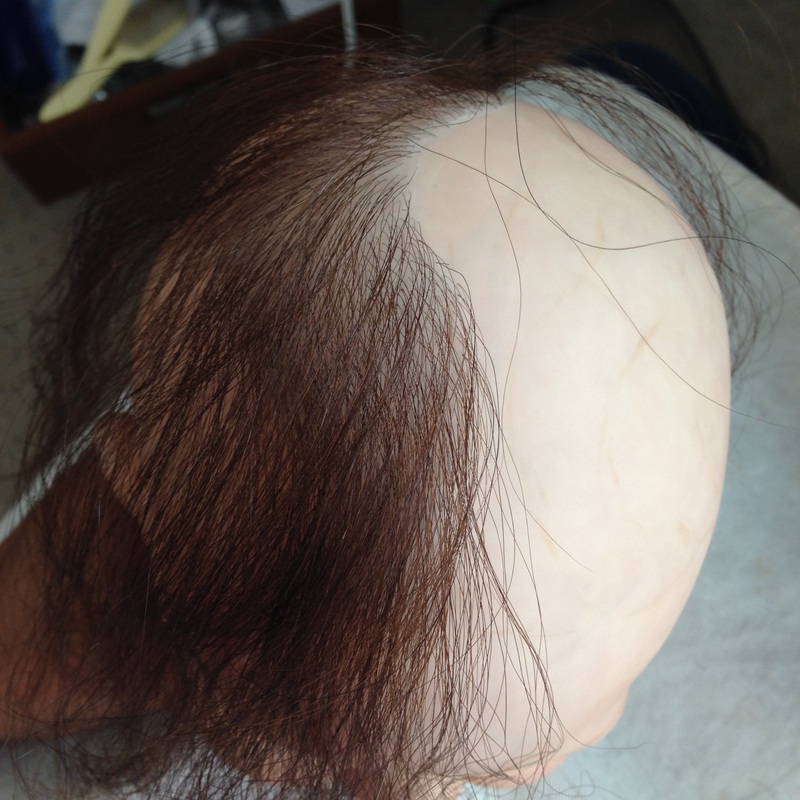
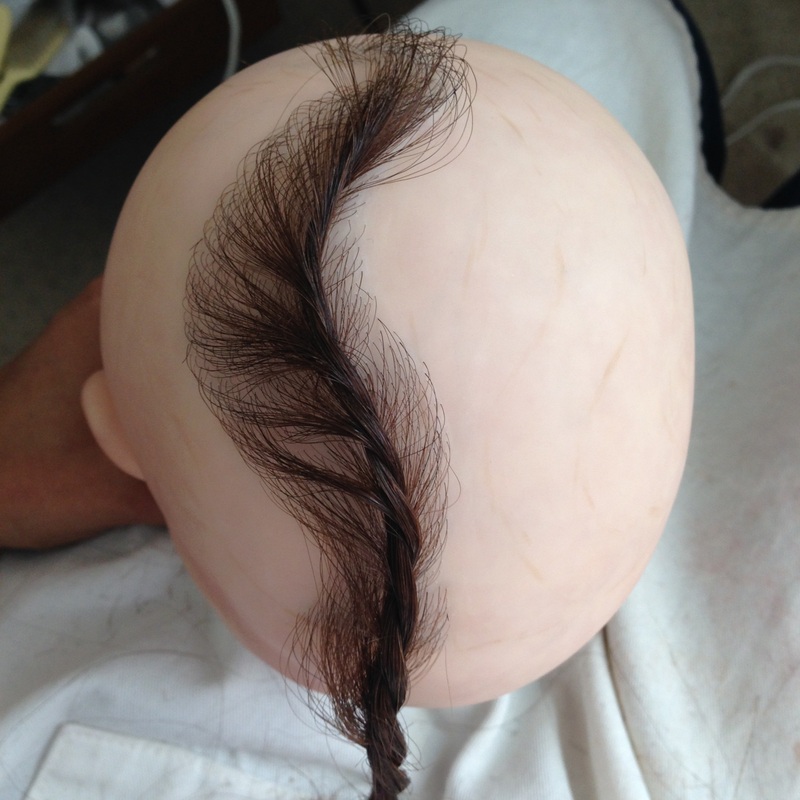
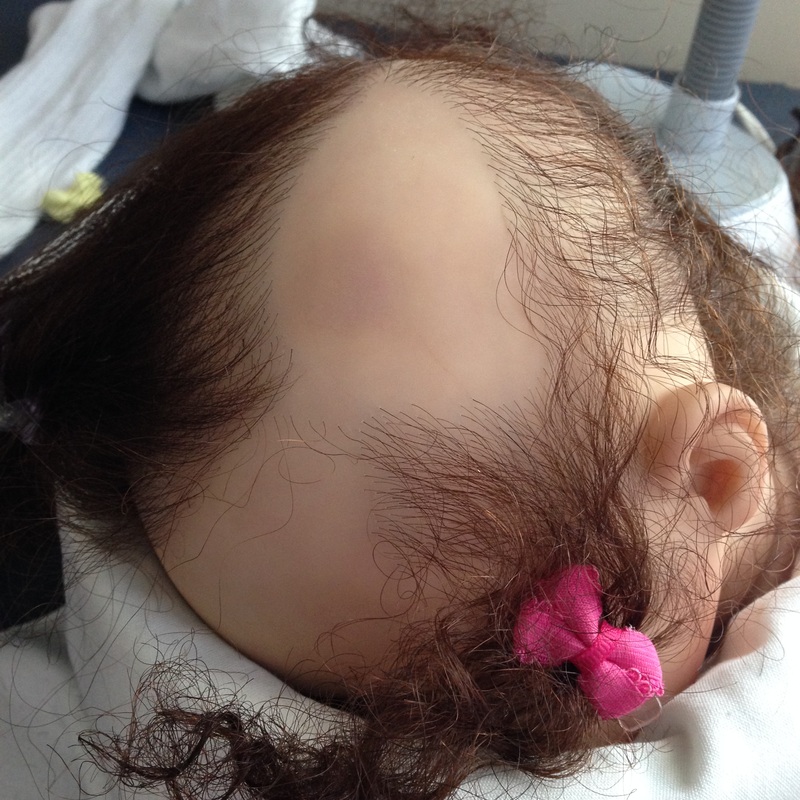
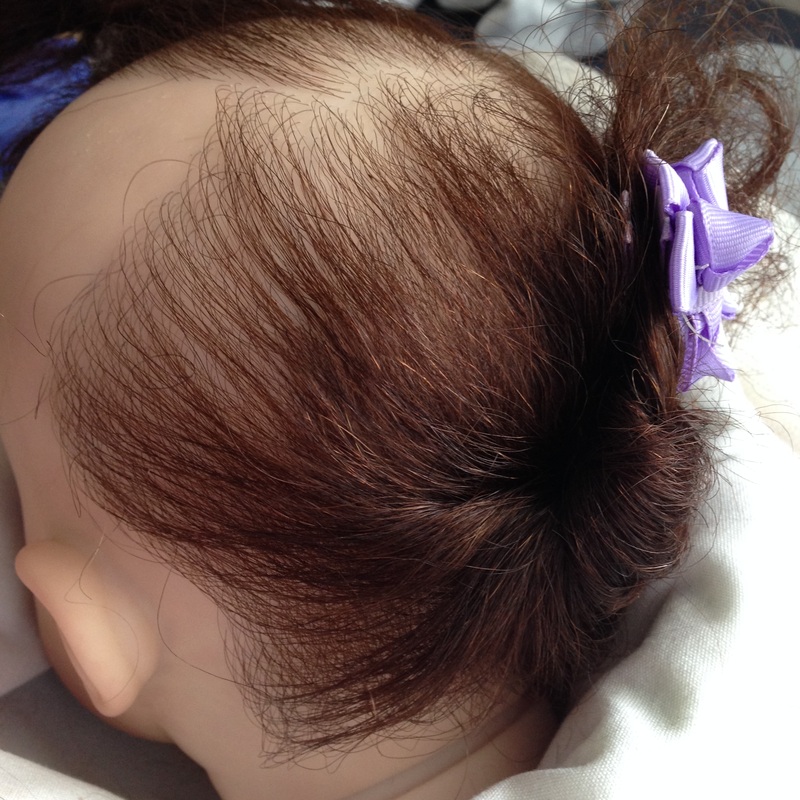
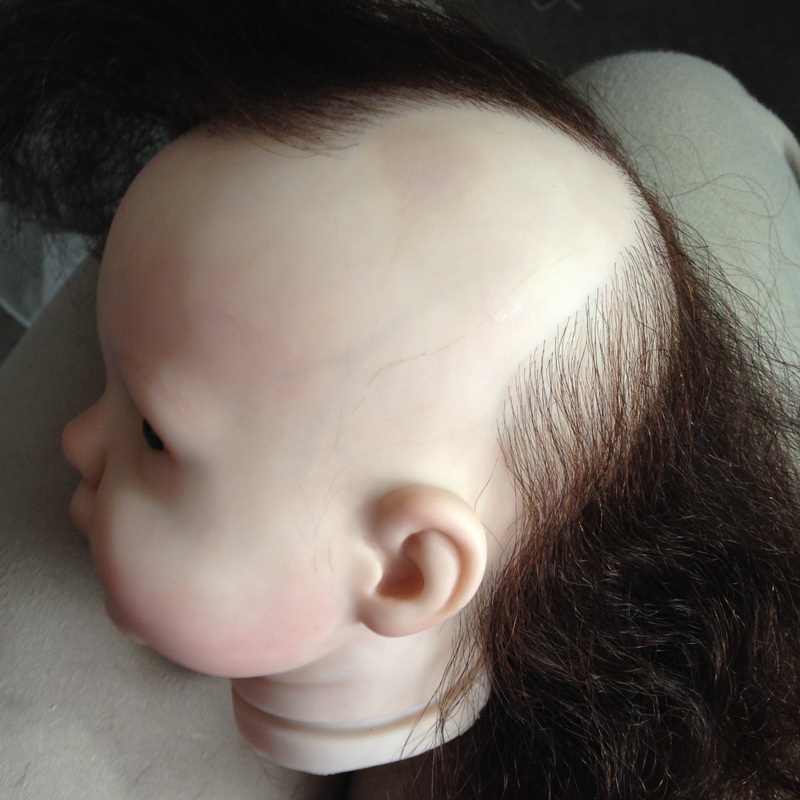
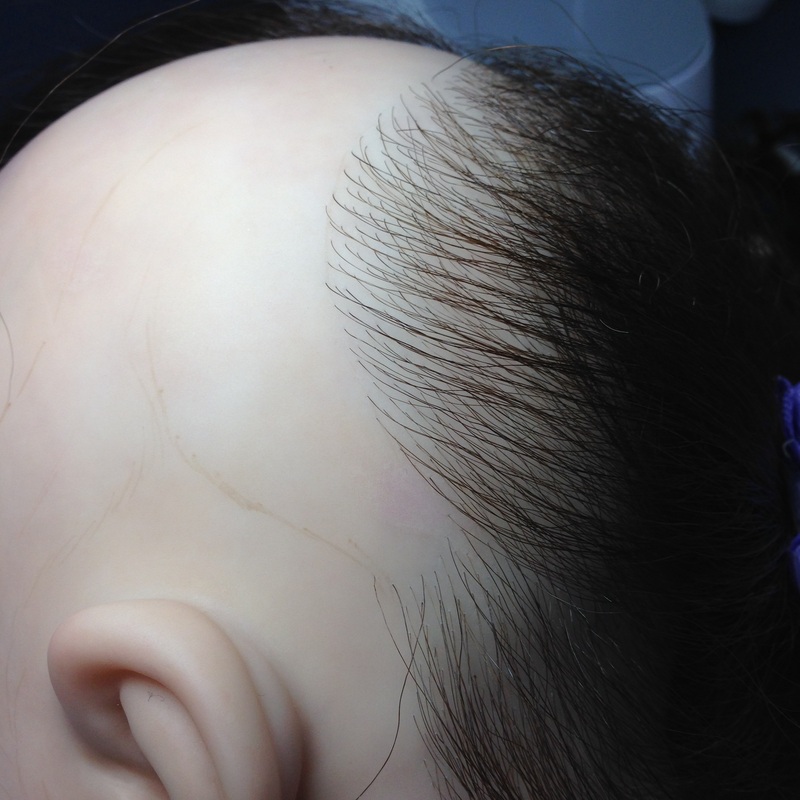
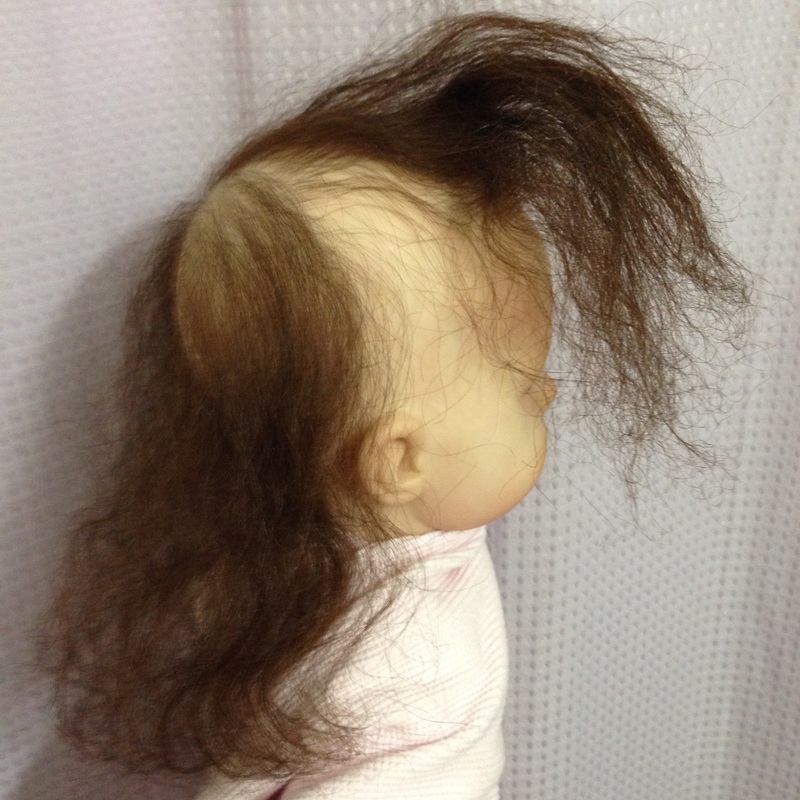
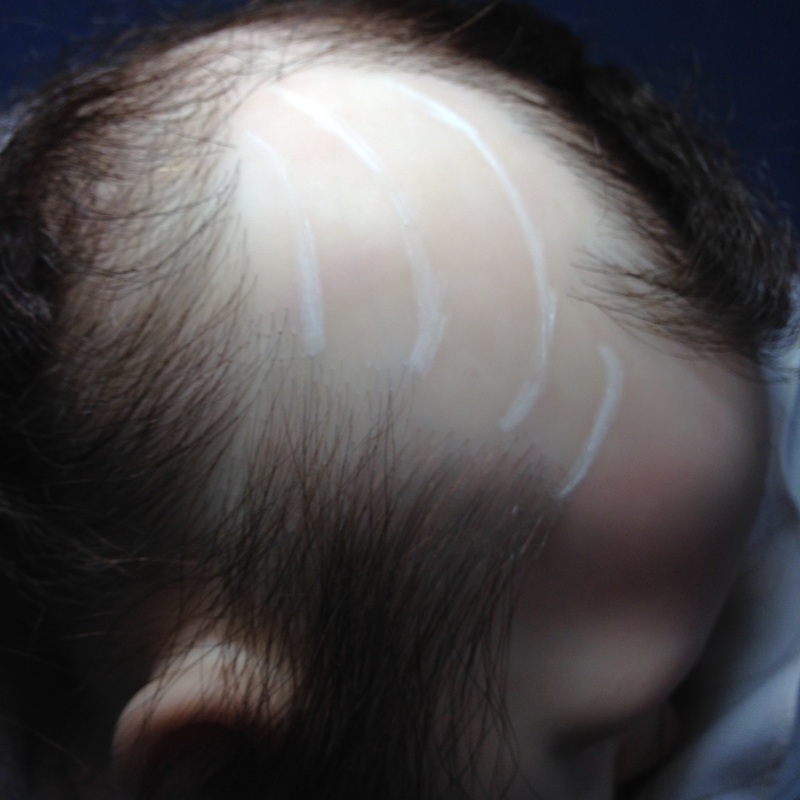
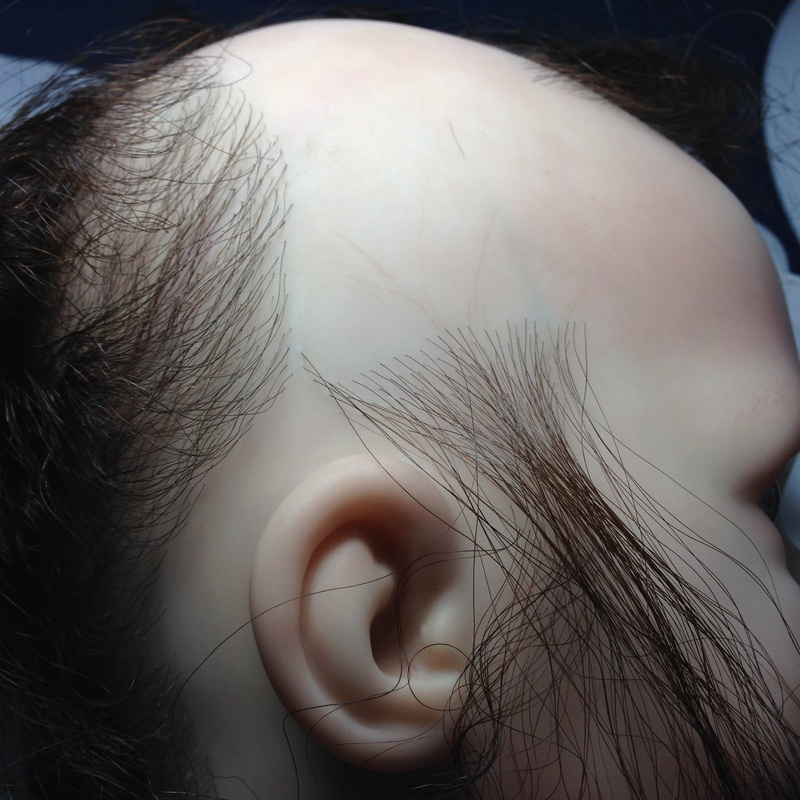
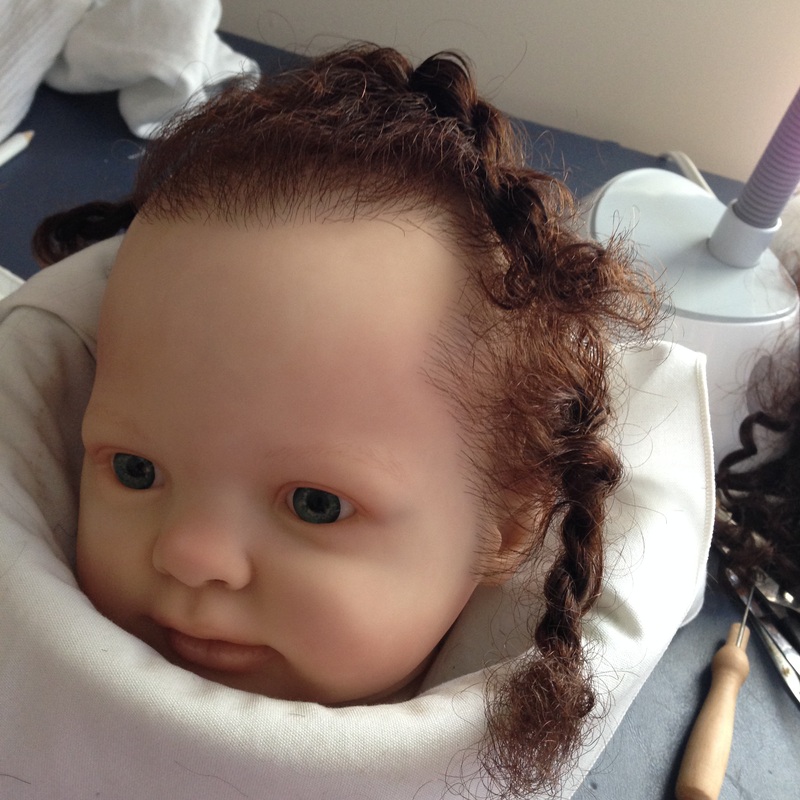
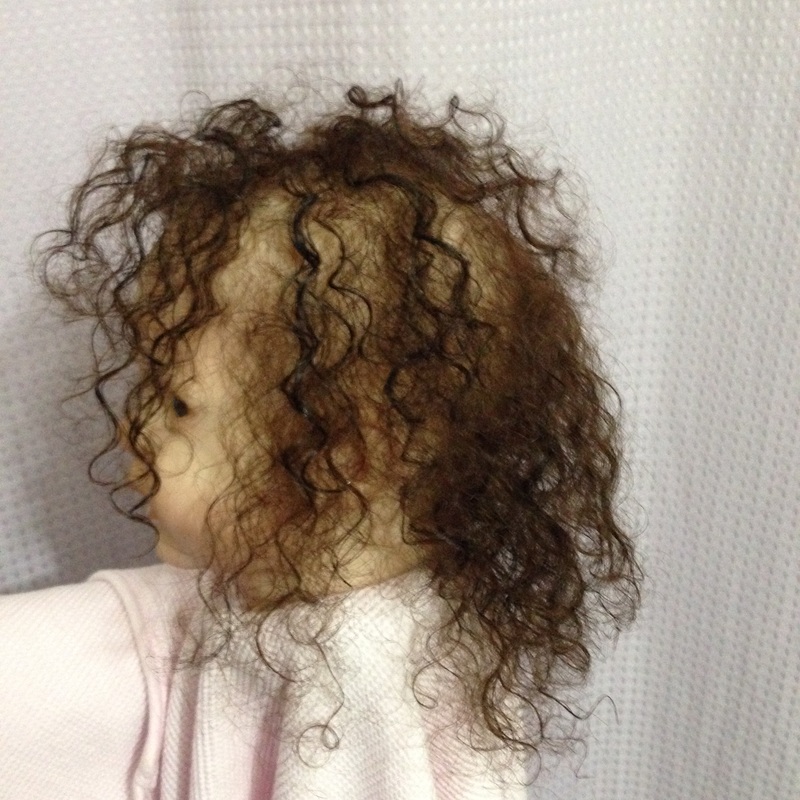
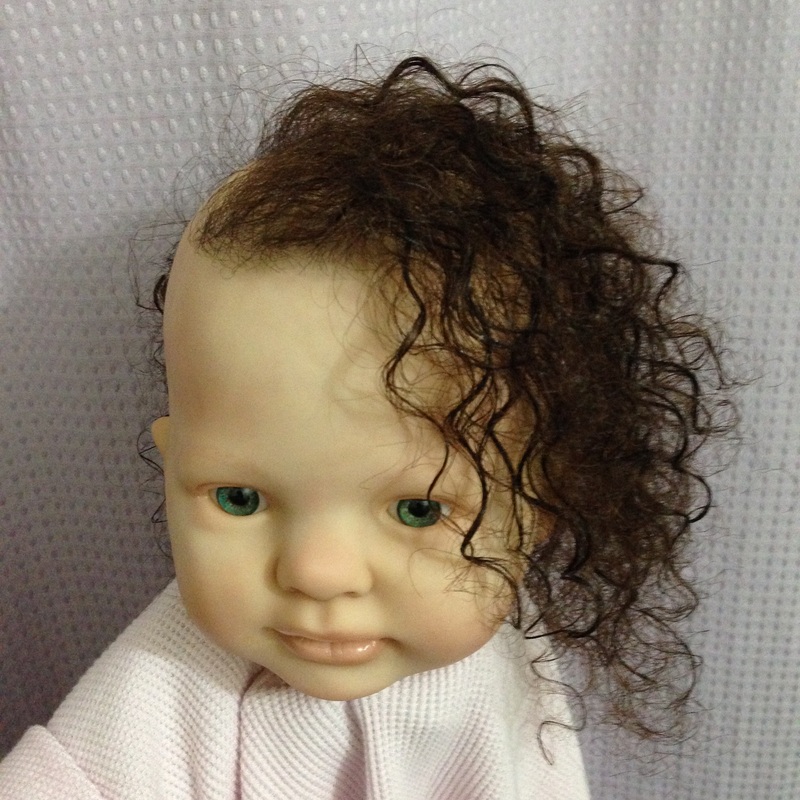
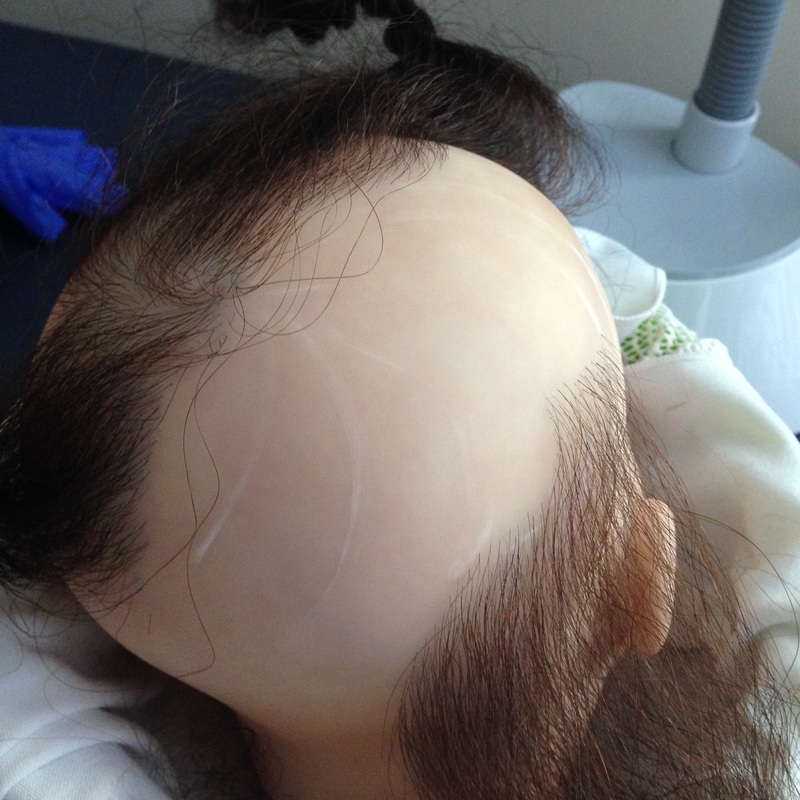
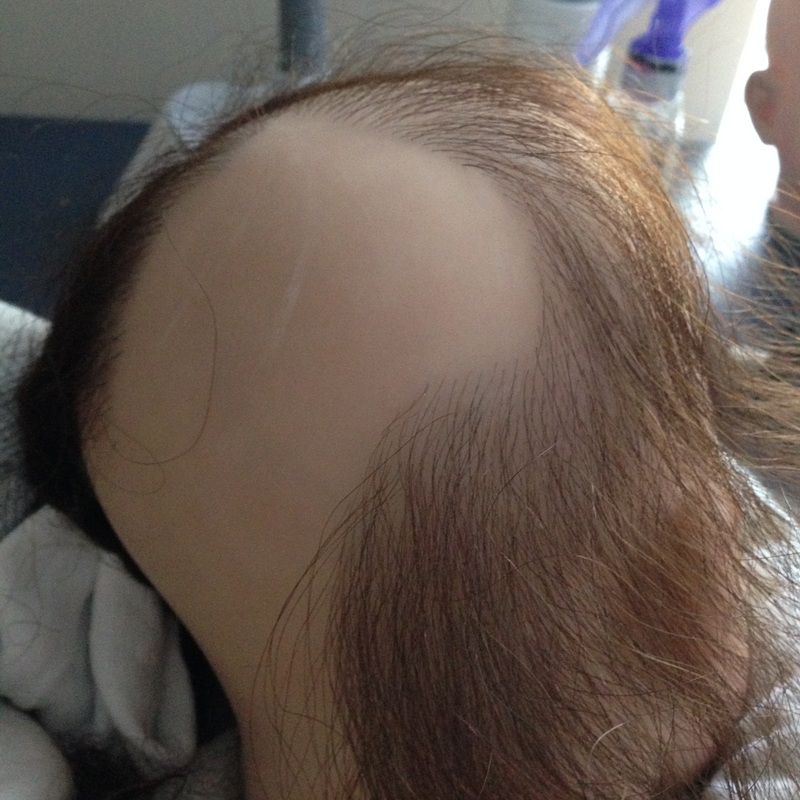
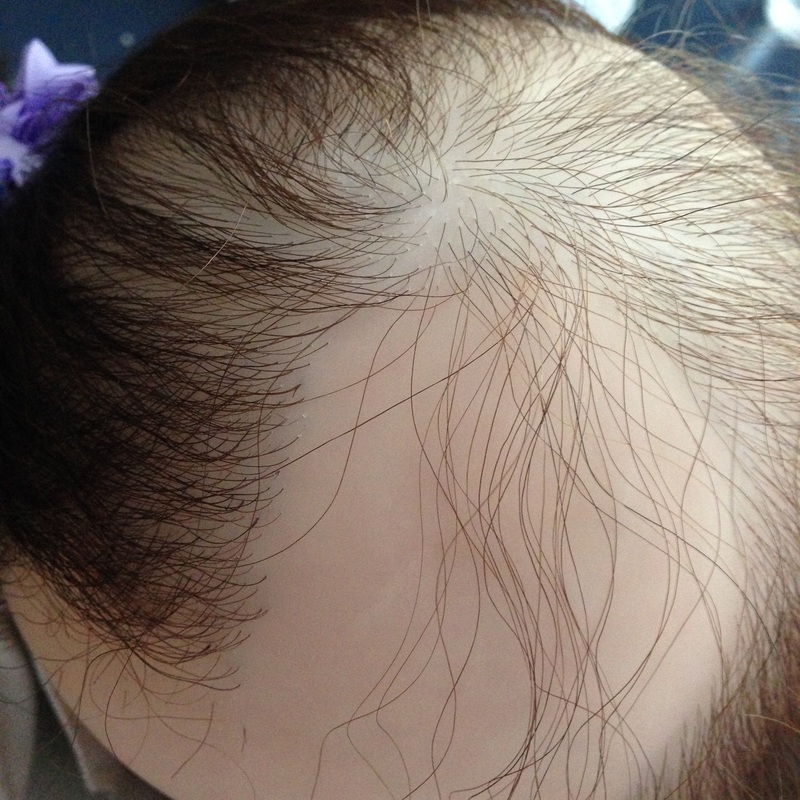
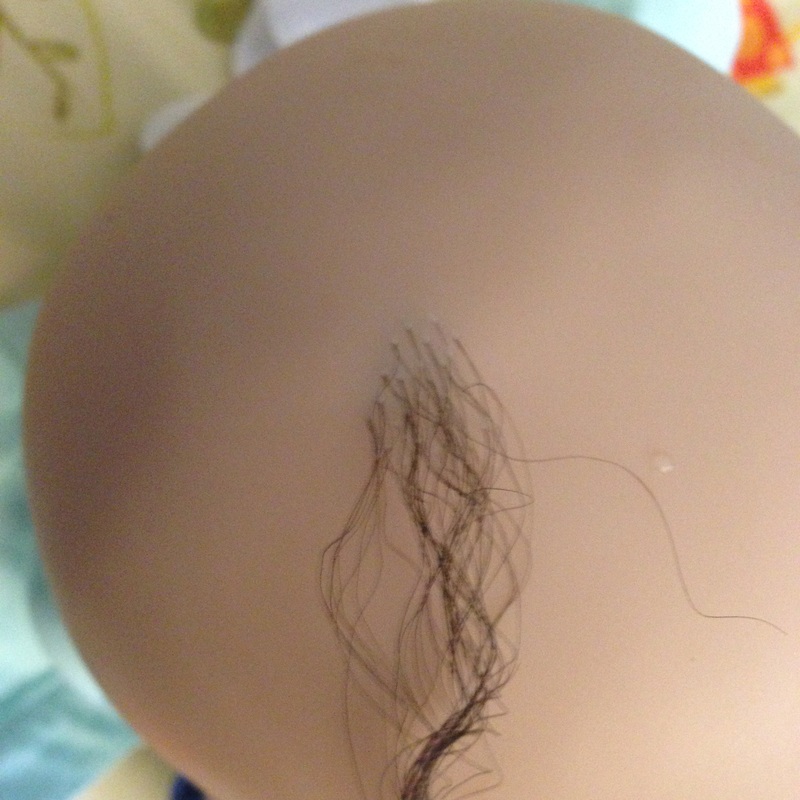
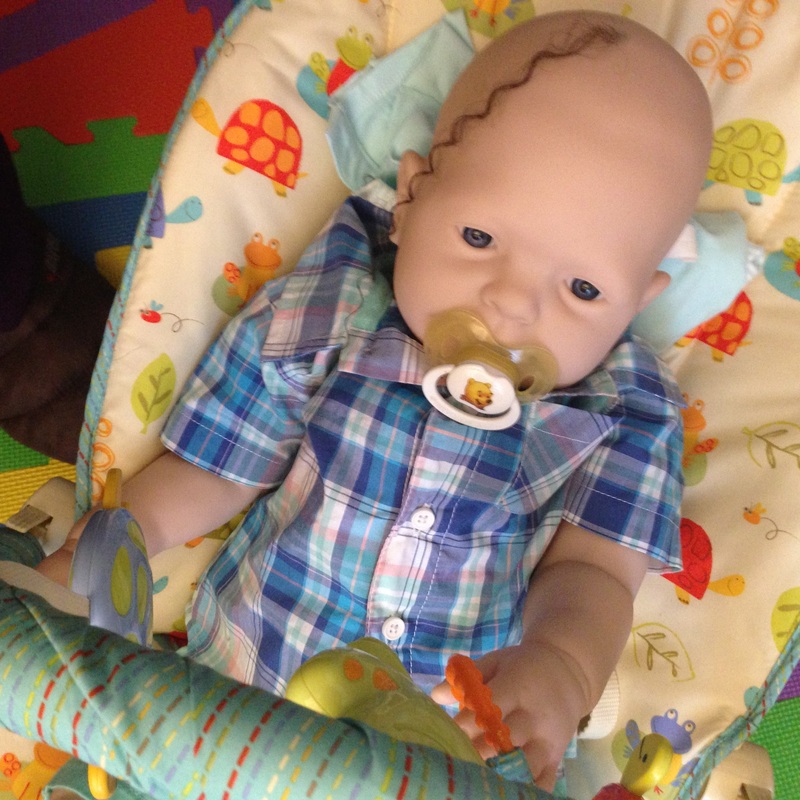
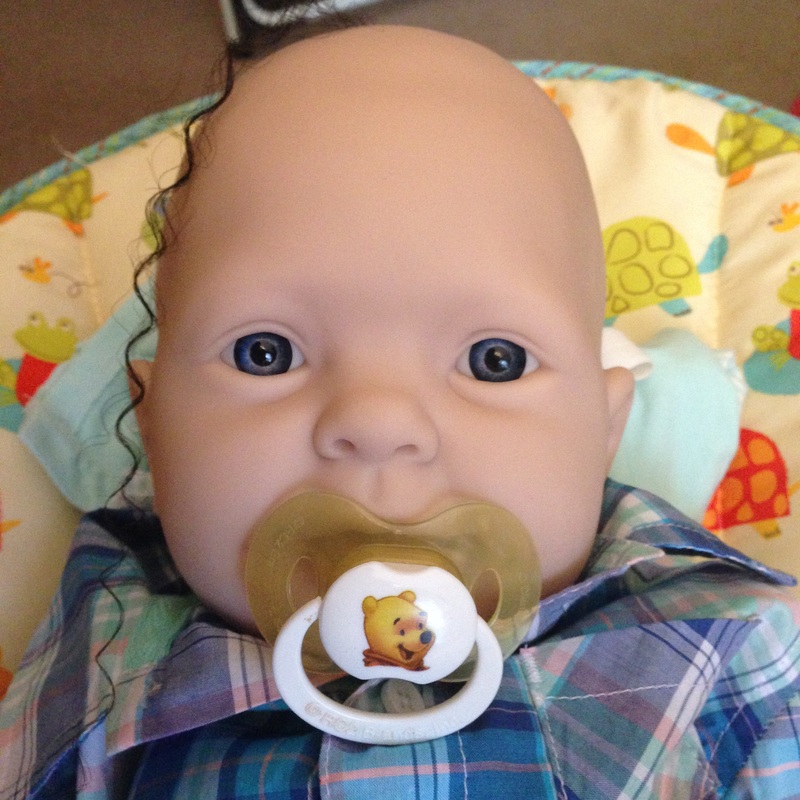
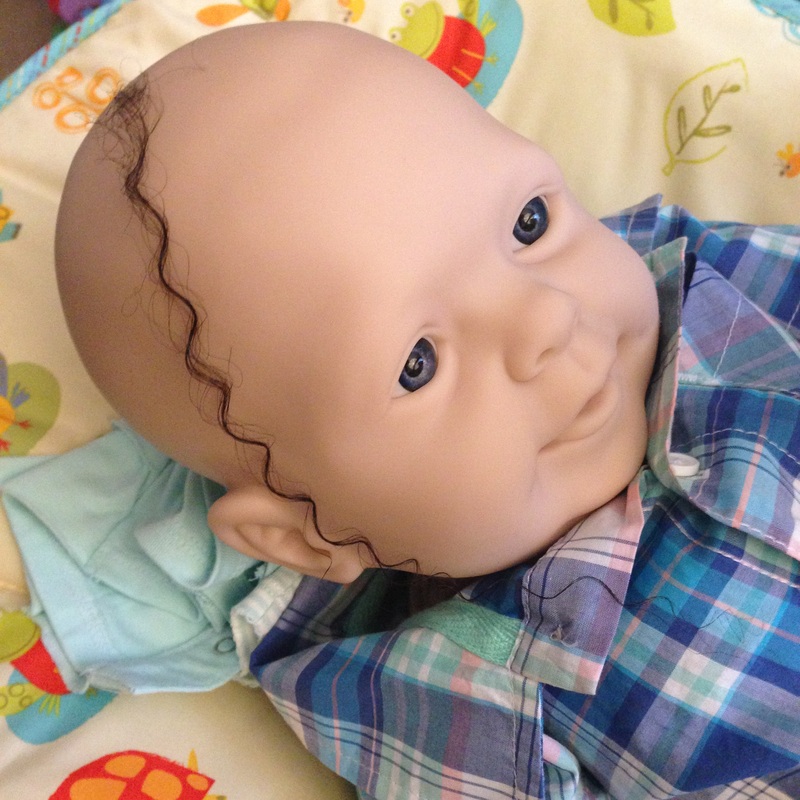
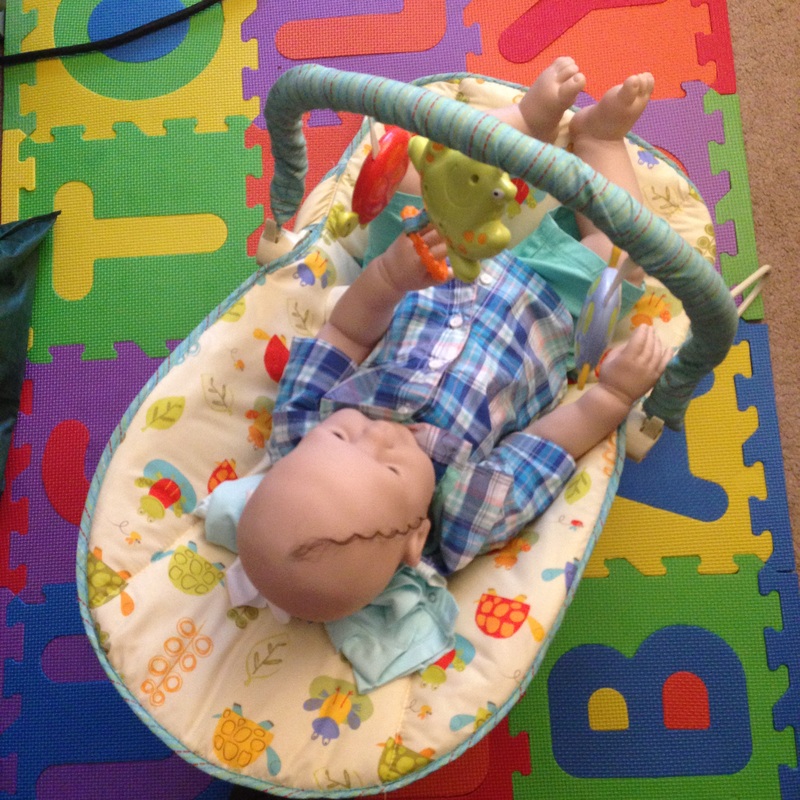
With the hairline finally done, I'm working my way up the back of the head. I decided to spray a little water on Colyn's locks to finally see what we've got. Loving those baby curls! I'm wrapping up the hairline and starting to fill in the back. This baby's got A LOT of hair. :) Couple of days of rooting footage. Making my way around the face. :) While you might be worried about how much Halloween candy you need to buy, my head is 100% in Christmas. I'm already busy making sure that babies who need to be on Santa's Sleigh Christmas Eve will get there on time. Well, I guess I'm not the only one managing my Holiday deadlines... Colyn has curly hair. To make it easier to root, I flat iron it straight. Sometimes I iron the length of the hair, sometimes only the part that I'm rooting. So he's got an interesting mix of textures going on. Still, looking goo so far! 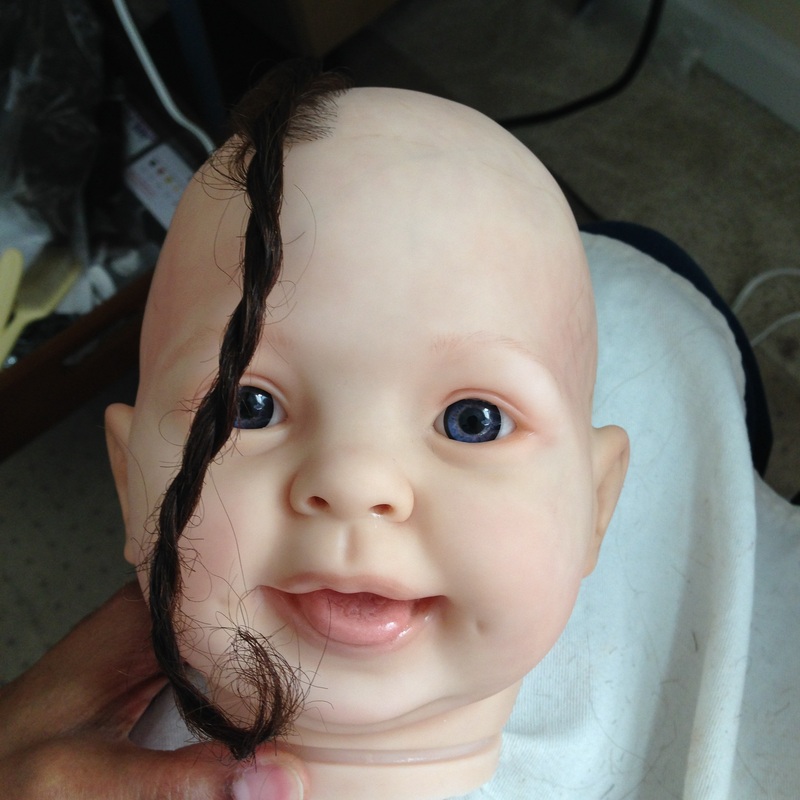 At last, little Colyn is getting some hair. We've got a long way to go, but we're off to a good start! We're rooting his hair just like his sister Cadyn. 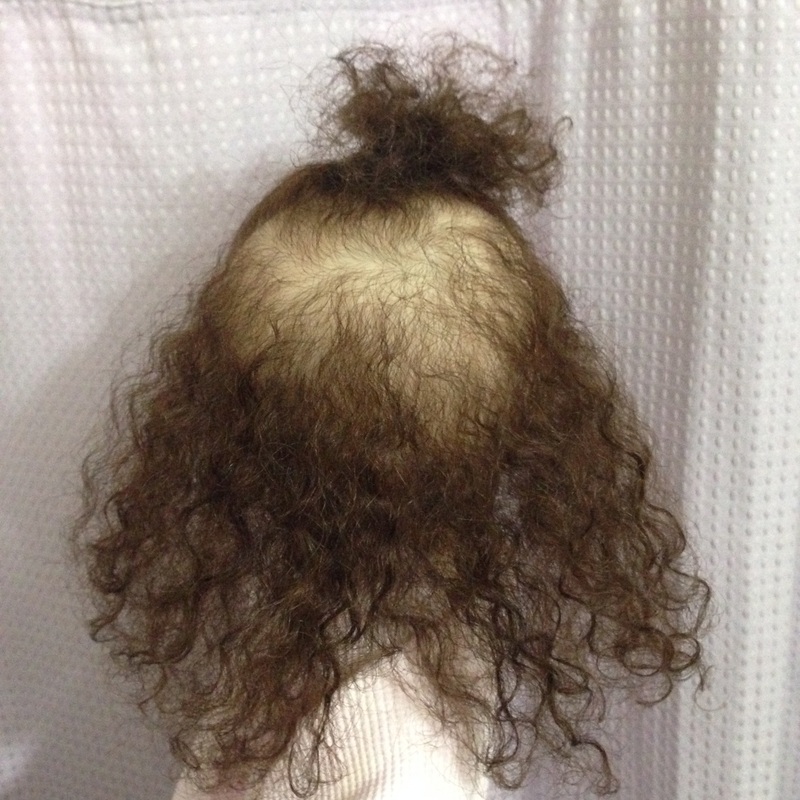 After over 100 hours of rooting one little hair at a time, Cadyn is finally sporting a full head of luscious human hair. At its natural curl, it falls down her shoulders. At full stretch, its down to her belly button. My stars, that's ALOTTA Hair!! How it All HappenedClick on the images below to get caught up about a month's worth of progress photos :) Sometimes when I can't sleep late at night, I do some rooting.
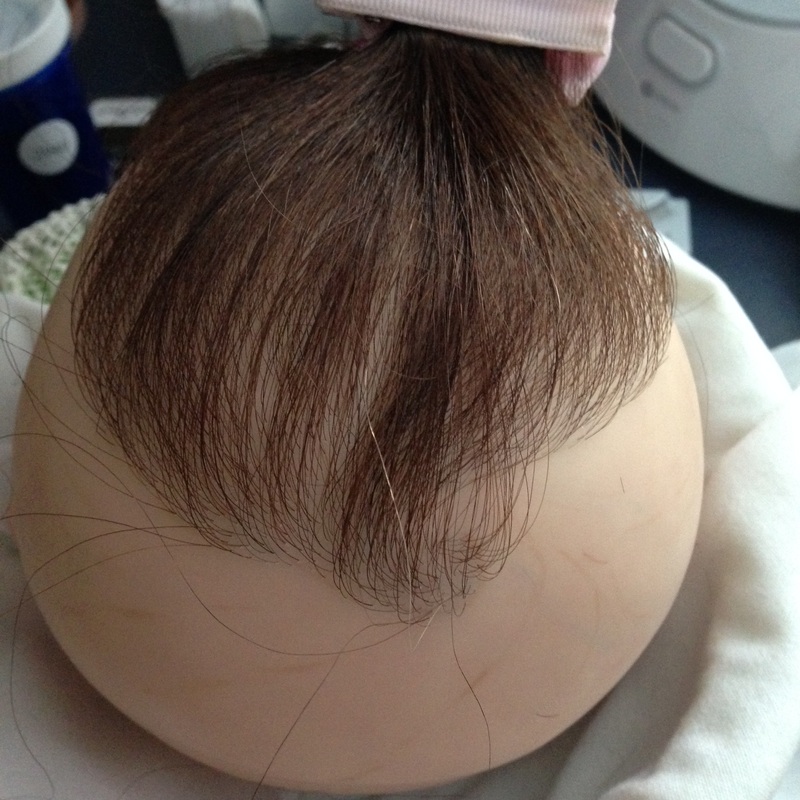
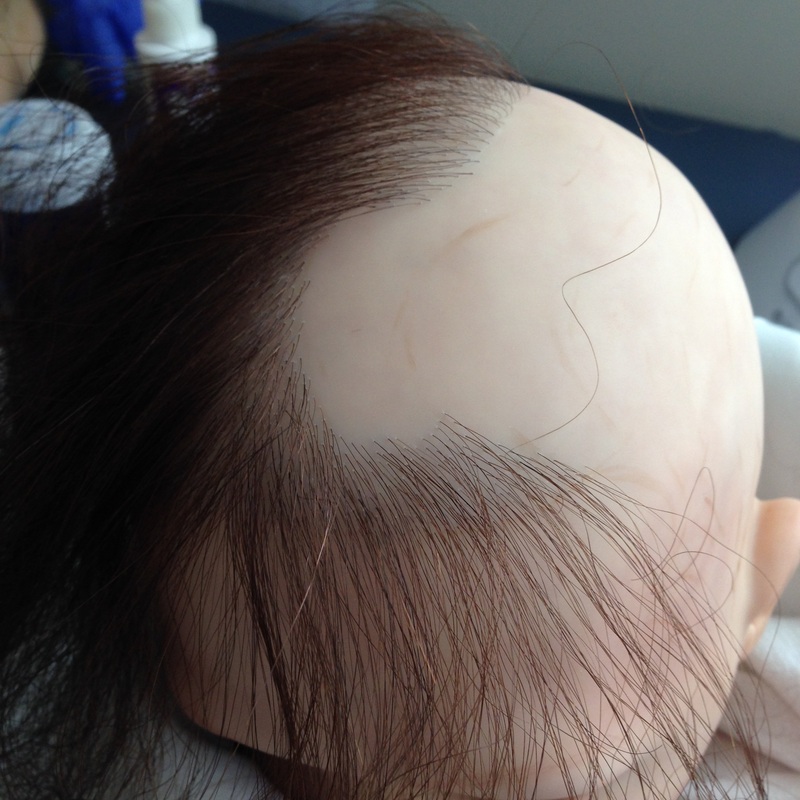
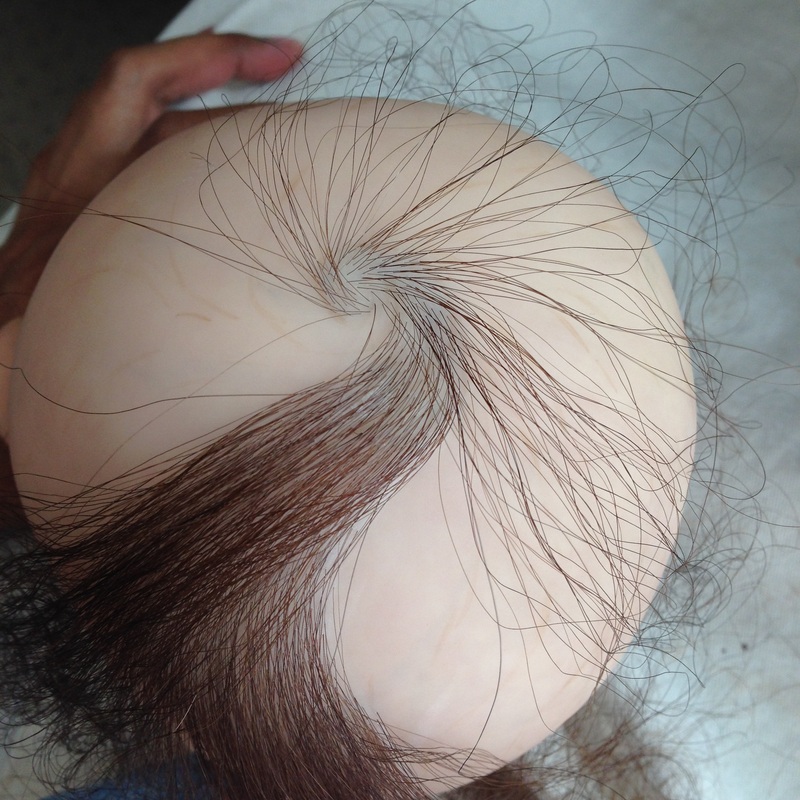
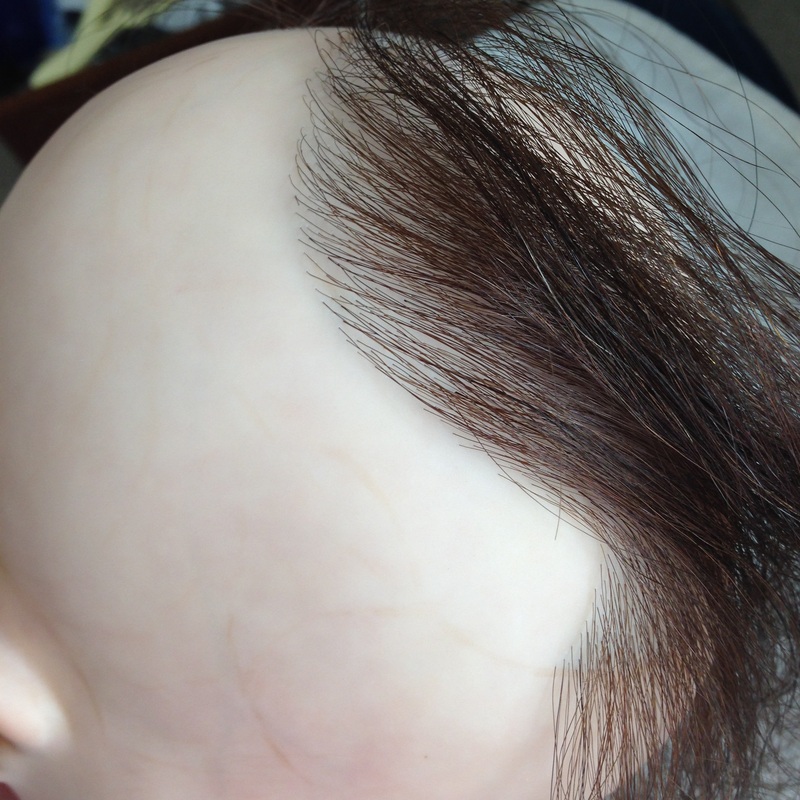
Unlike the crown and the hairline, the back of the head does not have as complex a growth-pattern. So I've decided to fill in the back and save the rest of the hairline for last.
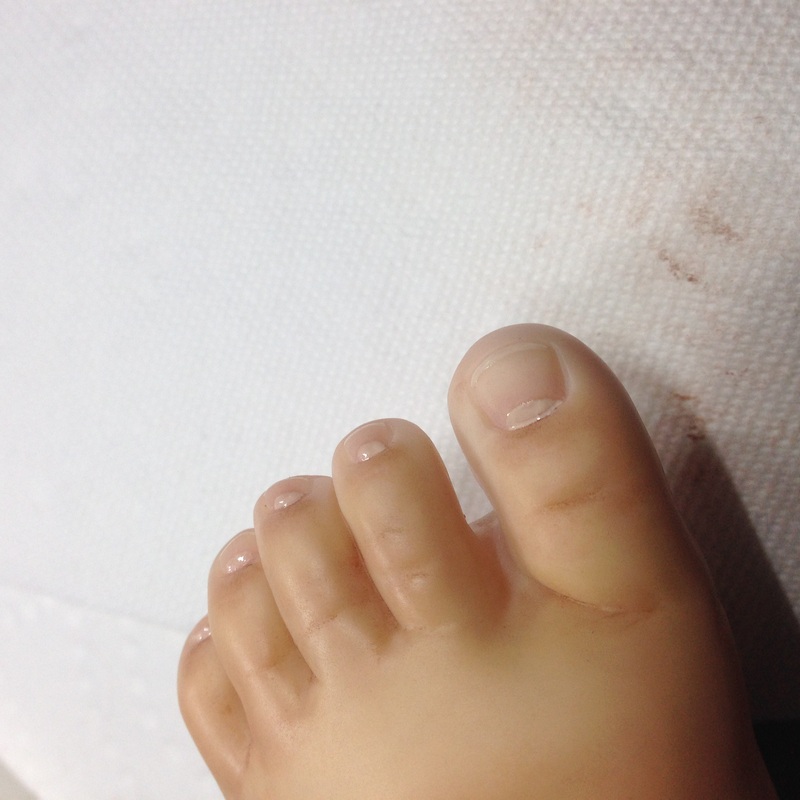
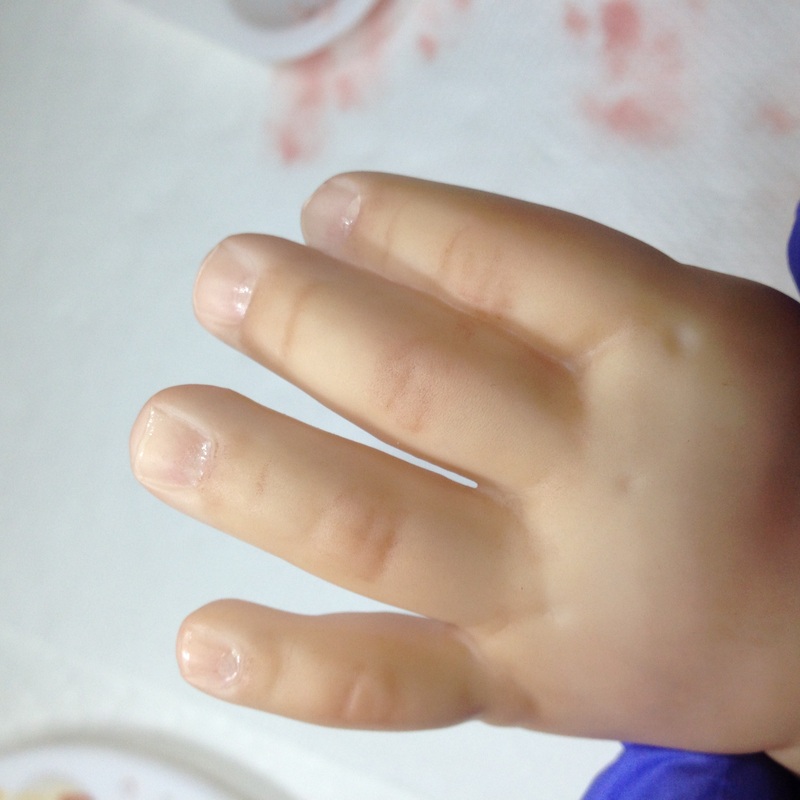
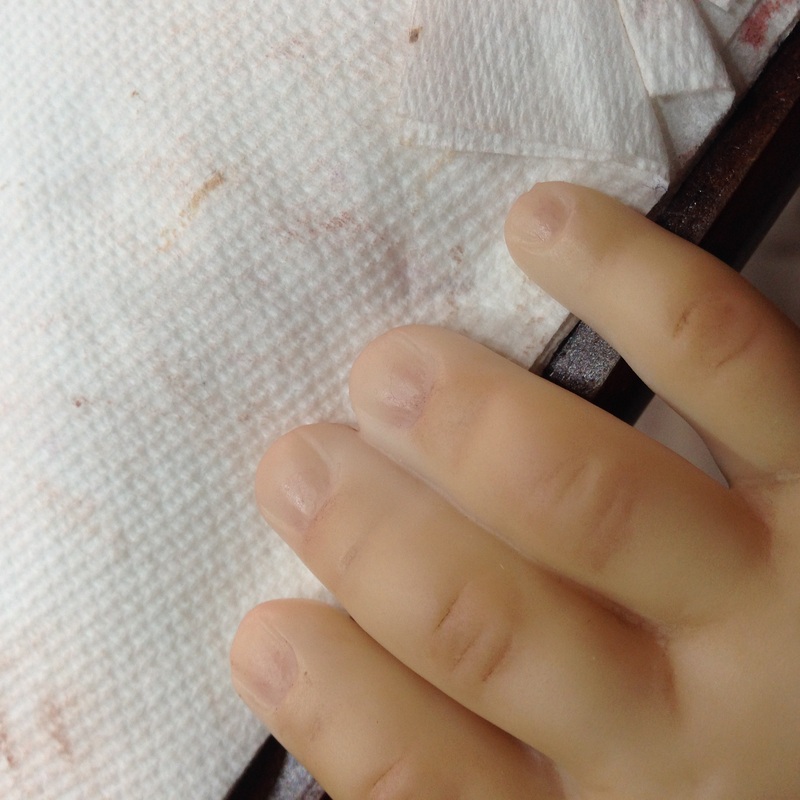
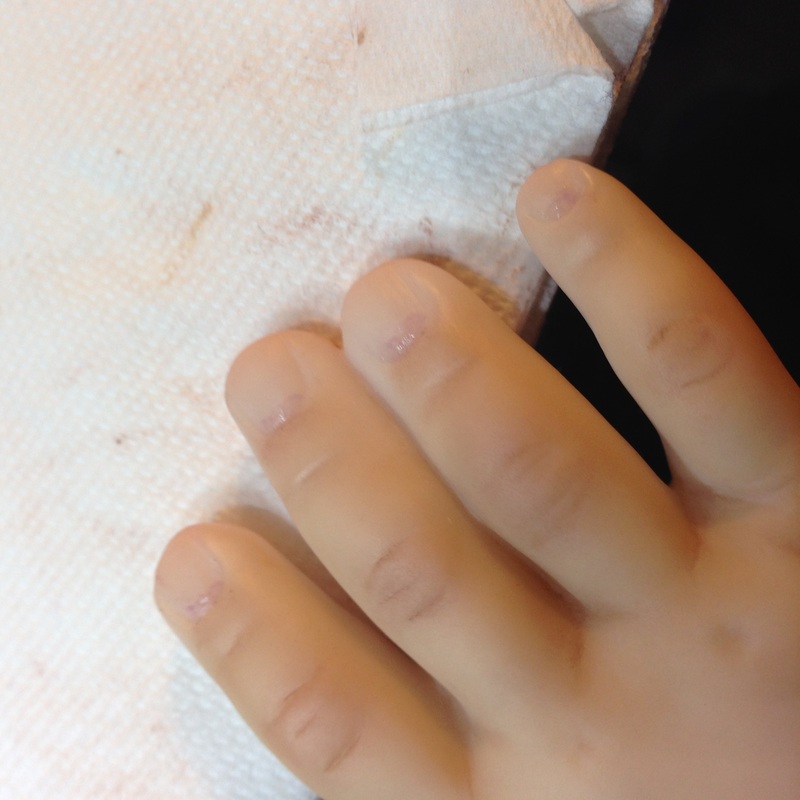
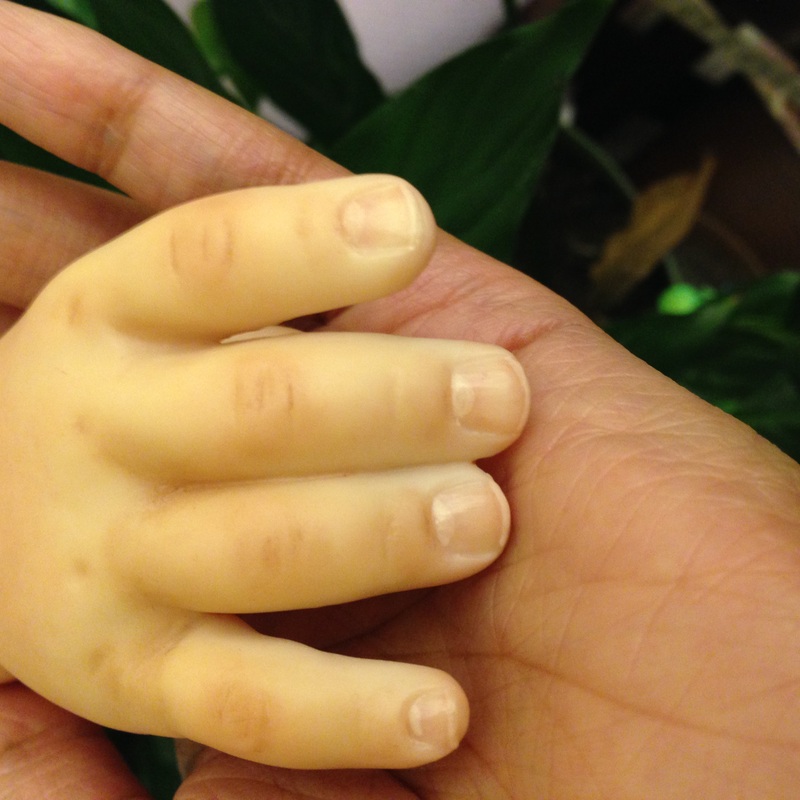
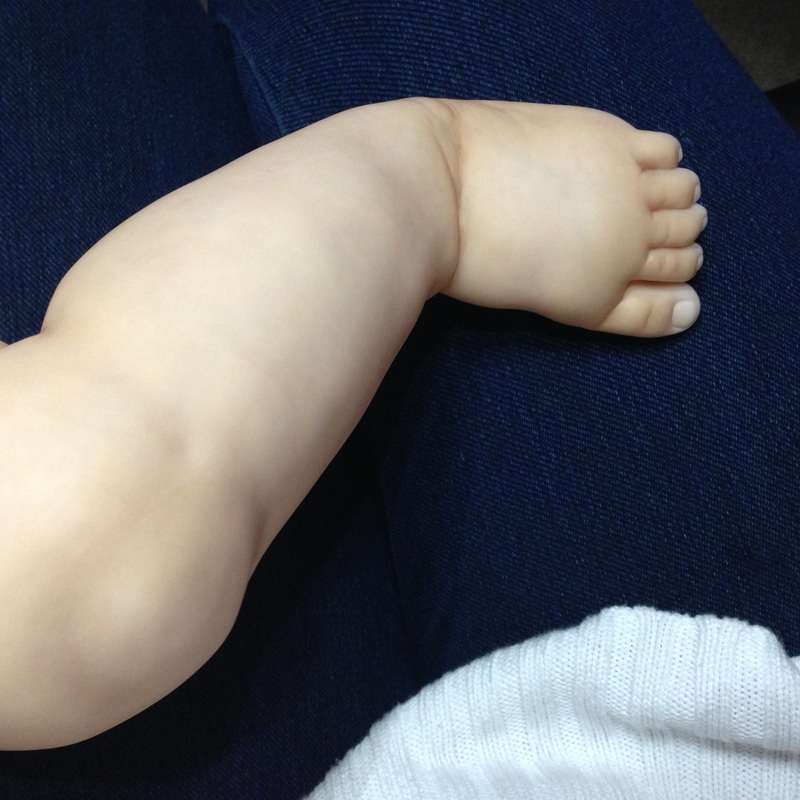
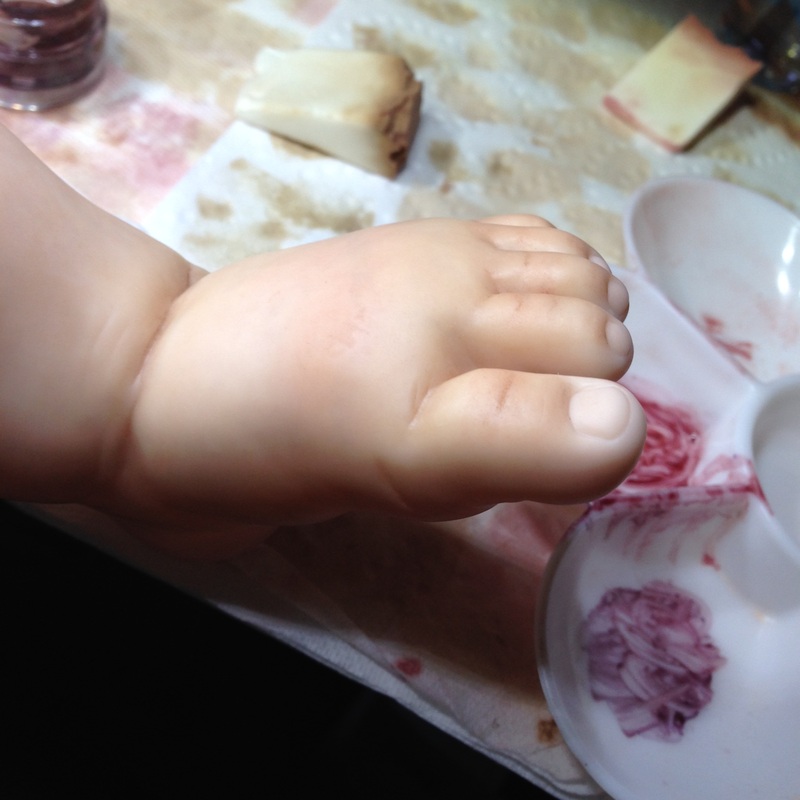
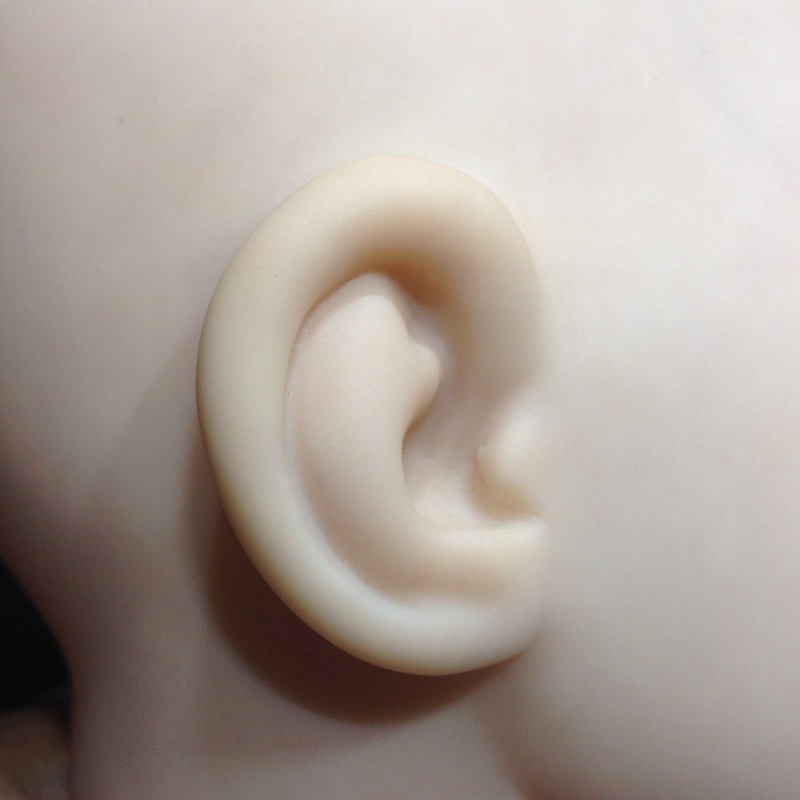
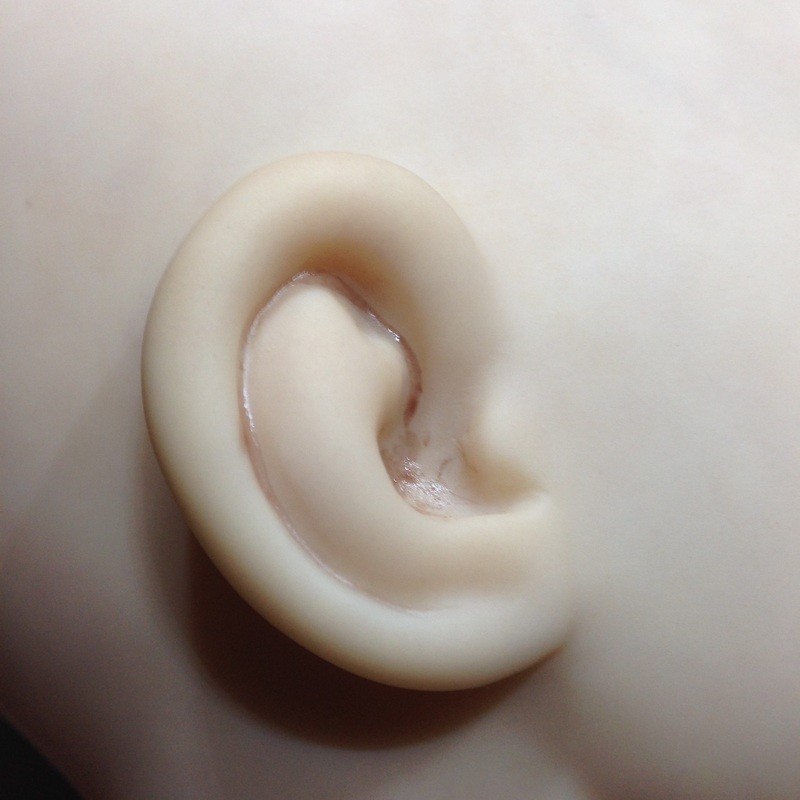
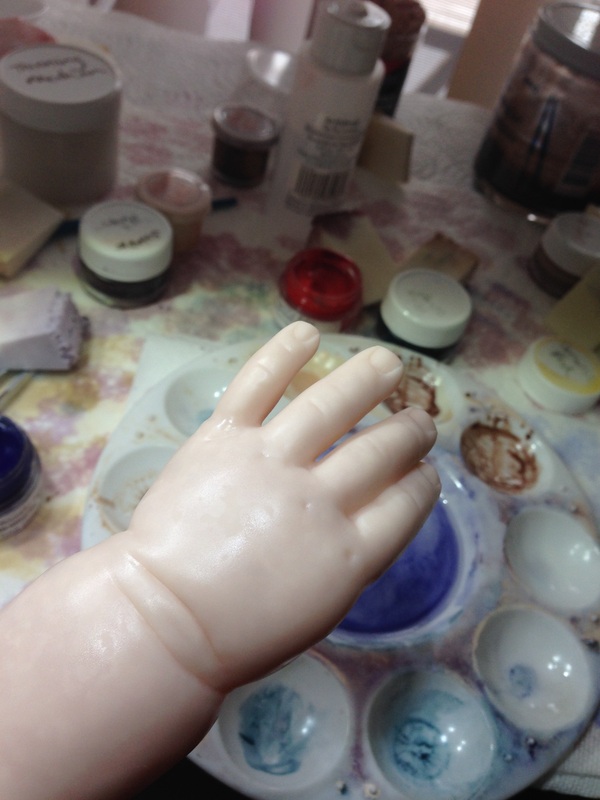
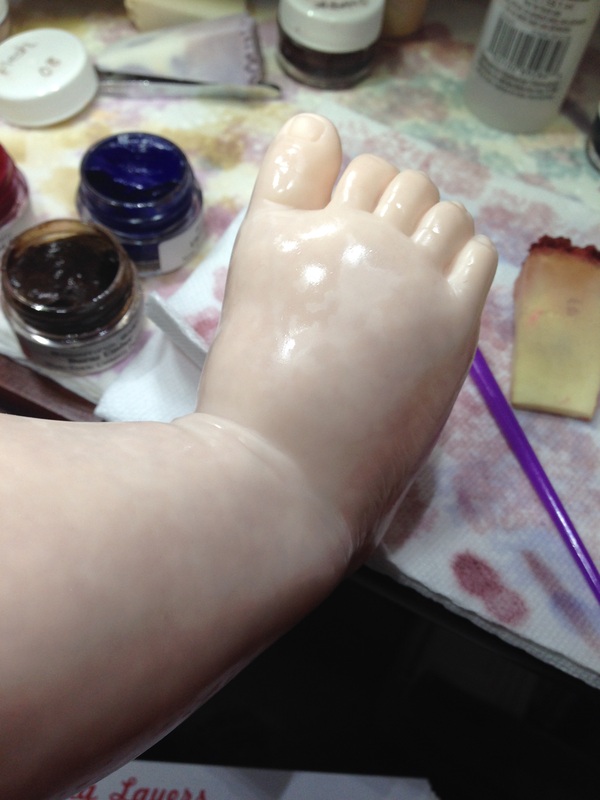
Making good progress, but I still have a long way to go... Its funny to see months of rooting fly by in a few second side show. I finally finished rooting the top of Cadyn's head. Cadyn is one of my Elite toddlers with a head full of sing-strand, micro-rooted hair. We've got a long way to go, but she's looking great so far! 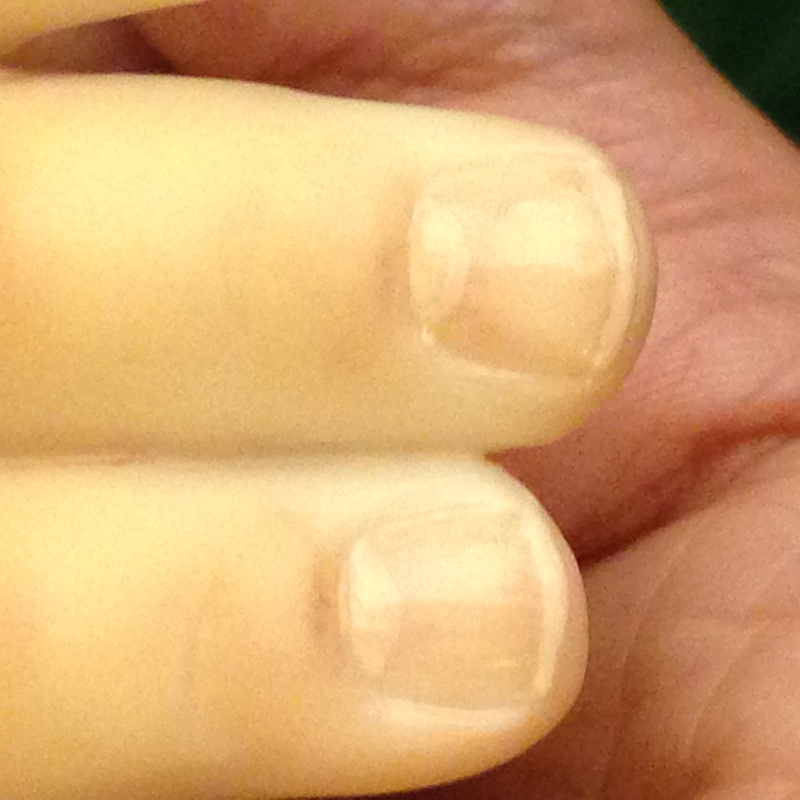 The following video and post covers several days of painting. Creating gorgeous lifelike fingernails is done in multiple layers. The first two layers of purple and pink create what I like to call the "sunset" at the base of the nail. The paint is cured between each layer. Next, I create a modified flesh tone with thinning medium and use that solution to paint the half moons on the horizon of that sunset. At the same time I add the nail tips. Then I cure this layer. (Learn more on my upcoming tutorial: Tips for Perfect Tips.) Finally a dark blush color darkens the top of the nail bed as well as the wrinkles under the nail. Add a few gloss layers for shine and say hello to your perfect baby manicure! Watch the video below to see Colyn and Cadyn getting their nails done. 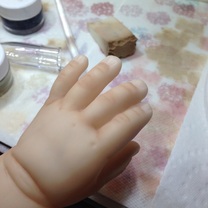 Even though I managed to get the twins to match, I still felt like they needed one more flesh layer to add a gold tone to the skin. So, I did a quick gold wash before completing the shading. Once the shading was done, I started blushing the dolls from their rosey cheeks to their kissable toes. I still have more details to paint, but they are coming along great. 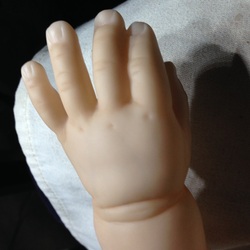 Somewhere between the end of the complexion layers and the beginning of the creasing step we find the shading. Shading is the process of gradually adding depth to baby's complexion by strategically darkening certain areas. On biracial babies, shading looks especially lifelike on the nail beds and knuckles. The photos below give you a sense of how the process works in the ears. We'll have to do a few rounds of this to achieve the lifelike look we want. 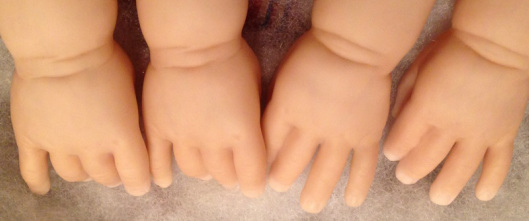
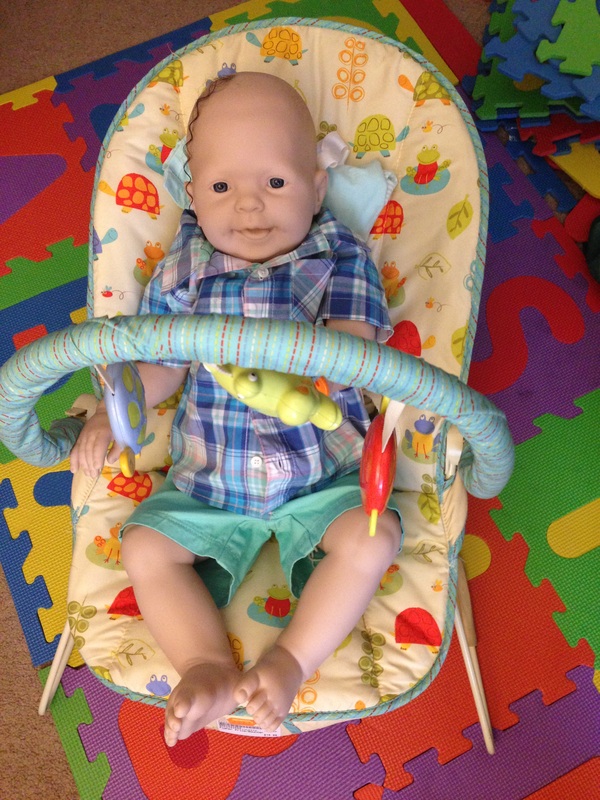
I knew when I signed up for toddler twins that I was taking on a challenge. Toddlers are big babies; i.e., lots of surface area to paint. Big babies times two = 2 x lots of surface area. But I never imagined that the most challenging thing would be getting them to look like twins! Donna RuBert's Cookie and Kitten are made of two completely different kinds of vinyl. One is neutral colored, one is peach. Even the paint adheres to them differently. So I spent two days just neutralizing the peach one and blushing the neutral one until they finally matched. Several layers of paint later, I'm thrilled that I can no longer tell them apart! Looking good, kids! 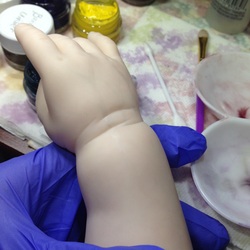 Shortly after we began Cadyn, her Mommy decided that she needed a twin brother. :) After a few days of painting, Colyn is finally catching up with his sister. I just finished his mottling and veining. Once I've added a few flesh coats, they'll finally be twins. :) 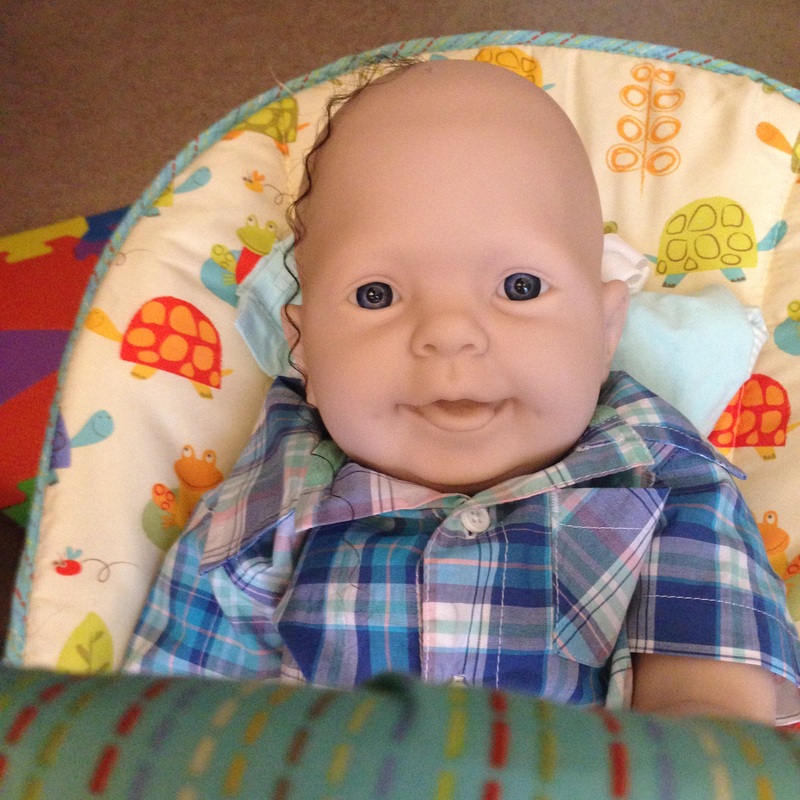 I'm excited to start a pair of toddler twins! Cadyn and Colyn will be created from Kitten by Donna RuBert and Cookie by Donna RuBert, respectively. (I'm also working on Chanel and Samantha by Donna RuBert right now. So I'm about to become a Donna RuBert expert. LOL) I love Cookie's playful smile. Mom was trying to decide which texture to use for his hair, so this little guy is sporting a lock of Virgin Brazilian hair. LOL 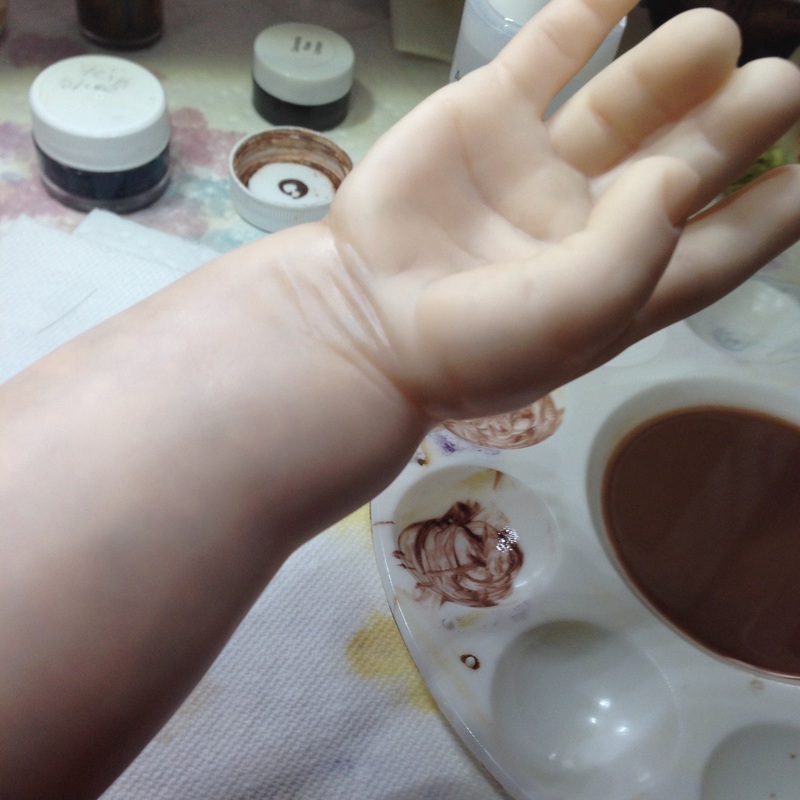 Cadyn and Colyn will be fair-skinned African-American babies. So we're going easy on the flesh tones. To ensure that I can replicate the complexion identically across the two dolls, I'm using my favorite premix colors: Flesh 03 and Flesh 07. Flesh 03 is a gorgeous golden brown that looks lovely in light and dark complexions. Flesh 07 is more like a Mediterranean complexion that looks gorgeously creamy under Flesh 03. So excited about these pretty babies! 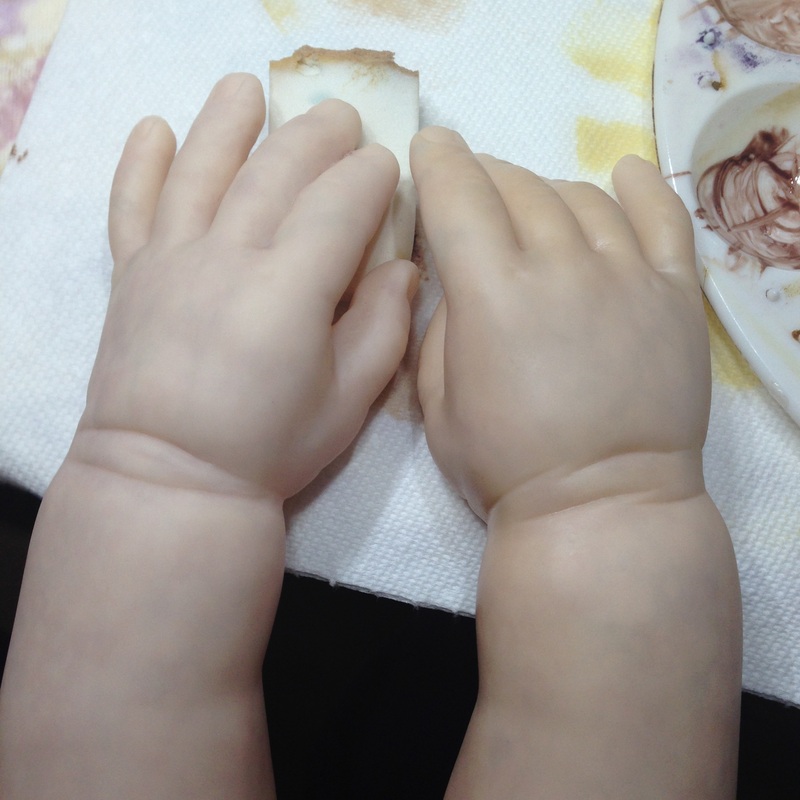
 Today, to complete the look of blood flowing under the skin, I painted Tianna's baby's veins.
Blue veins in the hands, feet and temple make the doll look like a real baby. Once the veins have cured, we're finally ready to start the flesh tone layers.  Toddlers are not typically as mottled as newborns, but I still love to see at least a few layers of mottling under the skin. These beautiful patterns of red and blue truly bring the baby to life and create the appearance of blood flowing under the skin. We want Tianna's baby to be super lifelike, so here are her gorgeous layers of mottling. It looks a little raw now, but you'll barely notice it once the skin layers have been added. 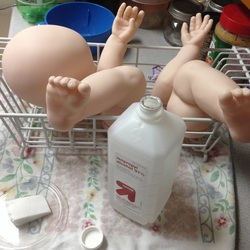 A special lady is about to receive a beautiful toddler girl. The baby doesn't have a name yet, so we're calling her Tianna for now. She'll be created from Kitten by Donna RuBert. And she's inspired by our lovely Zachary. She'll be 26 inches long and wear 9M sized clothing. She started her day with a warm bubble bath in dish detergent to get rid of any factory grease or debris that would interfere with the painting. Then she got a cold rubbing alcohol bath to further remove any oils from the surface. With a nice clean canvas, we then added the first layer of paint - a Flesh 08 base coat. The base coat creates a nice skin textured surface to which all subsequent layers of paint "stick" better. She's a big baby, so that's as far as we got today. But stay tuned as we bring this baby to life! 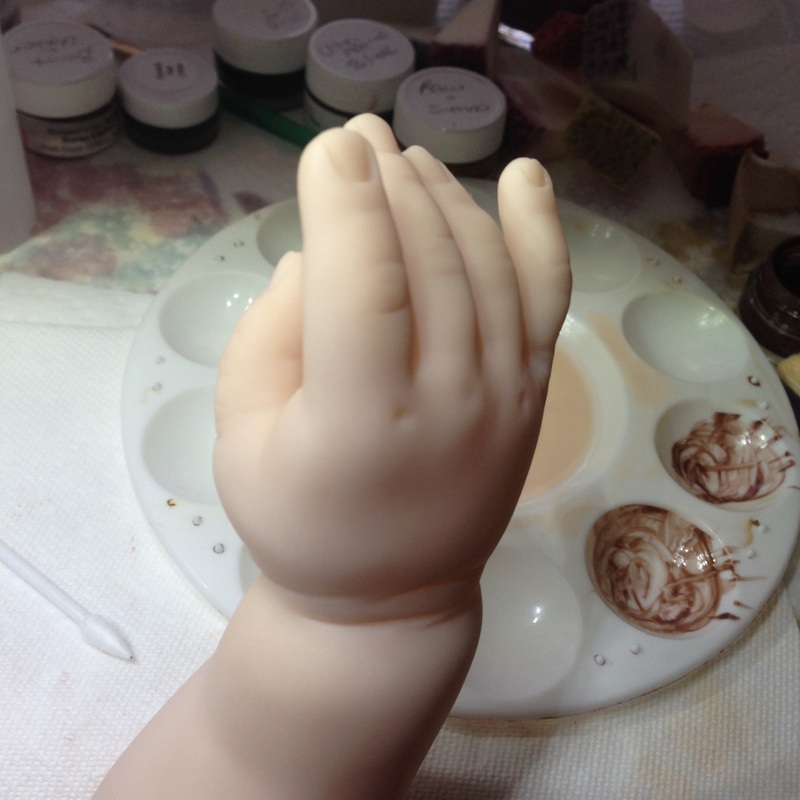
|
Reborn Doll Babies
All
Reborn Doll ArtistHi! My name is Kim. I am a reborn artist based in NC. I have been creating dolls since I was a child. I discovered the art of life-like baby dolls in 2011 and have been reborning ever since. Archives
December 2016
|


 RSS Feed
Home | Custom Dolls | Portrait Dolls | Pricing and Payment | Contact Us
Promotions | Reborn Baby Doll Care | Vote for Us
Promotions | Reborn Baby Doll Care | Vote for Us
Reborn Dolls distributed by CustomDollBaby.com are high-end collectibles not intended for children under age 12
© 2017 Custom Doll Baby, Inc.
© 2017 Custom Doll Baby, Inc.